Making the most of your wide-angle lens
Your wide-angle lens has hidden depths that you might not even know about. Here’s how to get the best out of it, both practically and creatively.
Read time: 5 minutes
As we covered in our ultimate lens guide, wide-angle covers any focal length less than around 40mm. Your lens’s focal length isn’t just determined by the lens itself, but your camera’s sensor, too. We also covered this in our ultimate guide, so if you need to brush up on focal length crop factor – or any other technical aspects of lenses – give it a read.
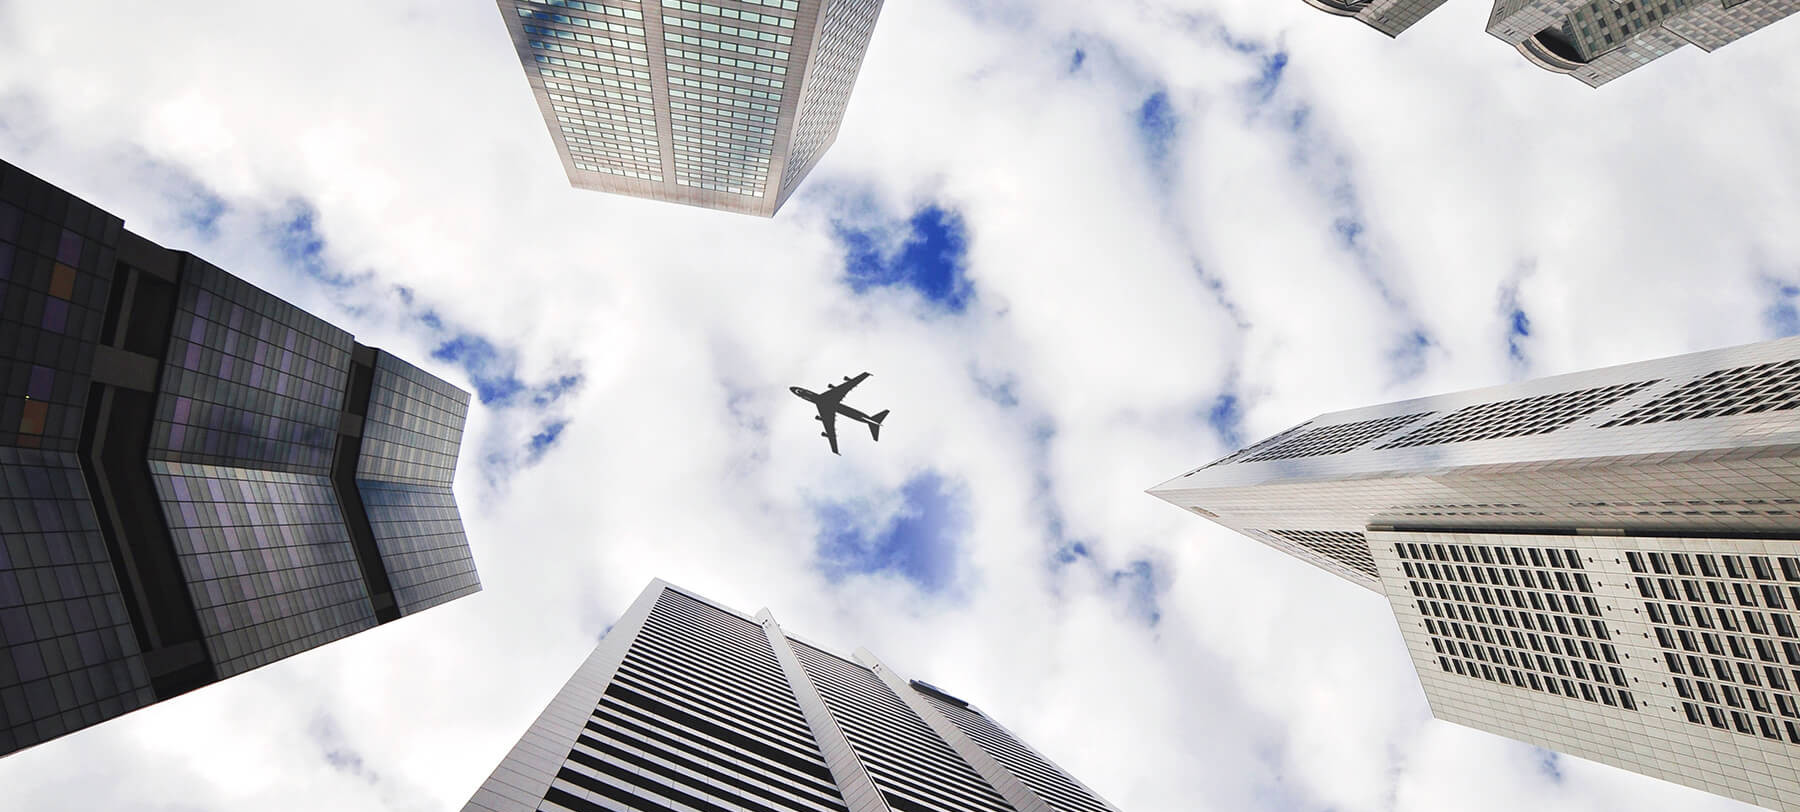
As far as practicalities of a wide-angle lens are concerned, there are three key considerations. The most obvious – angle of view – dictates how much we see in frame: the wider the lens, the larger your frame, as you likely know.
The second factor is focusing distance. A wide-angle lens can focus more closely than one with a longer focal length, allowing you to fill your frame with detail. This is why a wide-angle is so ideal for landscapes (in addition to their expansive field of view, of course), but this can also be used to great effect in almost any other genre.
Thirdly, but certainly not to be overlooked, is compression. A wide-angle lens exaggerates depth, meaning things appear to be further away from each other than they really are. The wider the lens, the greater the effect.
Click the images to see a larger view


Find a foreground object
One of the top tips for better landscapes is finding a foreground object to draw the viewer in. While it’s not essential, it can make an otherwise average photo interesting. There’s no better way to do this than with a wide-angle lens – and it’s not just for landscapes, either.
This is a great technique for street photography, but realistically, it can give any photo some added depth. This is due to the compression – or lack of – that we mentioned. You can use your wide-angle to really make a subject pop, with a background behind it that seems endless.

Fill your frame
In the search for great depth, it’s easy to overlook composition, but that can be a mistake. If you’re using an object as a foreground subject as we just discussed, some less busy space for the eyes to wander in is nice, but if you’re shooting a single subject, you’ll likely be better off by letting it fill the frame.
This is an issue that’s more common with wide-angle lenses than those with a longer focal length, again due to the wider angle of view and the exaggerated depth. While there are exceptions to this rule, as with any rule in photography, it’s worth keeping in mind.
Click the images to see a larger view


Wide-angle portraits
Most portrait photographers wouldn’t touch a wide-angle. Wide-angle lenses distort the subject’s face and make whatever part is closest to the lens appear wide and bulbous. For that reason, we wouldn’t recommend a wide-angle for your typical headshot. But if you’re looking for something a bit more creative, going wide might be the perfect option.
With a wide-angle lens, you can really draw attention to a particular aspect of your subject, which in turn can tell more of a story. Similarly, a wide-angle allows you to show much more of your subject’s surroundings, offering more context. So, if the intention of your portrait is to tell a story, not just flatter your subject, go wide.


Images A 35mm portrait (above) compared to a 15mm fisheye lens portrait (below). Credit: Kingsley Singleton
Fixing (and using) converging verticals
Another effect of a wide-angle lens’s angle of view and construction is distortion. Many wide-angle lenses – particularly modern ones – don’t show too much distortion unless they’re pushed to their extremes. The most distinctive form of distortion is converging verticals. In other words, vertical lines appearing to come together.
In camera, you can avoid obvious converging verticals by keeping the camera level (though this might not be possible for your desired composition), or with your camera’s lens correction setting if it has one. You can correct converging verticals in post through software such as Lightroom and Photoshop.
One quick and easy way you can do this in Photoshop is to convert your photo to a smart object, click Filter, then click Camera Raw Filter…
Next, select the Transform Tool. There are a number of options from here, but the easiest and often best option is Auto.
Click the images to see a larger view


Alternatively, you can use those converging verticals to your advantage. Get creative and base your shot around this distinctive look – the results can be amazing! Our best advice for those trying this technique is to have your lines lead into the focal point of the photo, and if possible maintain a balanced composition.

Images Wide-angle lens distortion can be used to photograph a host of subjects creatively
If you’re eager to learn more about standard and telephoto lenses, read our guides.
Send us your best wide-angle shots on social media! Tag us on Instagram and Twitter using the handle @PhotonewsPN!