Using flash for macro photography
11 minute read
Using flash with macro photography subjects is a sure-fire way to make the most of their form and detail. But you need the right kit and techniques to do it…
Flash goes together with macro like brown sauce in a fried egg sandwich. And it’s not just a question of taste. The photographic principles behind macro photography demand as much light as possible, and flash is the easiest way to get it (sure, you can rely on the sun, but only for about one month a year. Or you can use continuous lights, but if you’re working with delicate florals even the low heat of LEDs will soon shrivel them up.)
So why does macro need a lot of light? That’s down to relationship between macro focusing and aperture, as well as any movement is exaggerated by the close-up view.
Let’s unpack this a bit: as you focus closely on a macro subject there is a natural light loss as the lens extends out and this can be significant. It can be one stop or more.
Also depth-of-field gets very shallow even at small apertures, so to hold the subject in focus you often need pick settings like f/11 or above. Those small apertures don’t let in as much light, so to get a bright exposure you then need slower than normal shutter speeds.
Now, these slower shutter speeds have a drawback in that you’re more likely to show movement in the subject or from the camera (especially if you’re shooting handheld). What’s more, when focusing closely even a slight breeze can make delicate flowers or grasses look like they’re whipping about in a gale, so longer exposures really aren’t ideal, unless you’re dealing with static subjects. You could raise the ISO sensitivity to compensate, which will allow faster shutter speeds at the same aperture setting, but there’s a downside to that, too – the increased noise at higher sensitivities will soften the fine details you’re looking for. Fortunately flash can solve these problems, and with freedom of placement you can also portray your subject more creatively than when using only the available light.
Click the images to see a larger view
Lighting for macro photography
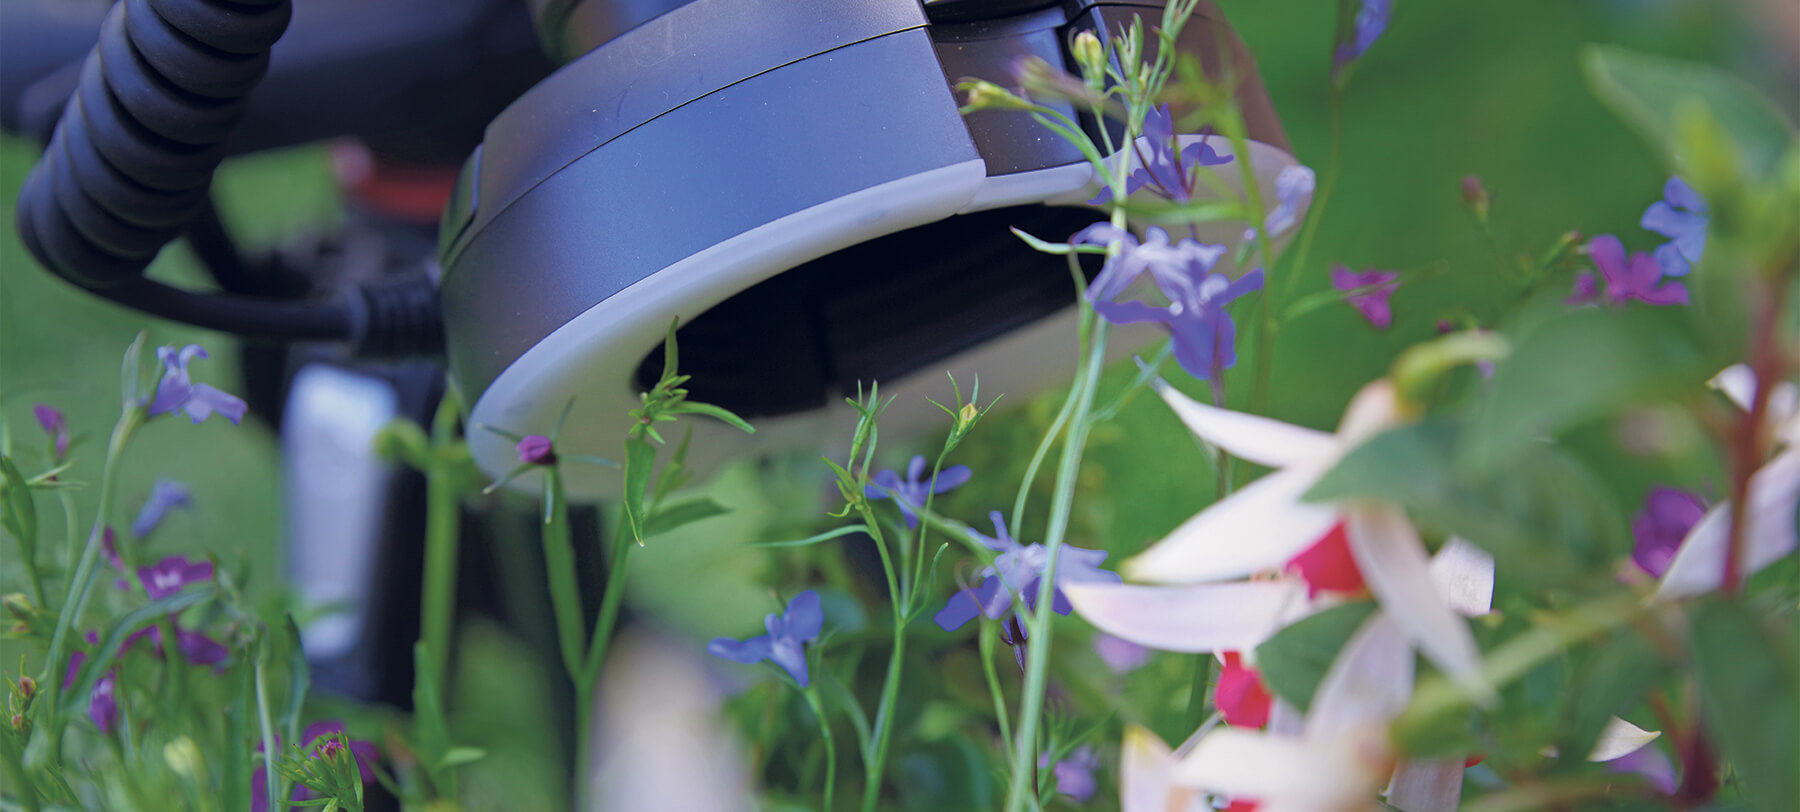
So, flash is the saviour here, but with macro you also often need to pick the right kind of flash. For example, in this technique I was using a Laowa 60mm f/2.8 2:1 macro lens that focuses very close to the front element. A regular pop-up flash – or even an accessory flash mounted on the camera – can’t deal with that, as the lens itself will block light from the flash hitting the subject; everything ends up in shadow. Placing a flashgun right next to the lens isn’t ideal either, so a ringflash or ringlight is required (a type of flash that sits around the front element, so that illumination is right where it’s needed).
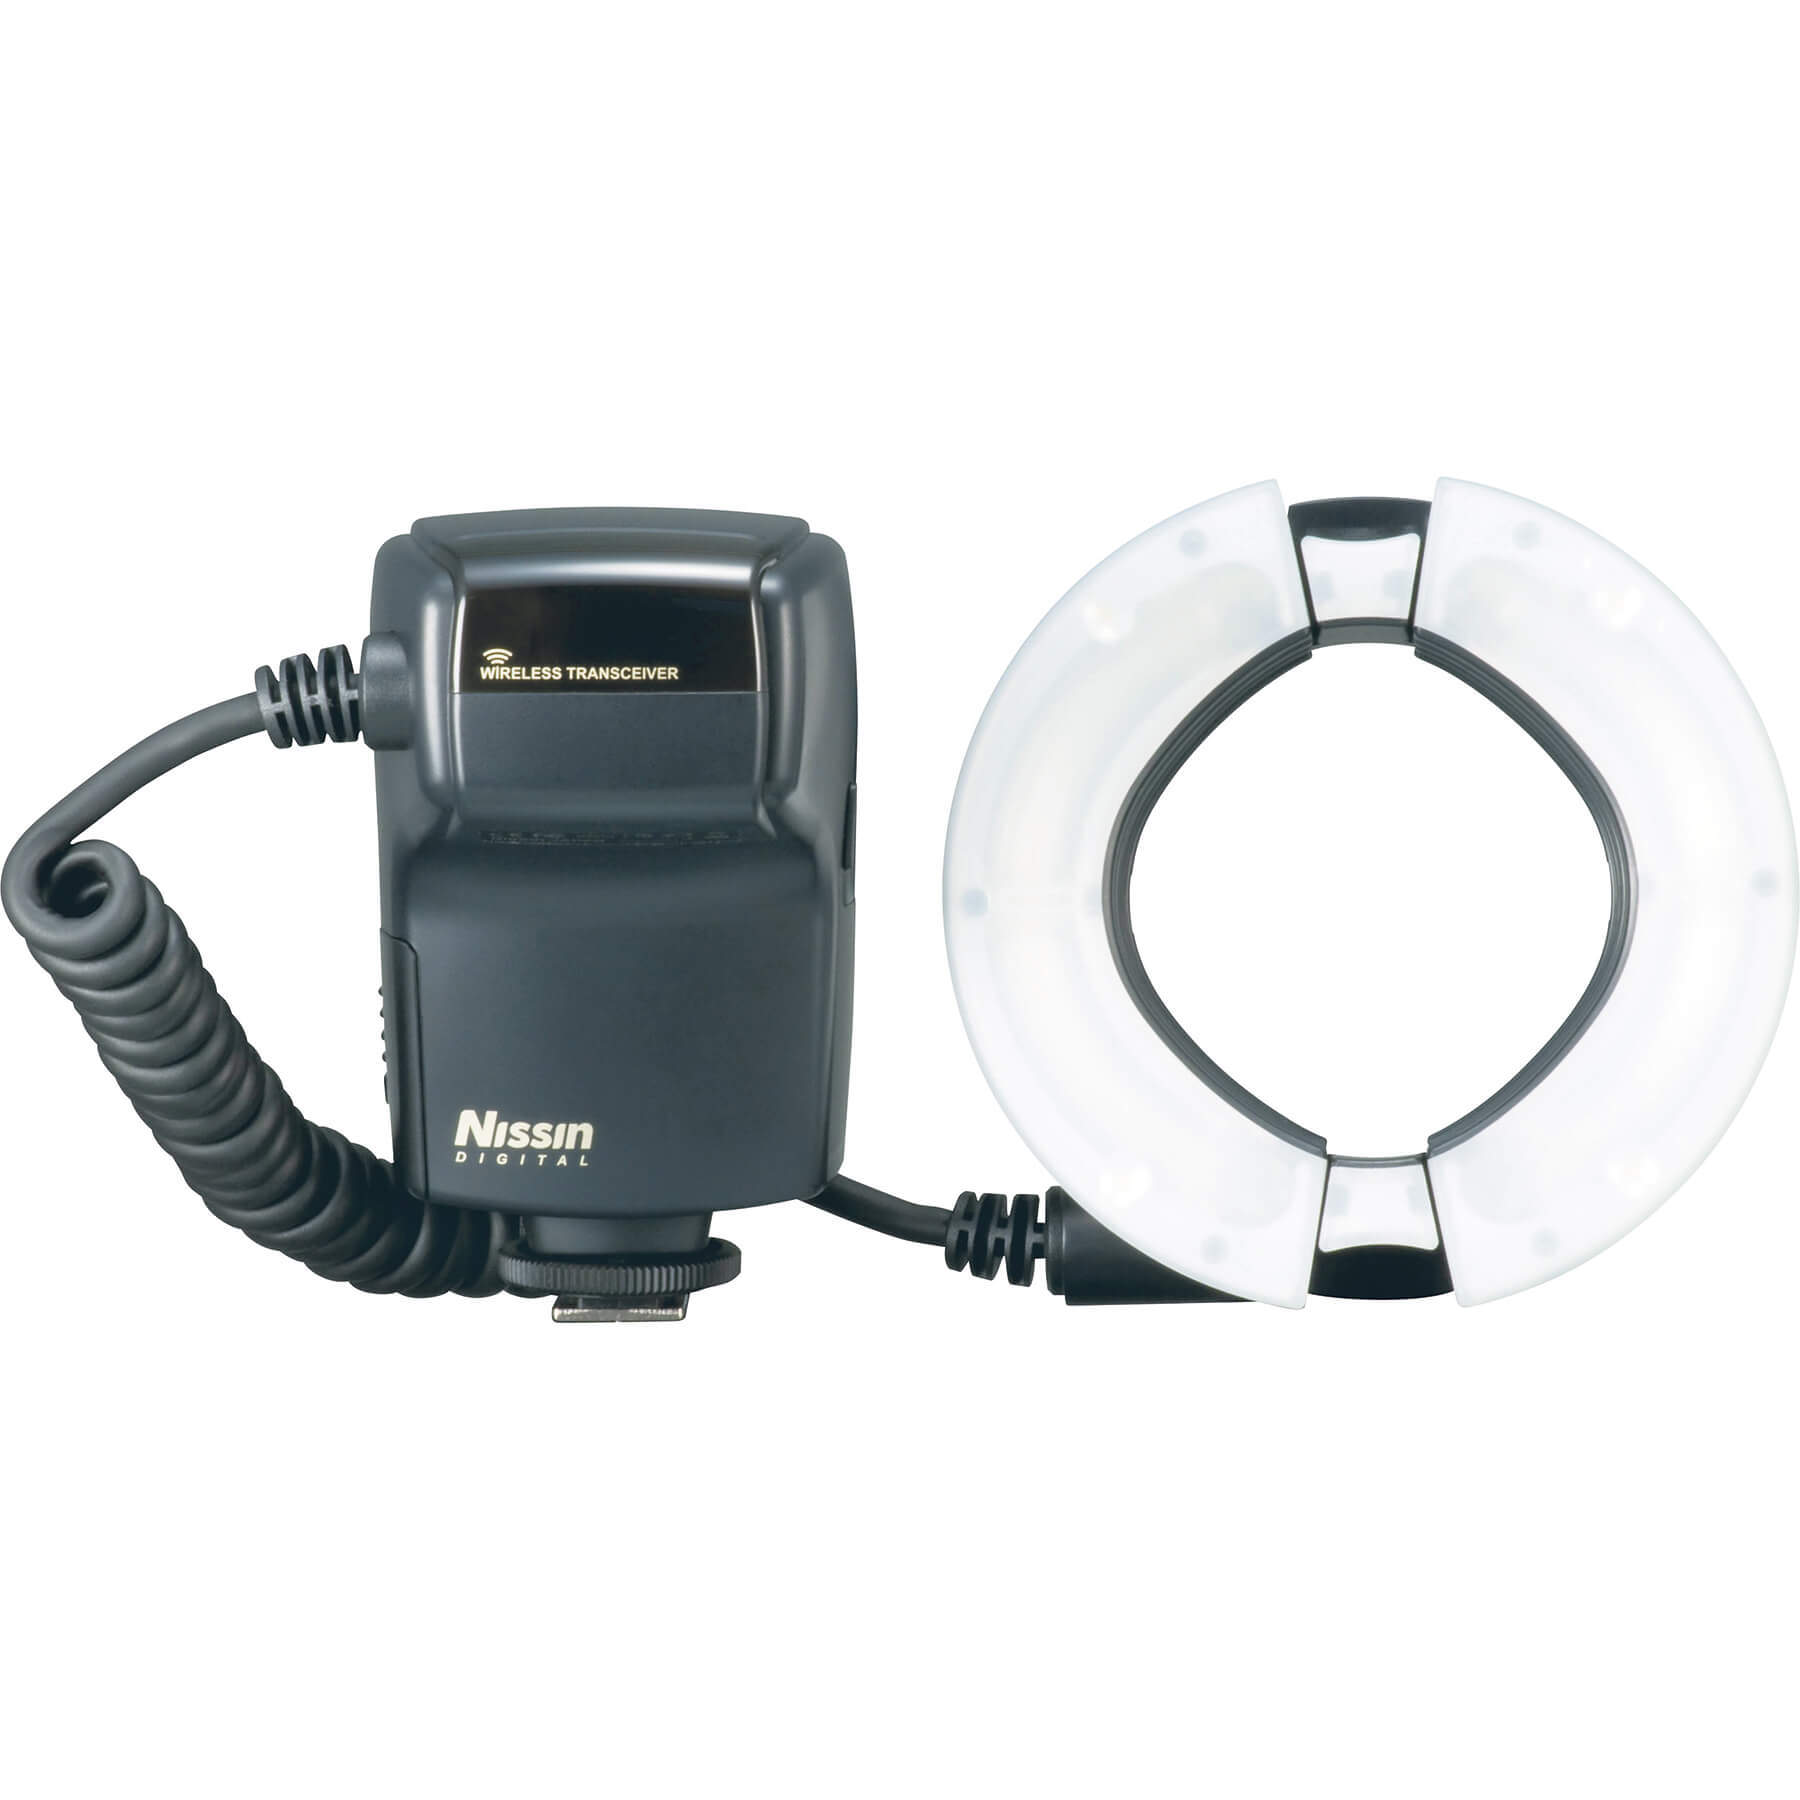
For this technique I used a Nissin MF18 Macro Flash, which, like many similar accessories, isn’t strictly a ringflash; the light does not extend all the way around the front element in an unbroken line, but actually uses two curved flash tubes. There’s an advantage to that, however, which comes in changing the lighting ratio between the two. You don’t need to stick to just a ring flash, however, and here I also planned to add a second flash as a backlight, more of which later.
Fitting the flash and composing
Setting up a ringflash is easy. The powerpack sits in the hotshoe accessory port, just like a regular speedlight flashgun, and connects the flashtube by a flexible cord. The flashtube is mounted much the same as you would fit a filter holder – an adapter ring screws onto the front of the lens like a filter and the flashtube assembly simply clips onto that.
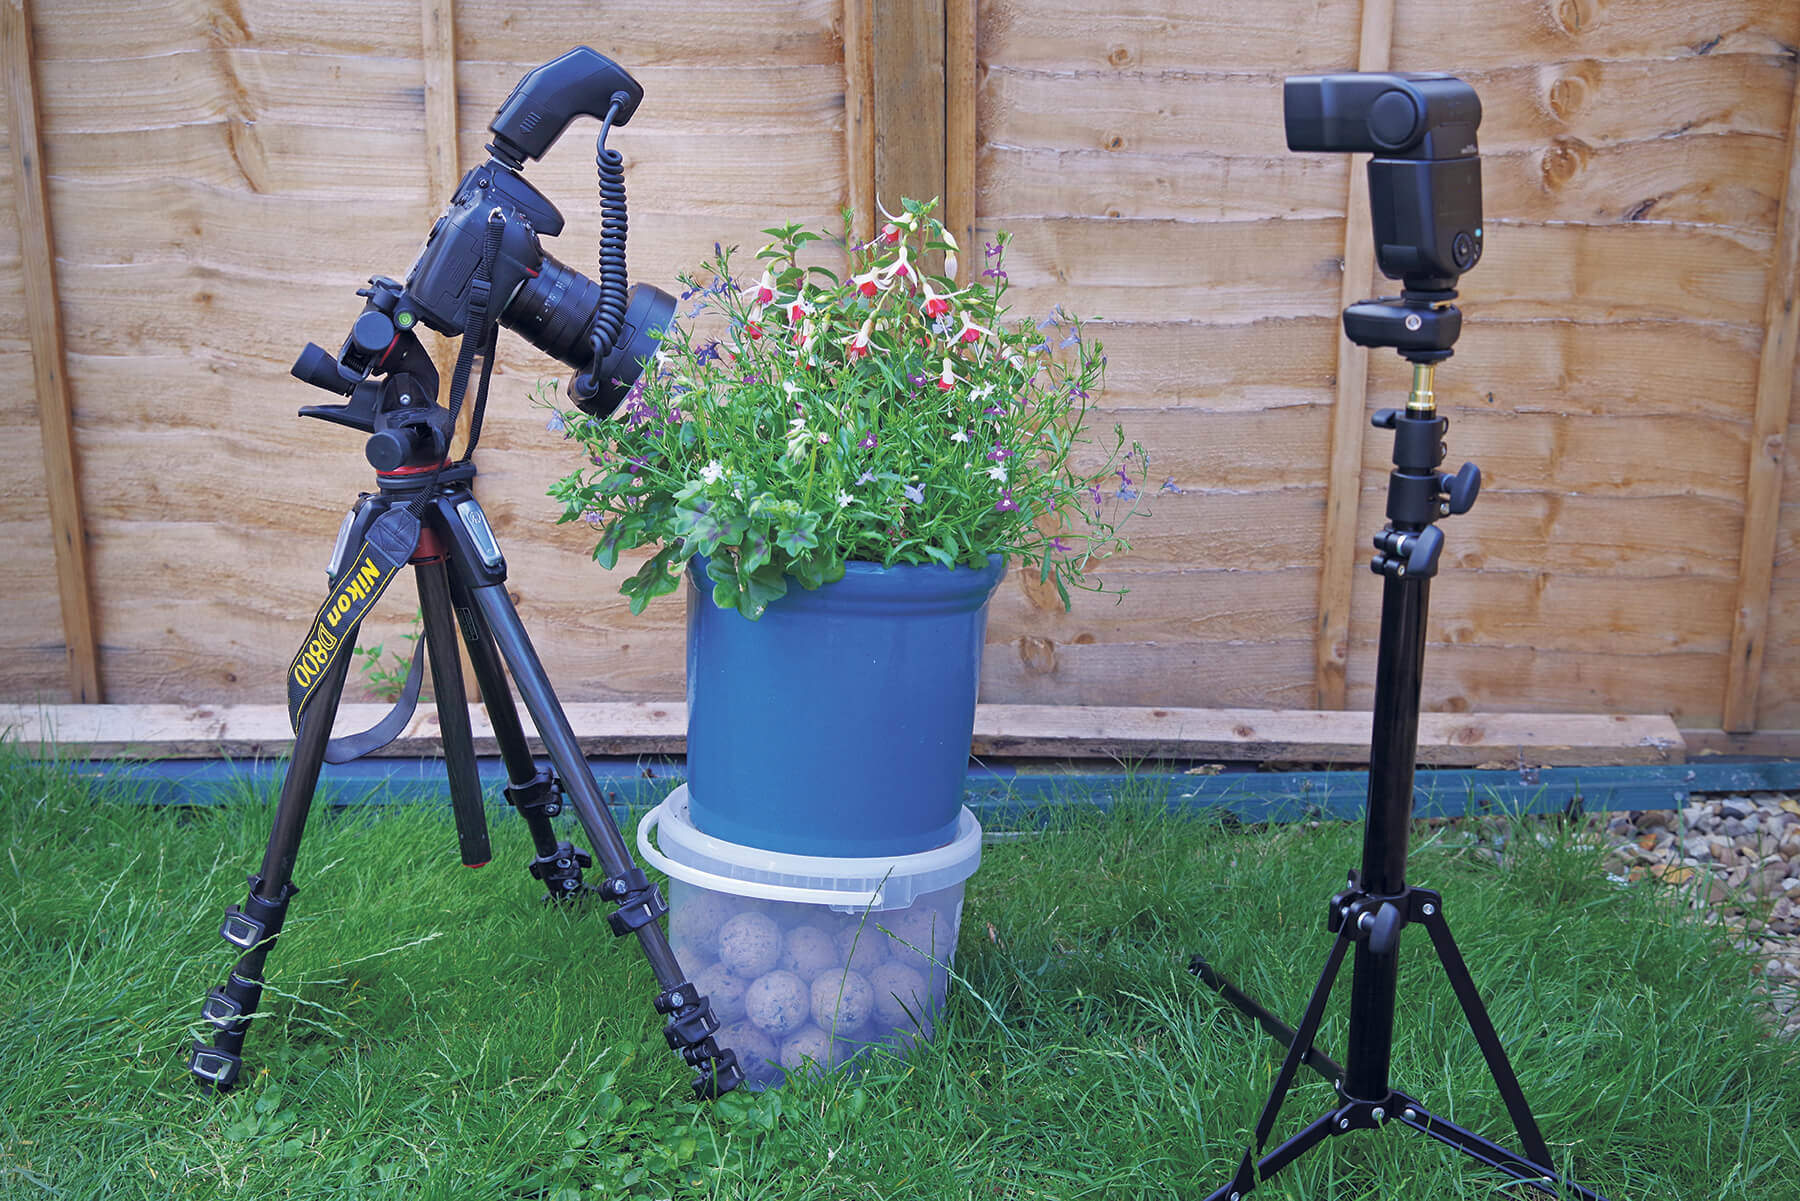
Next, I composed the shot, securing the camera on a tripod and making sure that the subject didn’t sit within the ‘throat’ of the ringflash, where it wouldn’t get any light. The flash does, of course, make it easier to shoot handheld, but with manual focusing in play, a locked-off position is much easier.
Focusing so closely, it’s also likely that some part of the assembly will make contact with bits of the subject, like the broader spread of stems and leaves. This can transfer vibrations from the camera and make results unsharp, so I grabbed some scissors and snipped away anything that was touching.
Exposure settings
When setting the exposure, it’s time to consider how you want the image to look. For example, do you want to mix the flash with the ambient light in a way that looks quite natural, or make the most of the faster shutter speed, which will likely mean underexposing the background a little?
The latter option is very handy if you have a cluttered or confusing background, as it will turn pretty much everything behind the flash-lit subject dark. However, for this wild-flower subject, I went towards the former.
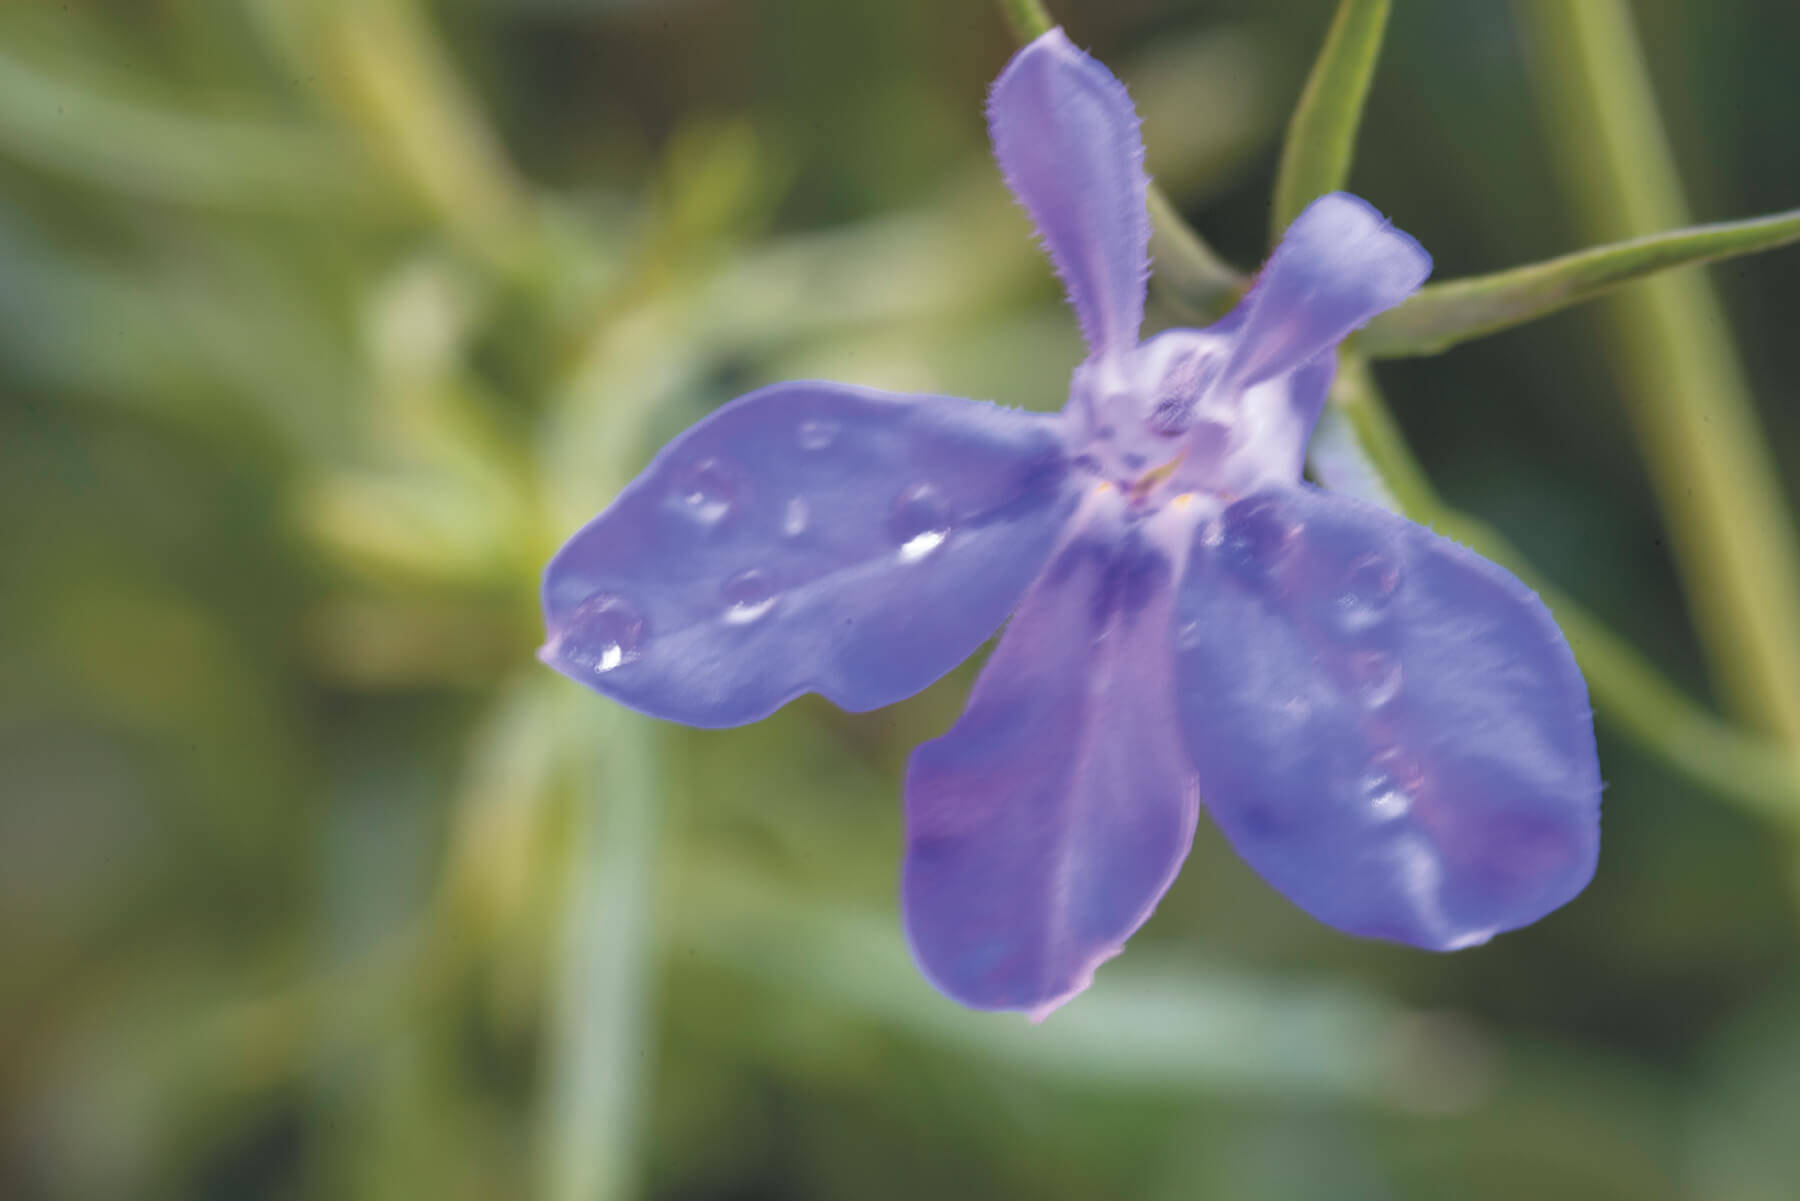
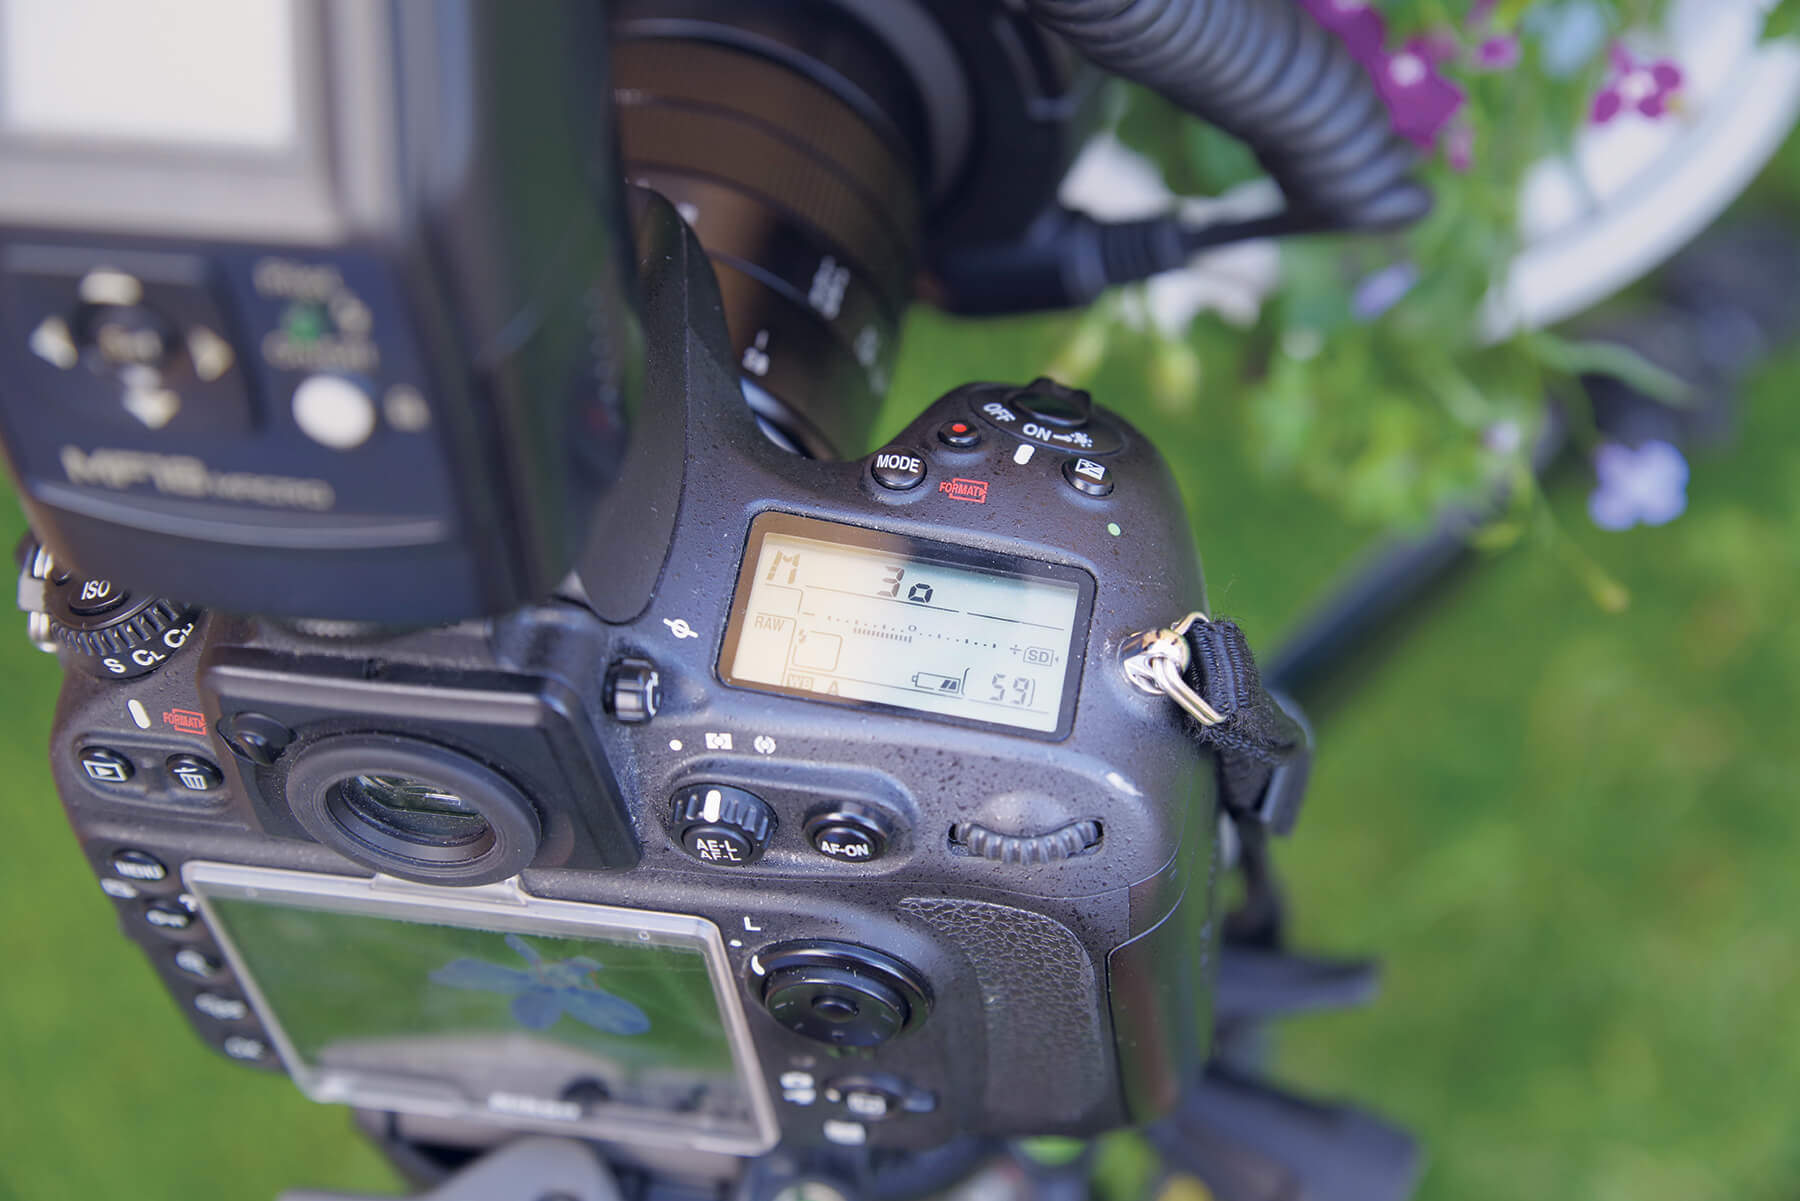
With the camera in manual mode (M), I used the exposure bar on the top-plate LCD (you’ll find similar on your live view screen or in the viewfinder) to assess the shutter speed required at my chosen aperture of f/11 and ISO 400. With the subject in shade, the metered shutter speed was an unusable 1/8sec, and a quick test exposure showed lots of unwanted subject movement.
The ideal thing here would be to increase the shutter speed to somewhere near the camera’s sync speed, but this will lose all of the ambient light, so a compromise was needed. I raised the shutter speed to 1/30sec, and a second test shot showed a slightly underexposed but much sharper subject. Finally, I set the tripod-mounted camera to self timer mode so that I could trigger the shutter without transmitting any shake to the image.
Macro photography lighting ratios
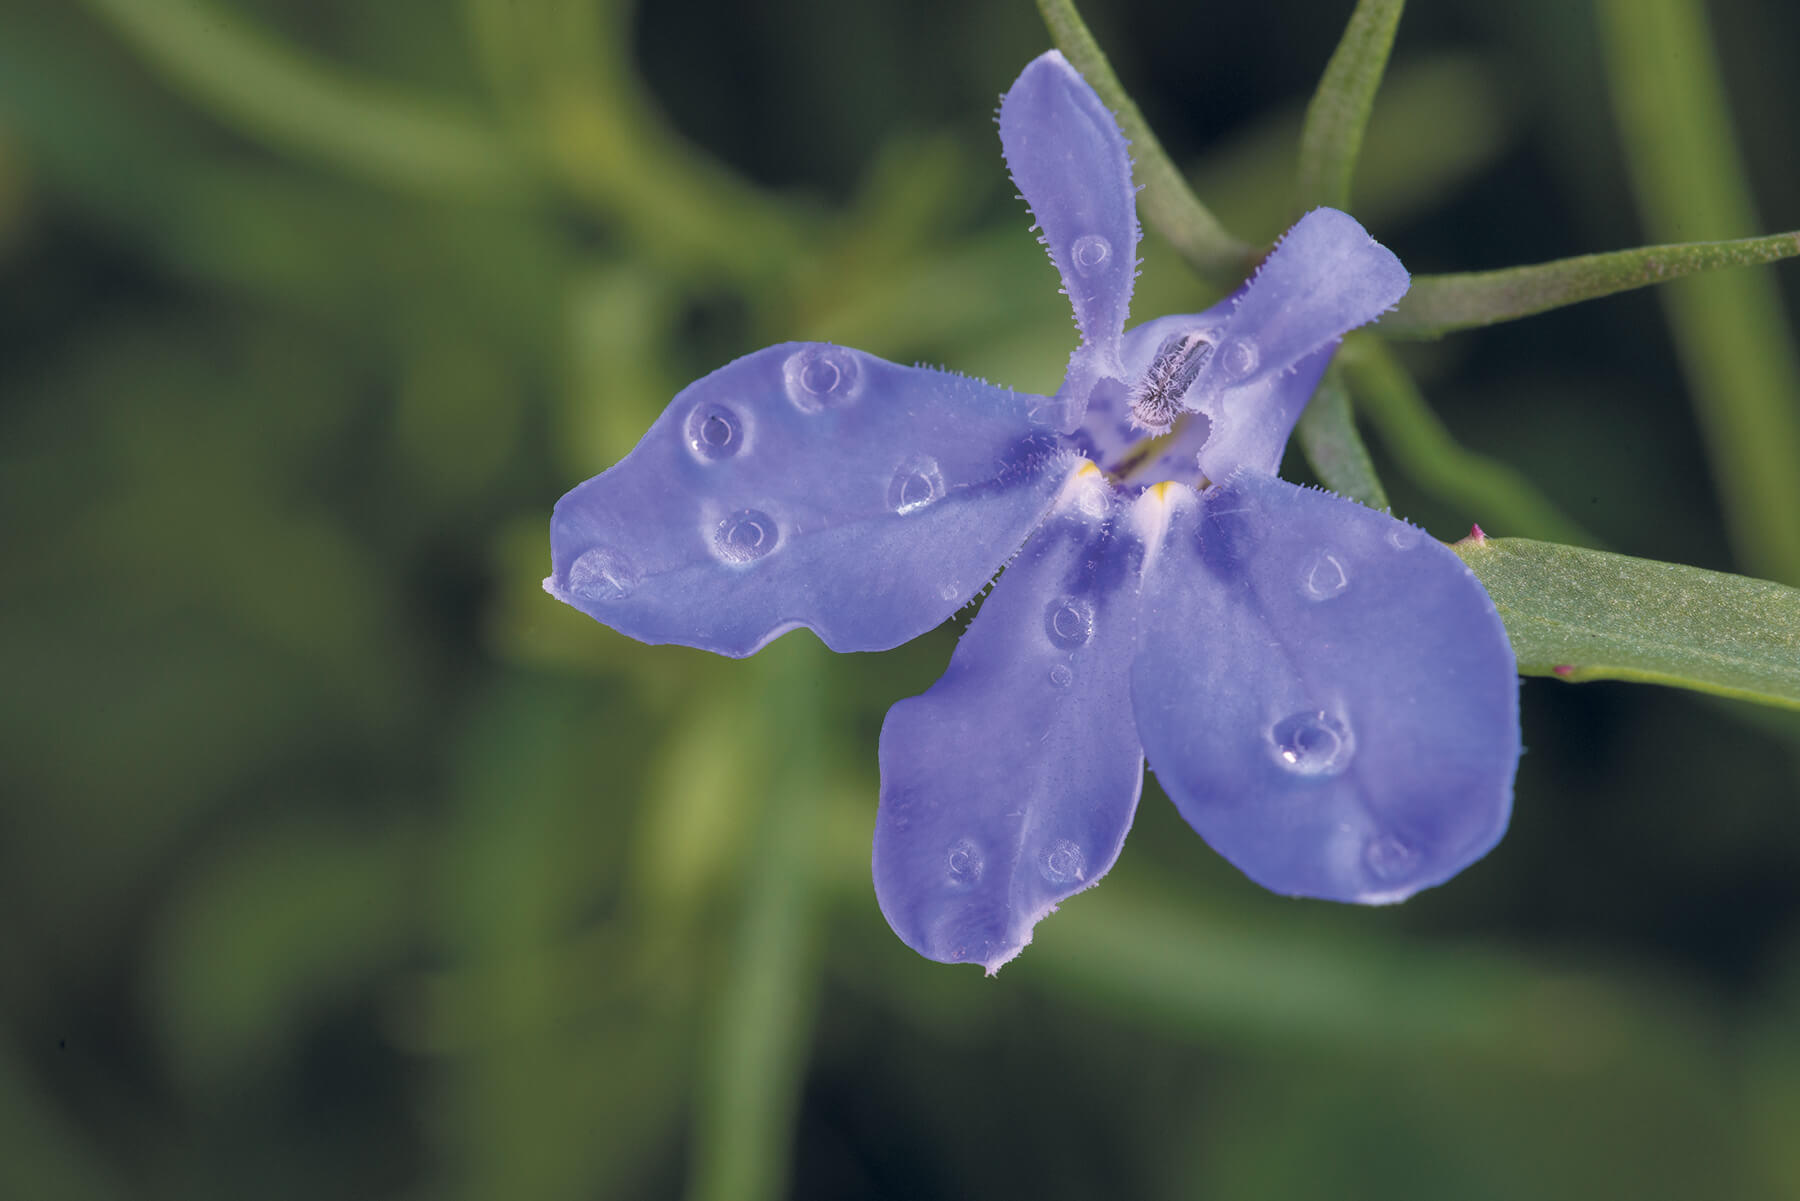
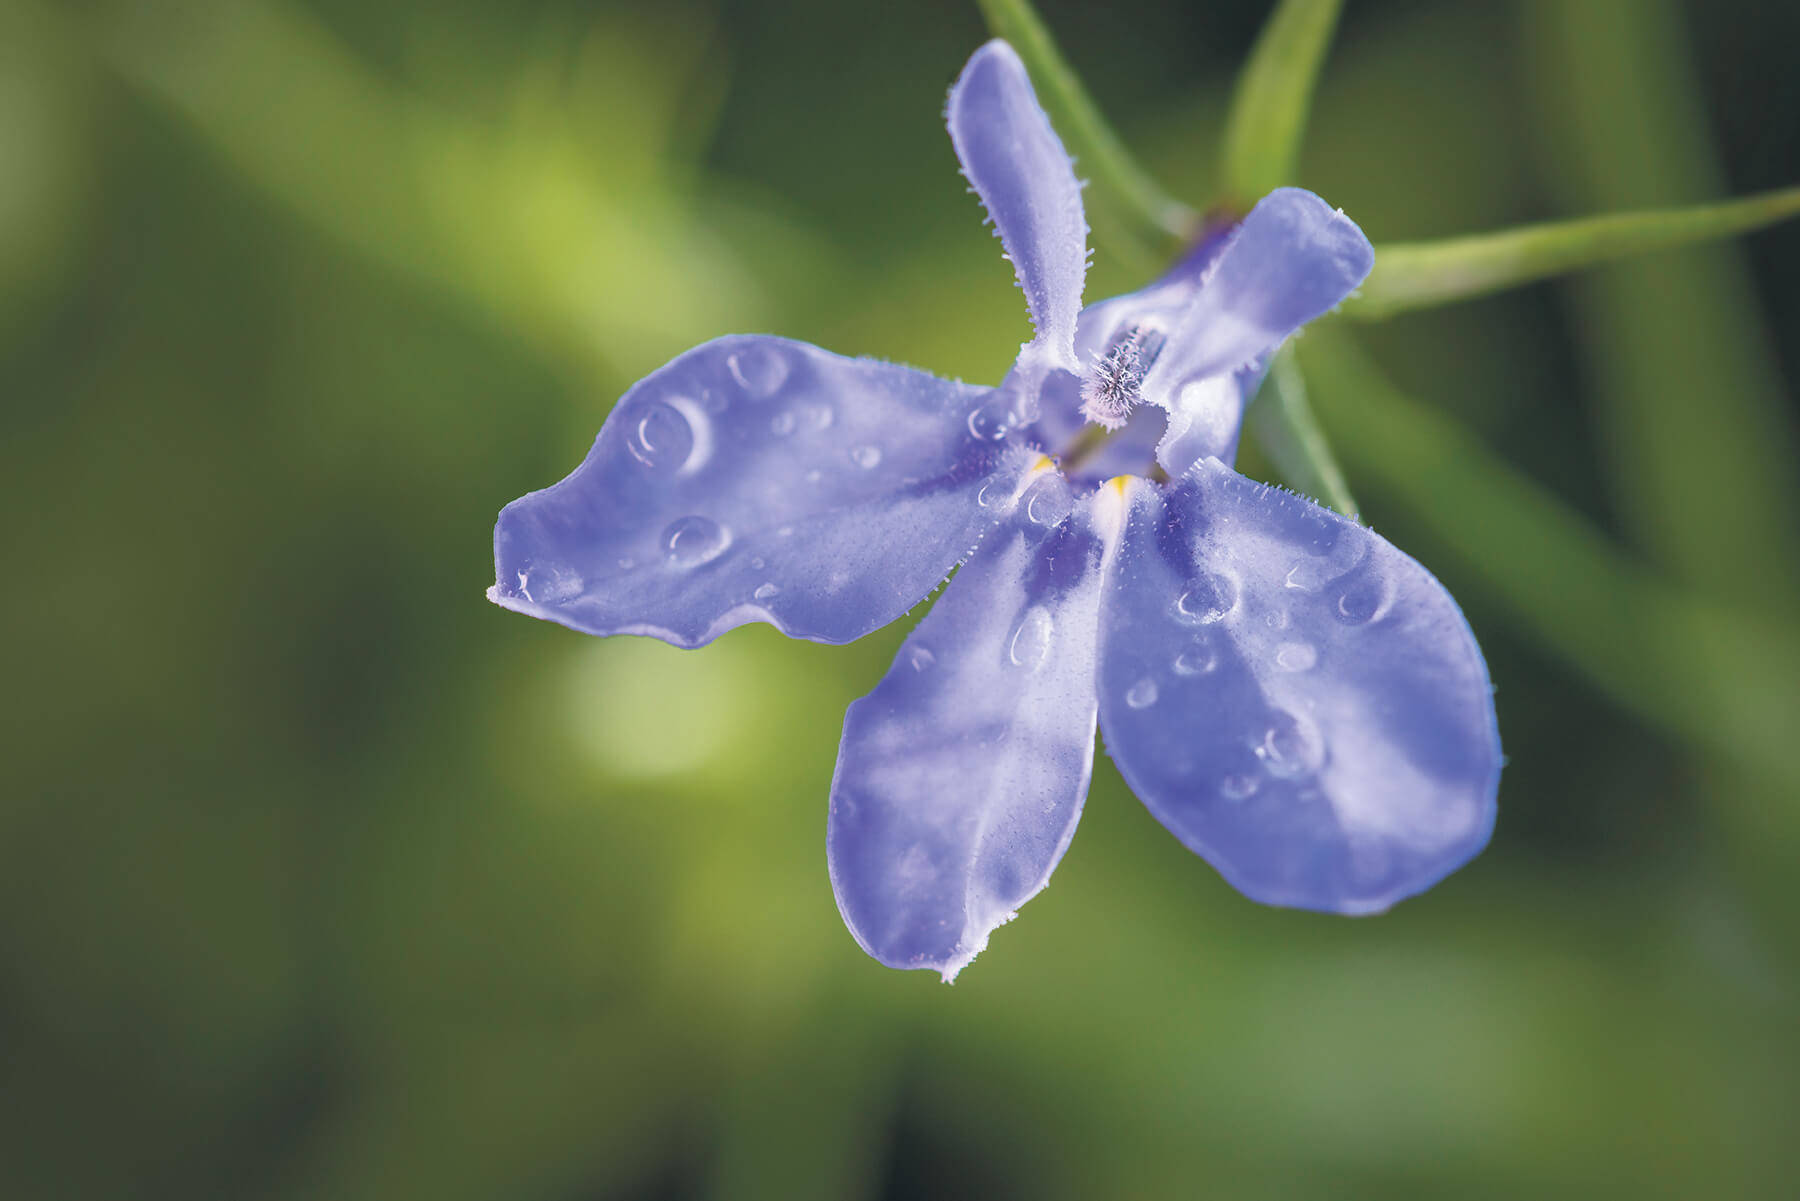
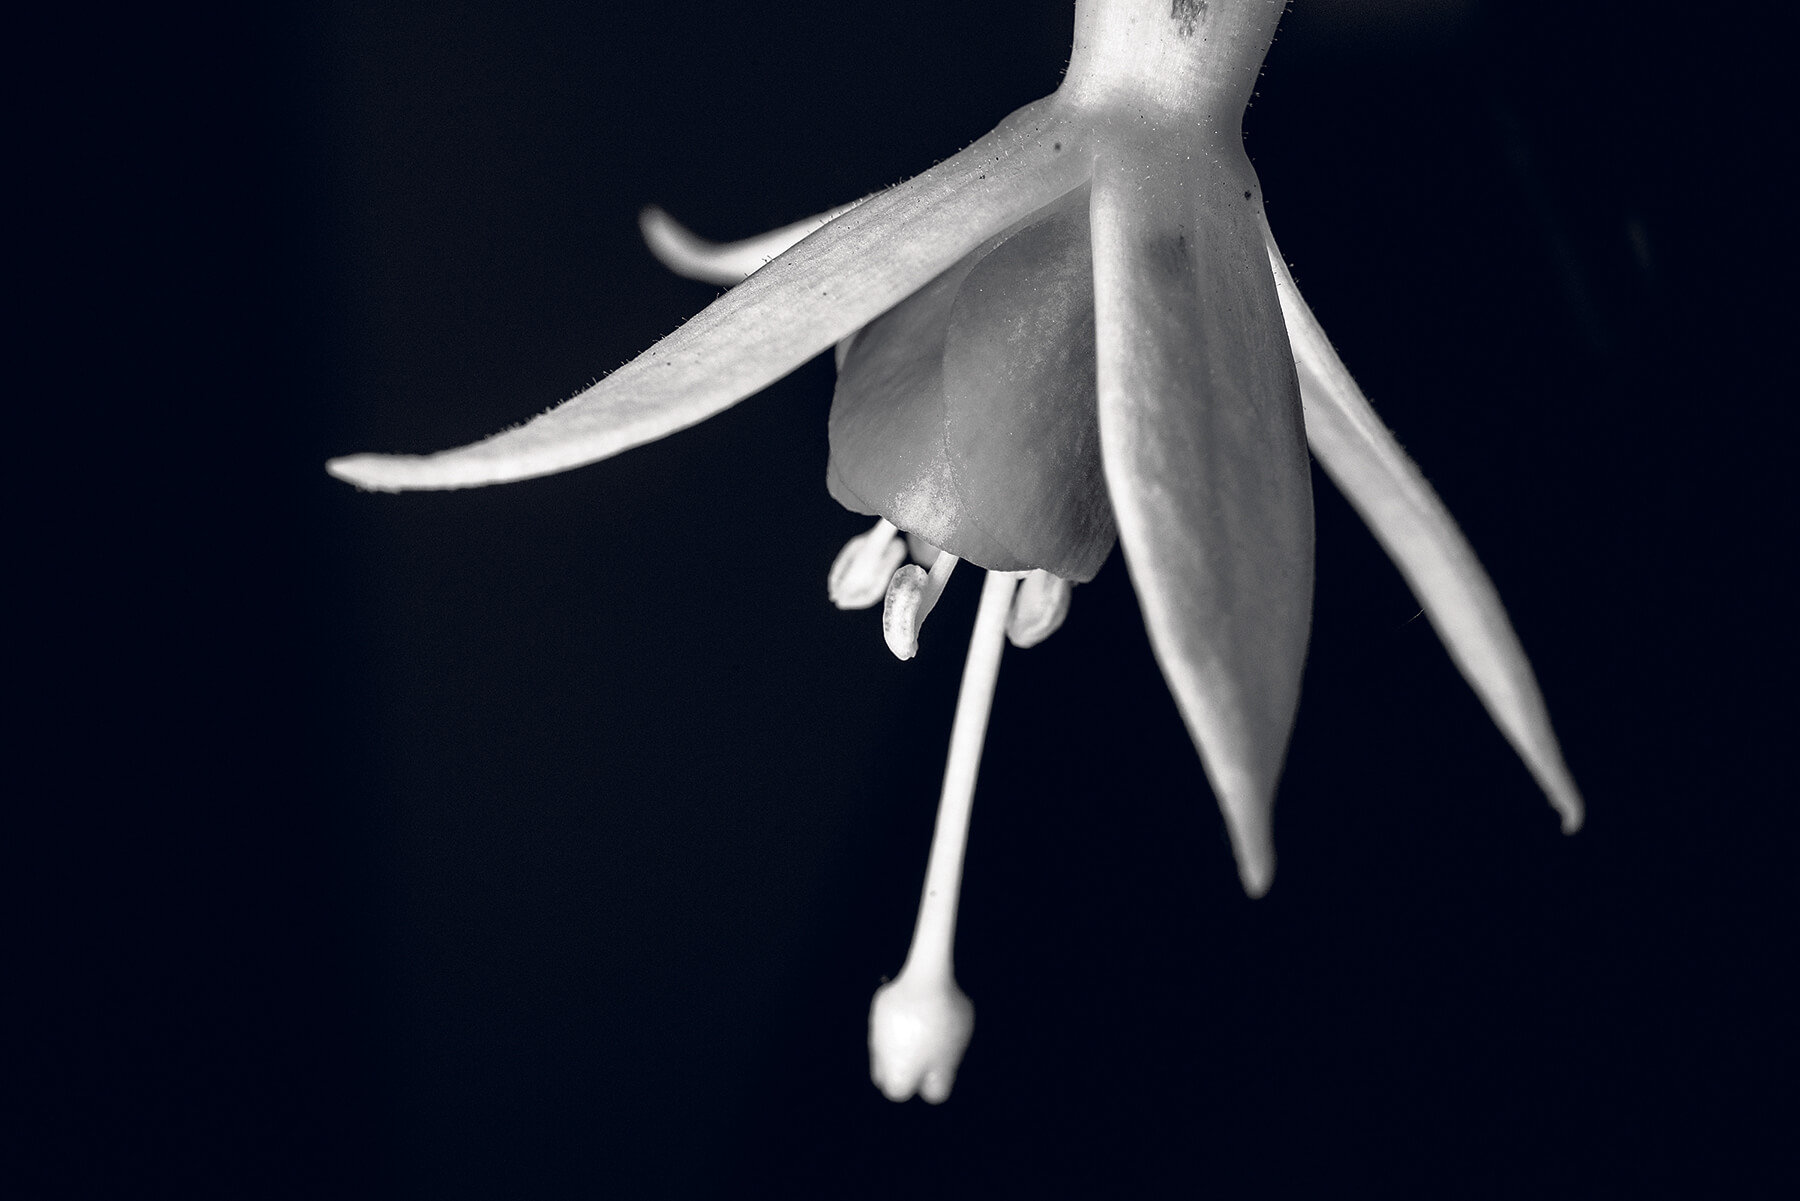
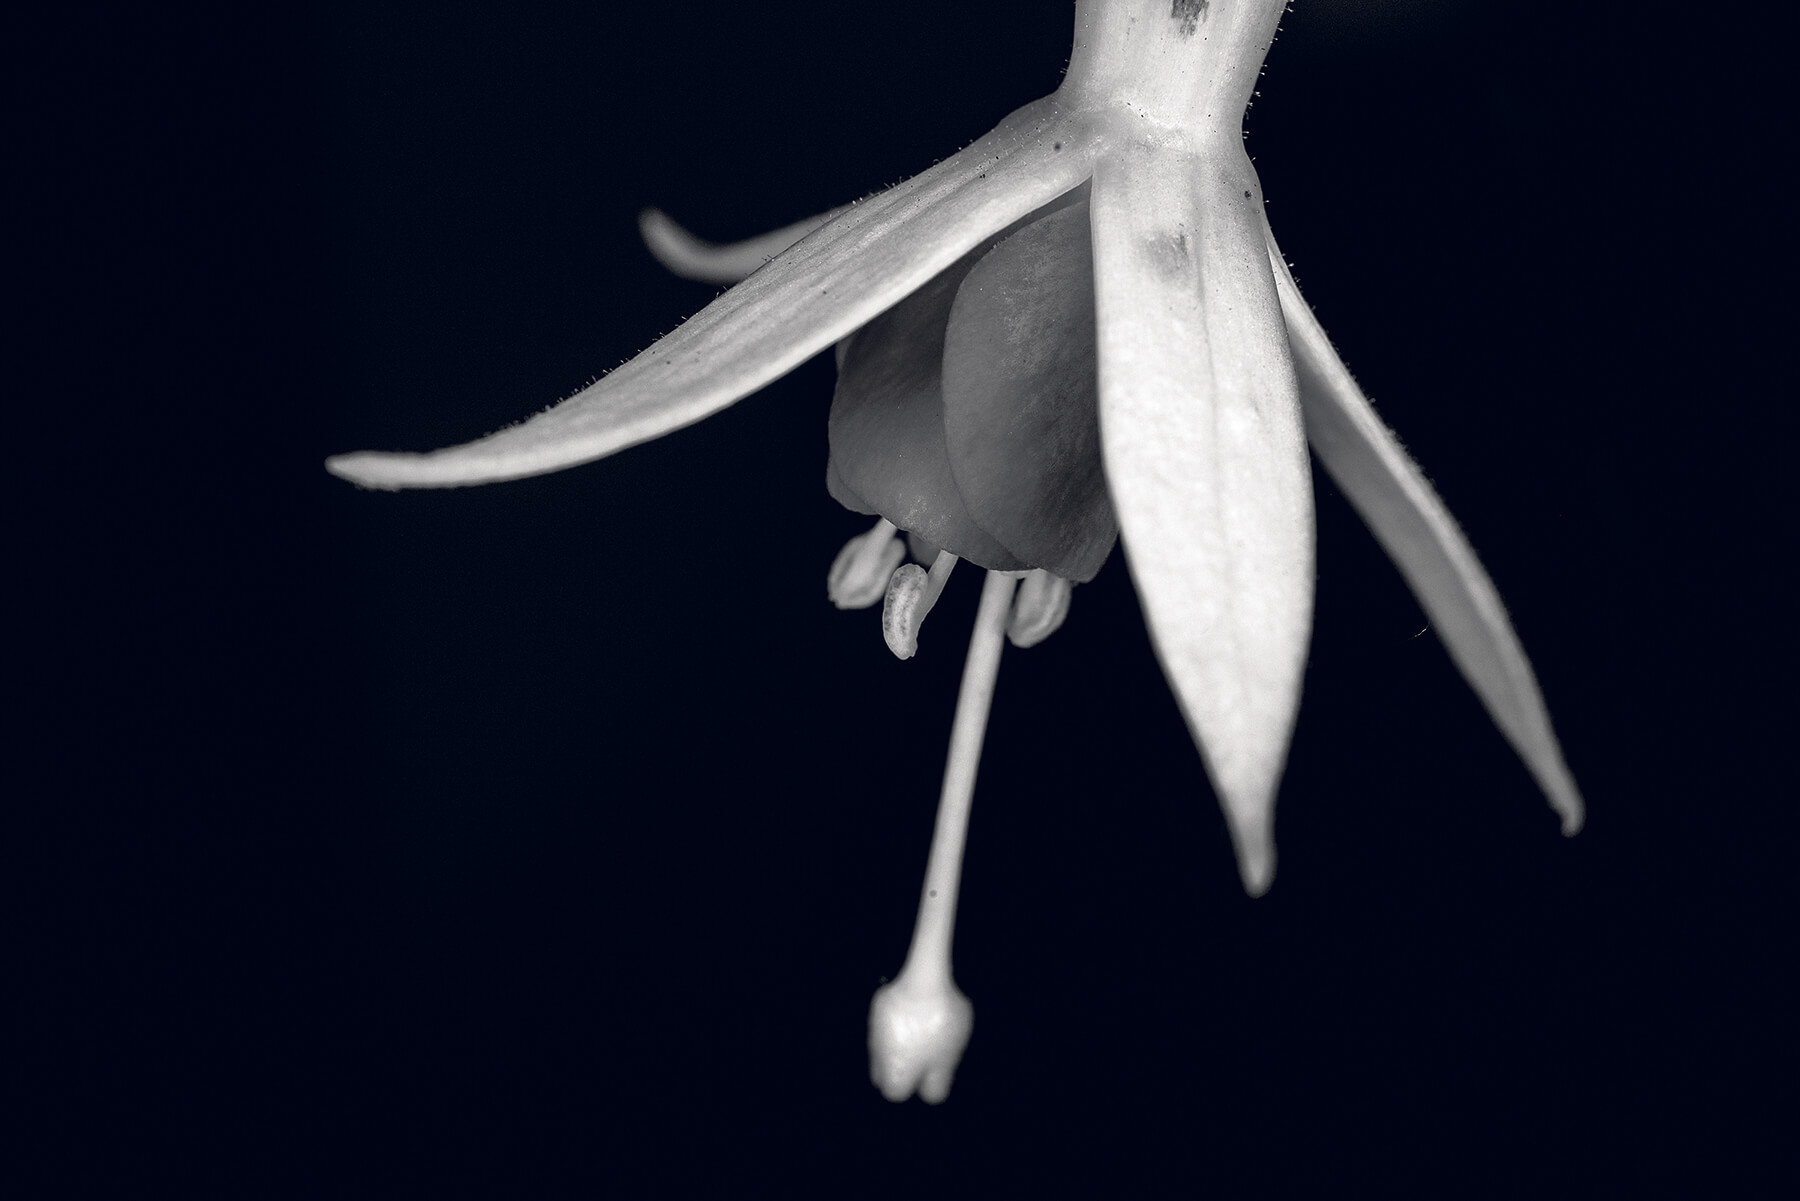
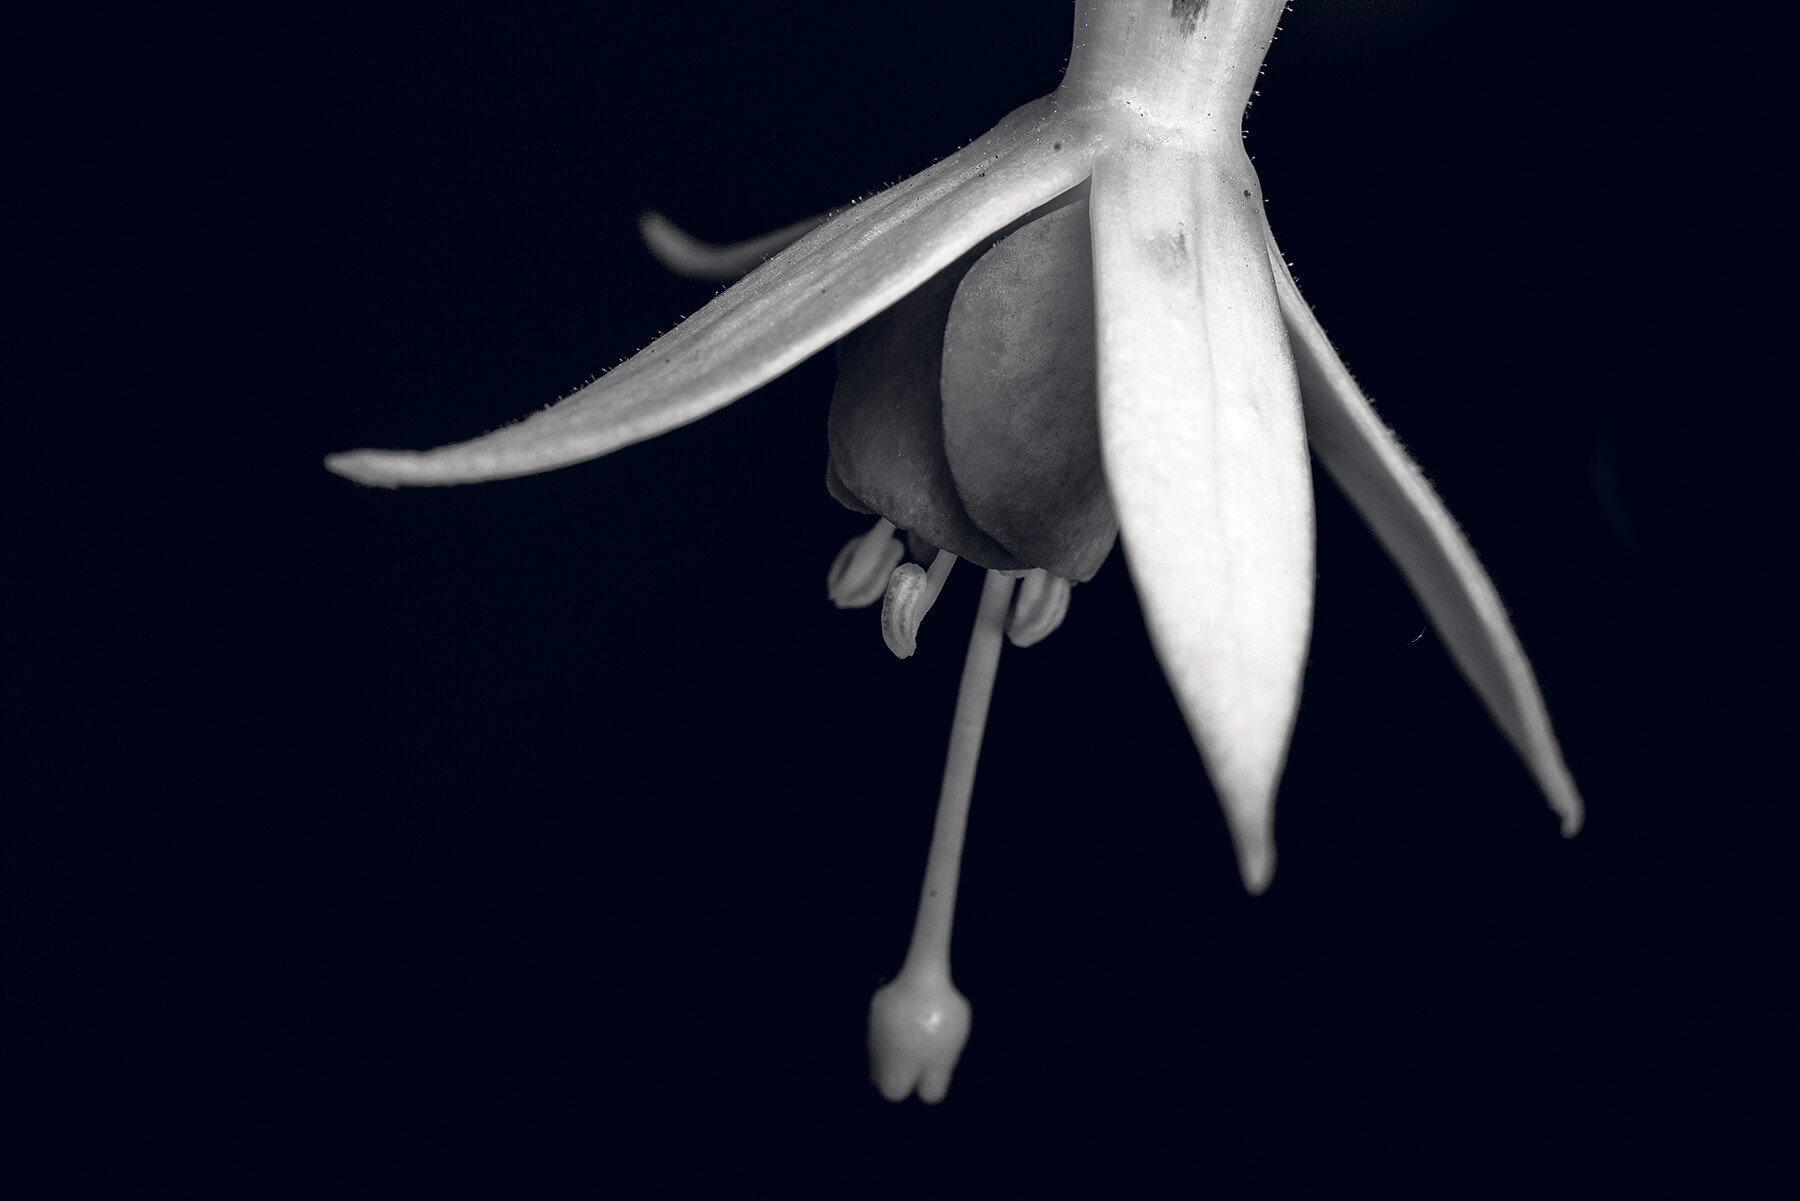
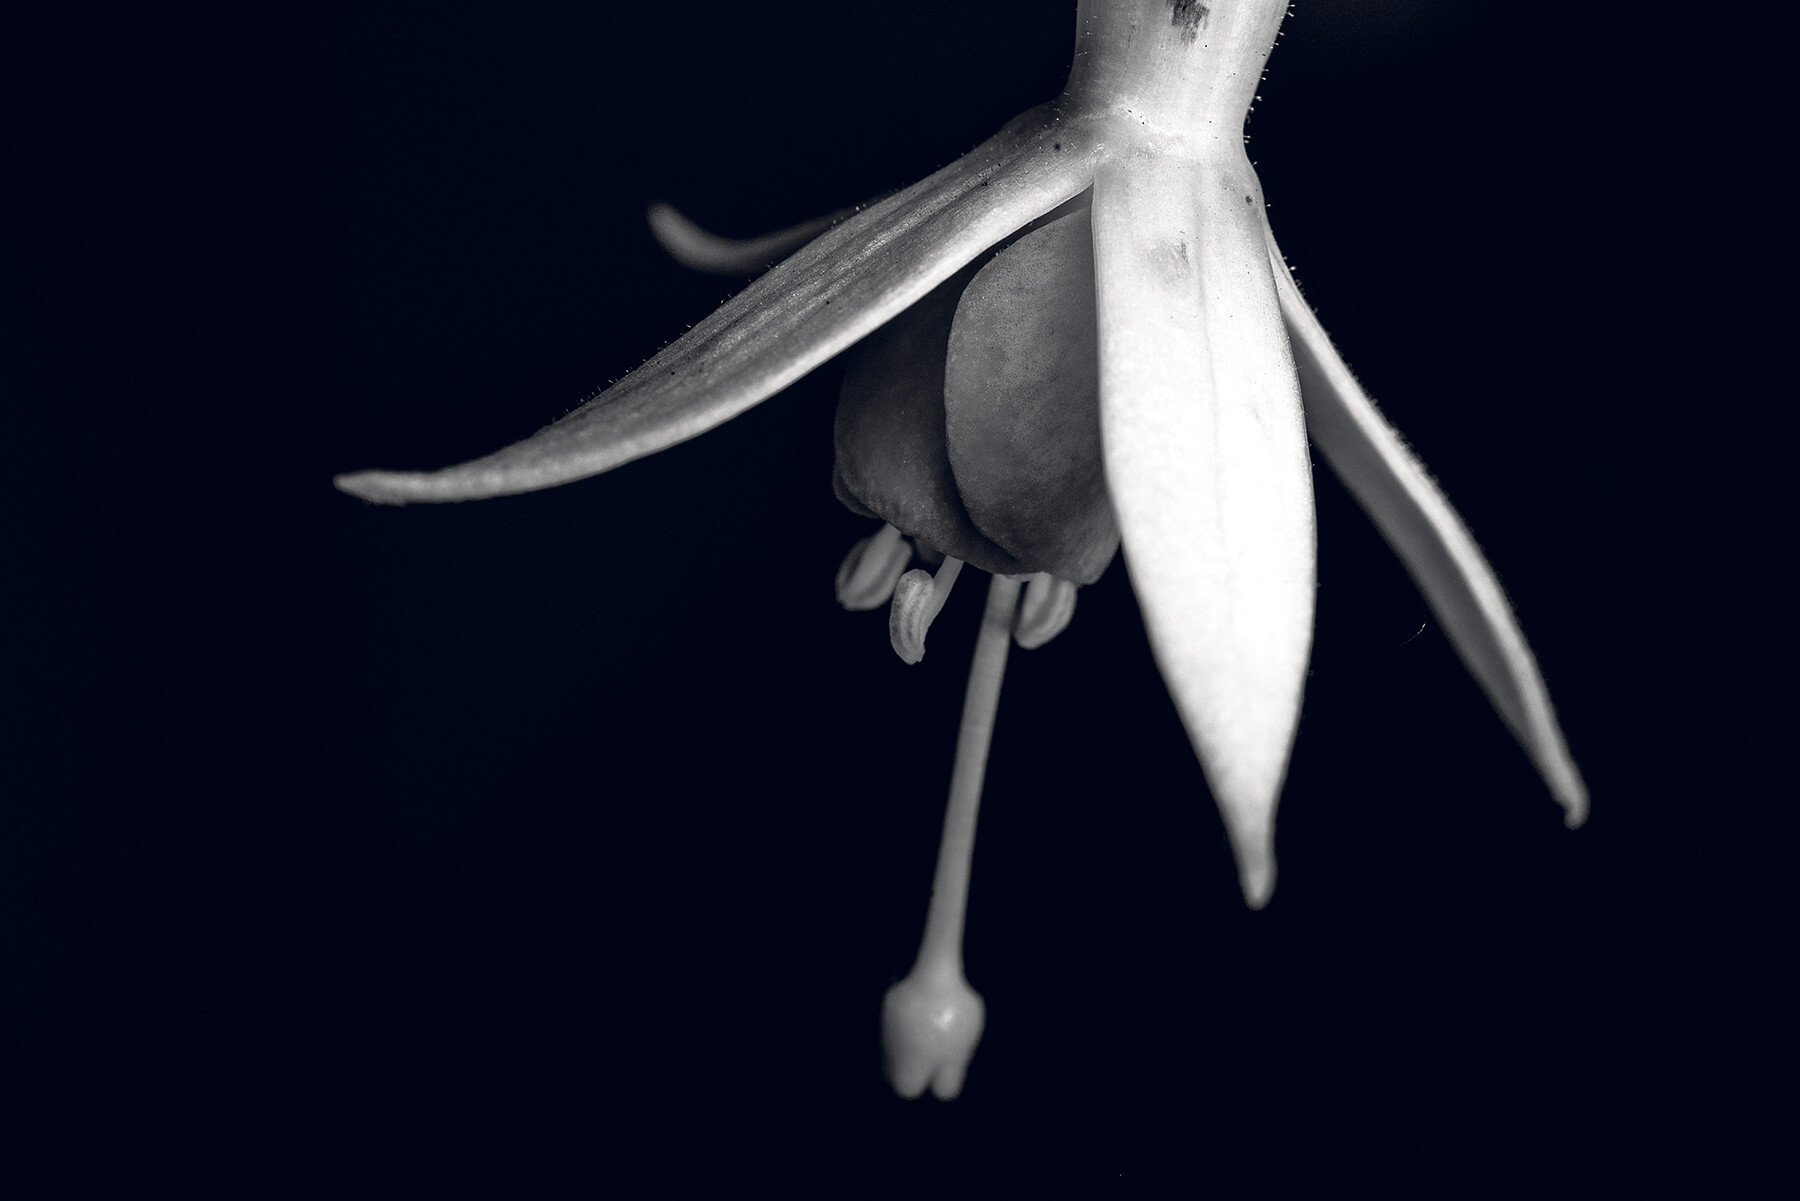
With most macro flashes you can control the power across hemispheres. This is calculated as a ratio, with the overall power setting being split between the two sides. You can put all the power in from one direction, or the other (the 1:0 and 0:1 examples right), or have a blend of the two, whichever best suits the subject. Splitting the light is helpful as, with both sides at an equal ratio, the lighting can be quite flat due to the way it wraps around the lens, therefore providing very little shadow. In the main image I decided to use a fairly strong 8:1 ratio pushing the light in from the left, the space into which the flower was facing, much like you might with a portrait.
Click the images to see a larger view
Flash settings
Now it was time to bring in the flash. I used the Nissin MF18 in TTL mode, which works with the manual exposure mode thanks to a preflash that meters the amount of light required, but there’s nothing stopping you from shooting in manual flash.
The TTL mode gave a good starting point, but the subject was still a little underexposed, so I used the MF18’s flash exposure compensation function, finally settling on +2.0EV. If you’re shooting in manual flash mode, it’s just as easy to raise or lower the power slightly to get the look you want, but instead of, for example, using +2.0 to add the power, you’ll likely be using a fraction, for instance going from 1/64 to 1/16.
Like many macro flash systems, the MF18 has its output split into hemispheres so you can alter the output to look less perfectly balanced and therefore more natural, which is especially useful if the subject has water droplets on it as mine did (a complete circle of light reflected in them can look odd). Changing the output ratio, I pushed more light from the side the flower was facing, so that it appeared to be turning into the light.
I left a little light on one side, though, to keep some illumination in the shadows, ending up with a ratio where the output was split 8:1. Most ring lights can also be rotated, so you can light from the top, side or underneath if desired, but I was happy with a slightly angled left-right split.
Add some backlighting
One thing I did feel lacking, though, was some backlighting on the flower to pick out the delicate edges of its petals. To get this, you can set up in direct sunlight and position the subject facing away from it, but due to weather and subject location that’s not always possible. Instead I positioned a second light off to the back of the flower – a Nissin Di700A, placing it on a low-level lighting stand and directing it back towards the lens.
To trigger the light I set it to slave mode, so it would fire along with the ring light, and controlled the power manually. After checking the effect via a few test shots I settled on a manual power setting of 1/64, which gave just enough of a highlight to the edges. Higher settings looked more like a strong sun, but that took too much attention away from the subtle details of the flower.
Ring flashes and macro photography lighting
Thanks to their design, with the light source wrapped around the lens, ring flashes and other macro lighting accessories can provide perfectly even illumination for macro subjects. The light sits so close that there’s nothing to block it, and with the effect of the light greater than when at a distance, little is wasted, so very small apertures can be used if desired. This wraparound light source also gives very soft, almost shadowless results because, when used with subjects that sit within the circle, light is striking from all angles at once.
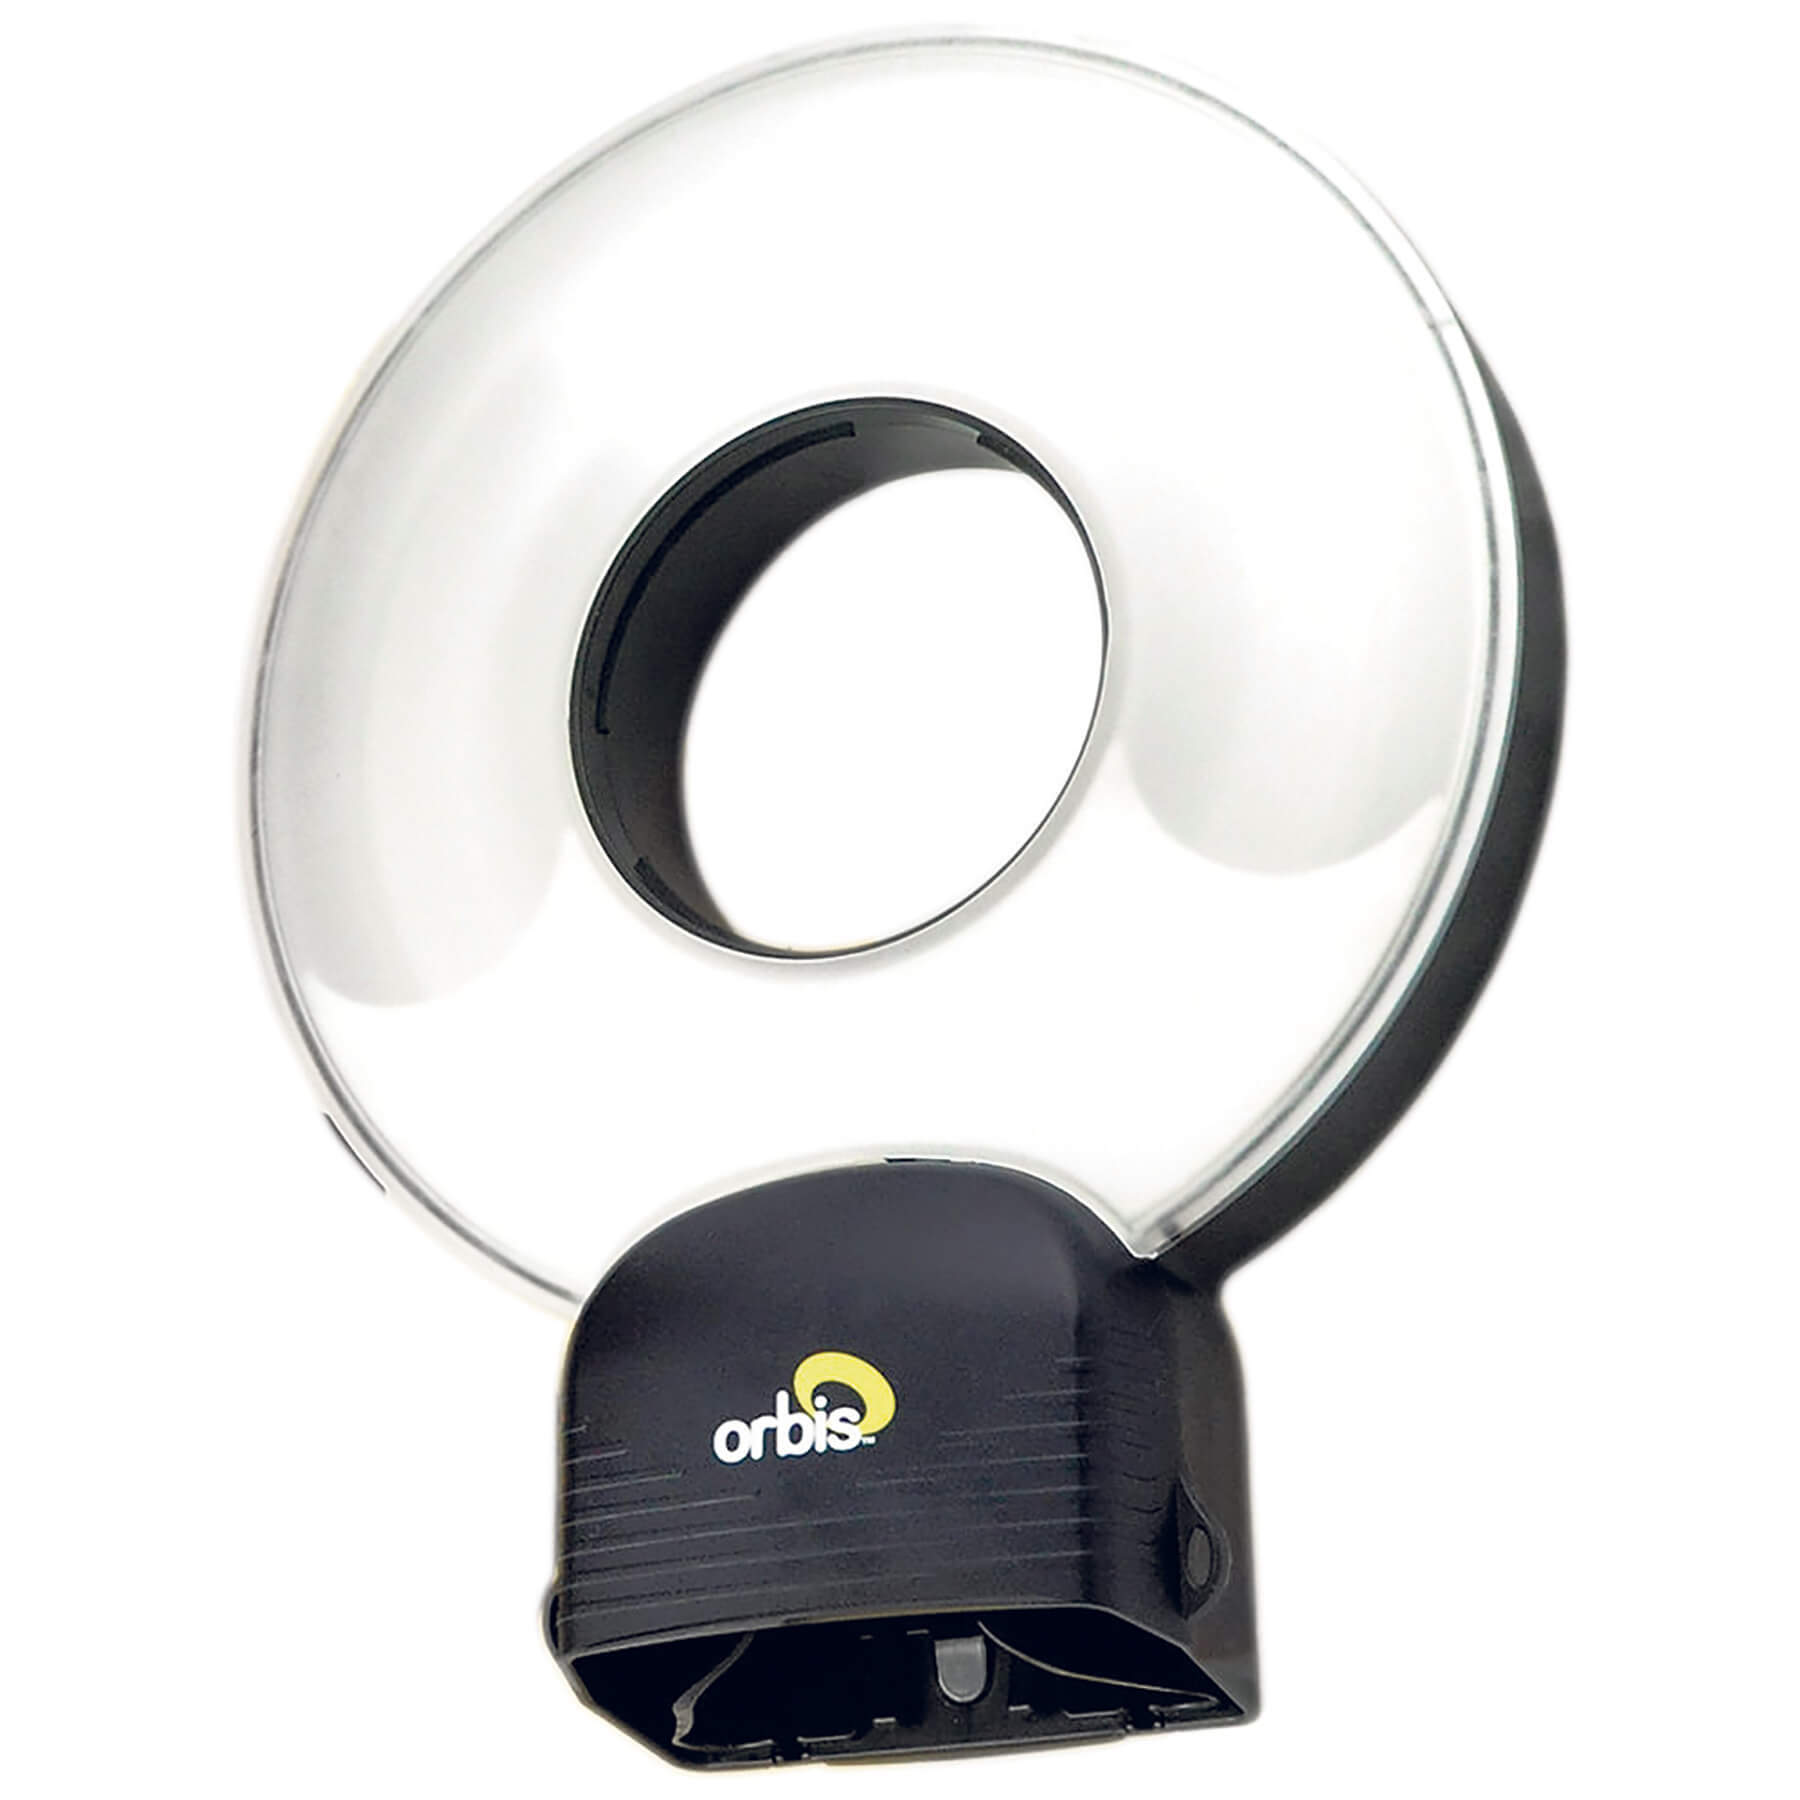
Such accessories come in many forms. In this technique we used Nissin’s MF18 Macro Flash at around £300, but there are plenty of other flash-based examples, such as the Metz 15 MS-1 Wireless Macro Flash (£250), Canon MR-14EX II Macrolite (£450), and Nikon R1 Close-Up Speedlight Remote (£415), which uses two small, independently angled flash heads next to the lens instead of a tube design. If you’d rather use continuous light, look at the Aputure Amaran Halo LED (£50) and the Interfit 48mm fluorescent ring light (£86). There are also adapters – which push the light from a regular speedlight into a ring to get the same effect – such as the The Orbis Ring Flash (£150) and the Rayflash (£90).
You can find more techniques like this one in our Inspiration section.
If you want to get in touch, you can find us on Instagram, Twitter or Facebook.
Don’t forget to sign up to receive our newsletter below, and get notified about the new issue, exclusive offers and competitions.
As featured in issue 35 of Photography News.


