Utilising camera focusing modes
Posted on May 21, 2020 • 10 minute read
There’s a very good chance you aren’t making the most of your camera’s autofocus, but by understanding focusing modes, you can change that.
As part of the Photography News Summer Festival, in issue 77 we explored just about everything you could ever need to know about mirrorless cameras and how they compare to DSLRs. Among the many factors covered, we briefly discussed focusing capabilities.
As we made clear in the feature, mirrorless cameras bring a lot of great autofocus features to the table, like a larger focusing area, face and eye detection, and focus stacking.
You can read more about all that, as well as the other features and benefits of mirrorless cameras, free and online in the issue via our issue library. Here, we’re going to delve deeper into focusing modes.
Regardless of whether you opt for mirrorless or DSLR, there’s a very good chance you could be getting more from your camera as far as autofocus is concerned, and it’s all to do with setting it up for the right job.
For a large part, the autofocus capabilities of a camera and lens are set in stone, and typically, you get what you pay for. High-end cameras will outperform lesser models with ease regardless of user input, because they’re designed to do so, and most brands’ flagship products offer more than any enthusiast could ever want or need.
But even less expensive modern cameras have a plethora of options that you should be making the most of. While names and finer details will vary from brand to brand and camera to camera, the fundamentals are all the same. So, let’s get into them.
Focusing modes
There are three main focusing modes: manual, single-shot and continuous. Switching between these modes may be done via a dial or button on the camera body, or you may have to enter your camera’s menus. Some lenses also feature buttons for switching between manual and autofocus.
Manual focus warrants little explanation, but what we will say is there’s certainly still a time and place for it. Much like autoexposure, autofocus shouldn’t be relied on in every instance, helpful as it is in many.
Single autofocus – which may be referred to as AF-S or a similar variation – does exactly what it sounds like. By holding your shutter button halfway down, your camera will automatically focus on a point in space and stay focused on that point until the shutter button is fully depressed. To be clear, focus stays on that point, not on any subject that happened to be in that point. If you or your subject moves, you’ll have to refocus.
As such, single autofocus is best used with a static subject or one that’s moving very little. Say, for example, a stationary person within a street scene. AF-S would allow you to focus on that person, ignoring other people who may be moving around the frame.

Continuous autofocus – which may be referred to as AF-C, Servo AF or something similar – has a broader range of uses than single autofocus, such as action, sports and wildlife, but it too does exactly what it sounds like. By holding the shutter halfway down, AF-C will be activated, and it will continually focus until the shutter is released.
Many of the latest cameras are very good at tracking your subject even when taking a burst of pictures. It can also be an extremely helpful tool when shooting video.
Click the images to see a larger view
Exactly how the camera’s AF tracks a subject depends on the focusing area, which we’ll cover next, as well as certain custom settings where available.
Some cameras also include an automatic autofocus setting. In this setting, your camera itself will decide between single and continuous focusing modes, but there are pitfalls to this. Armed with the knowledge included in this feature, you’ll be able to avoid it and select the exact settings you want for yourself.
Focus areas
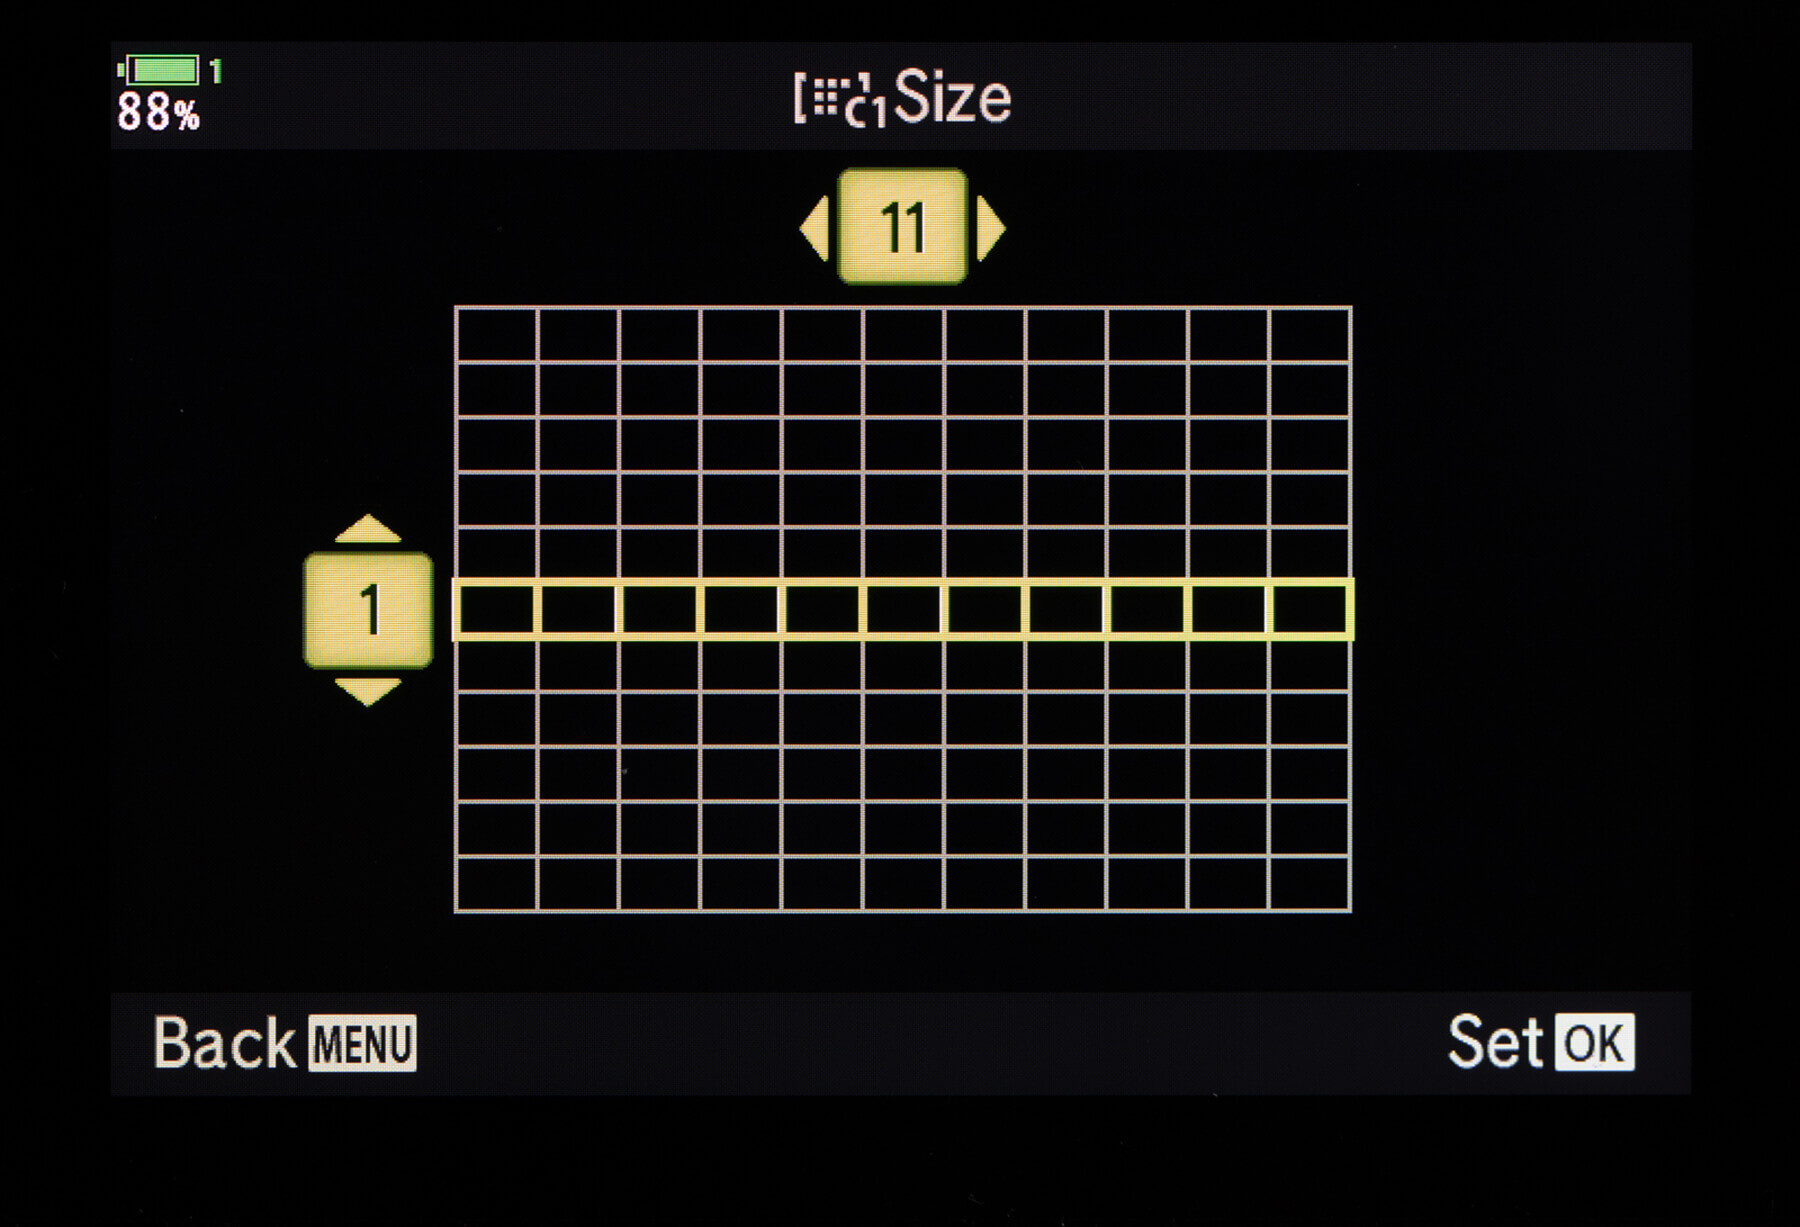
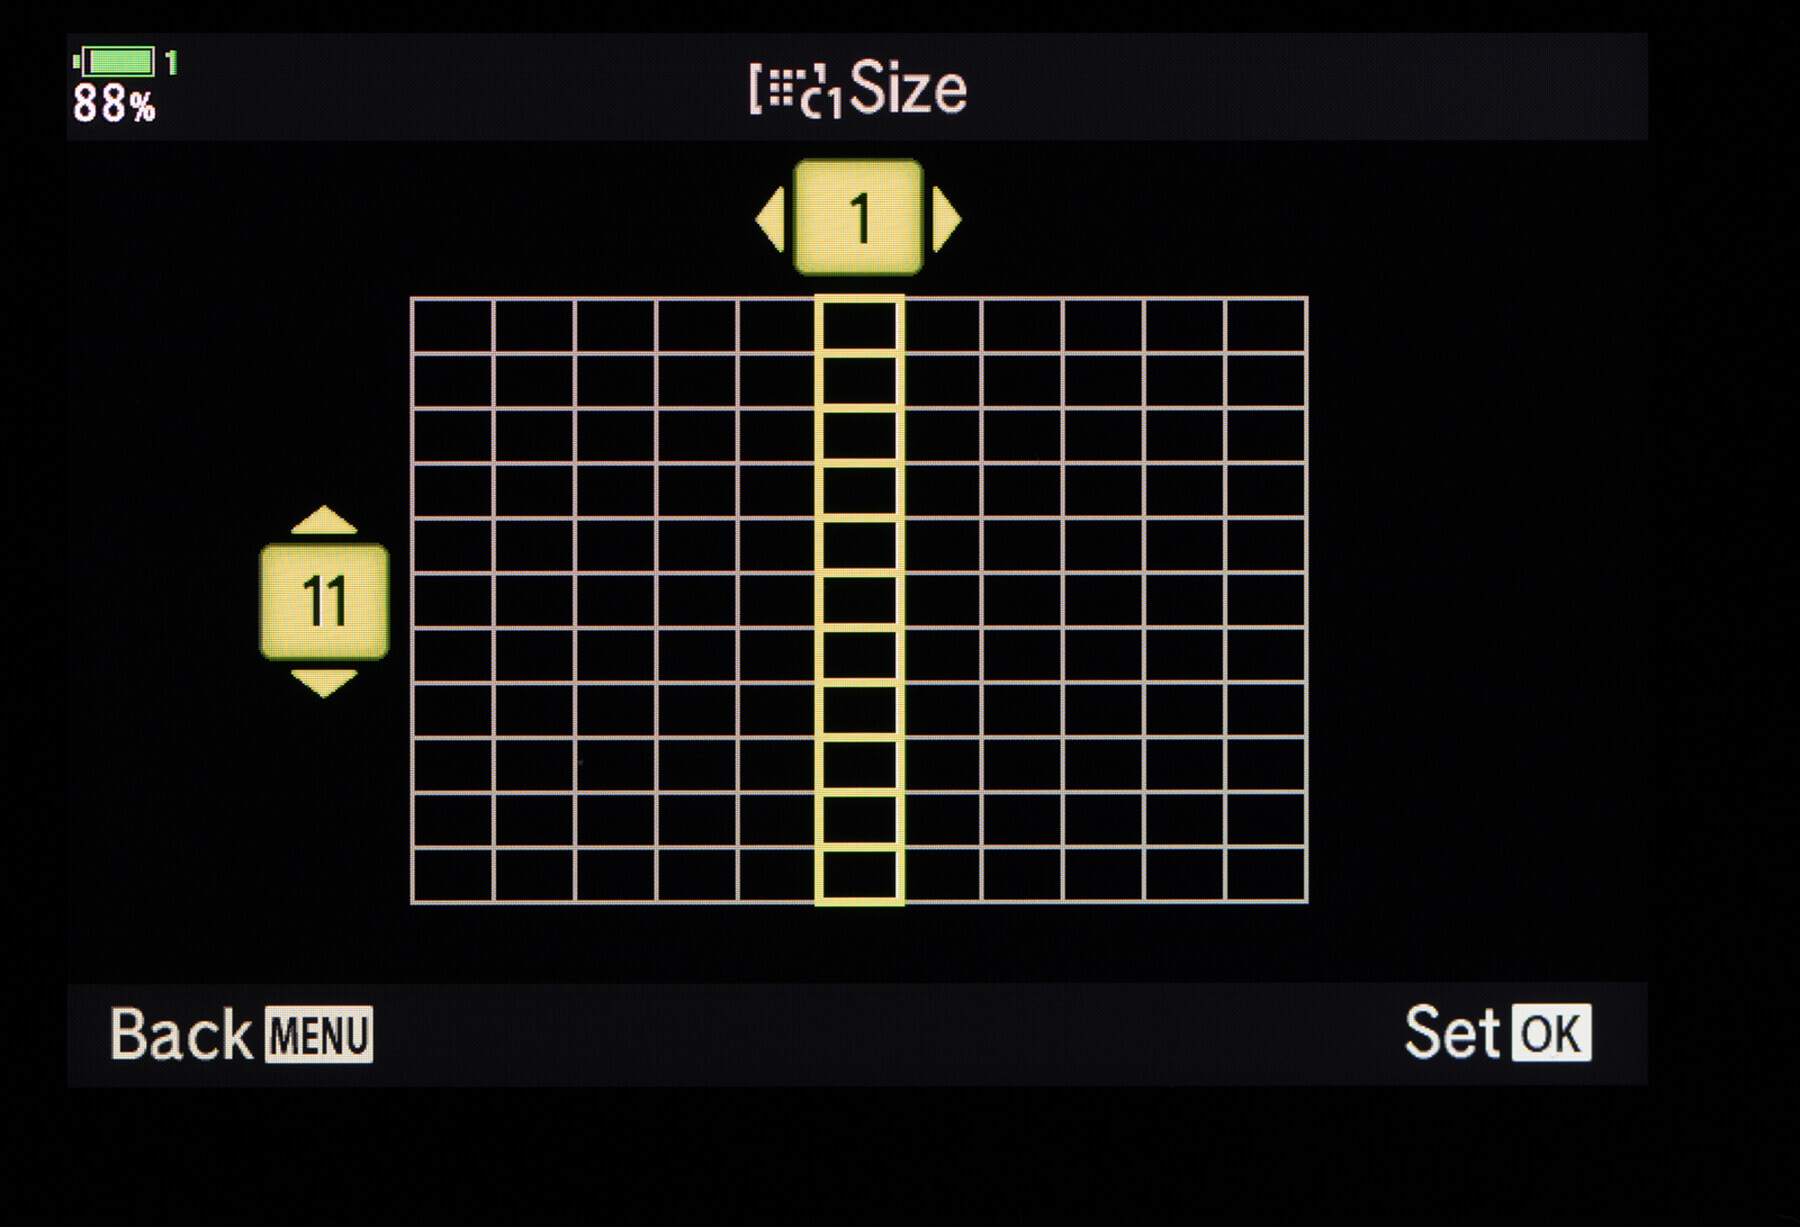
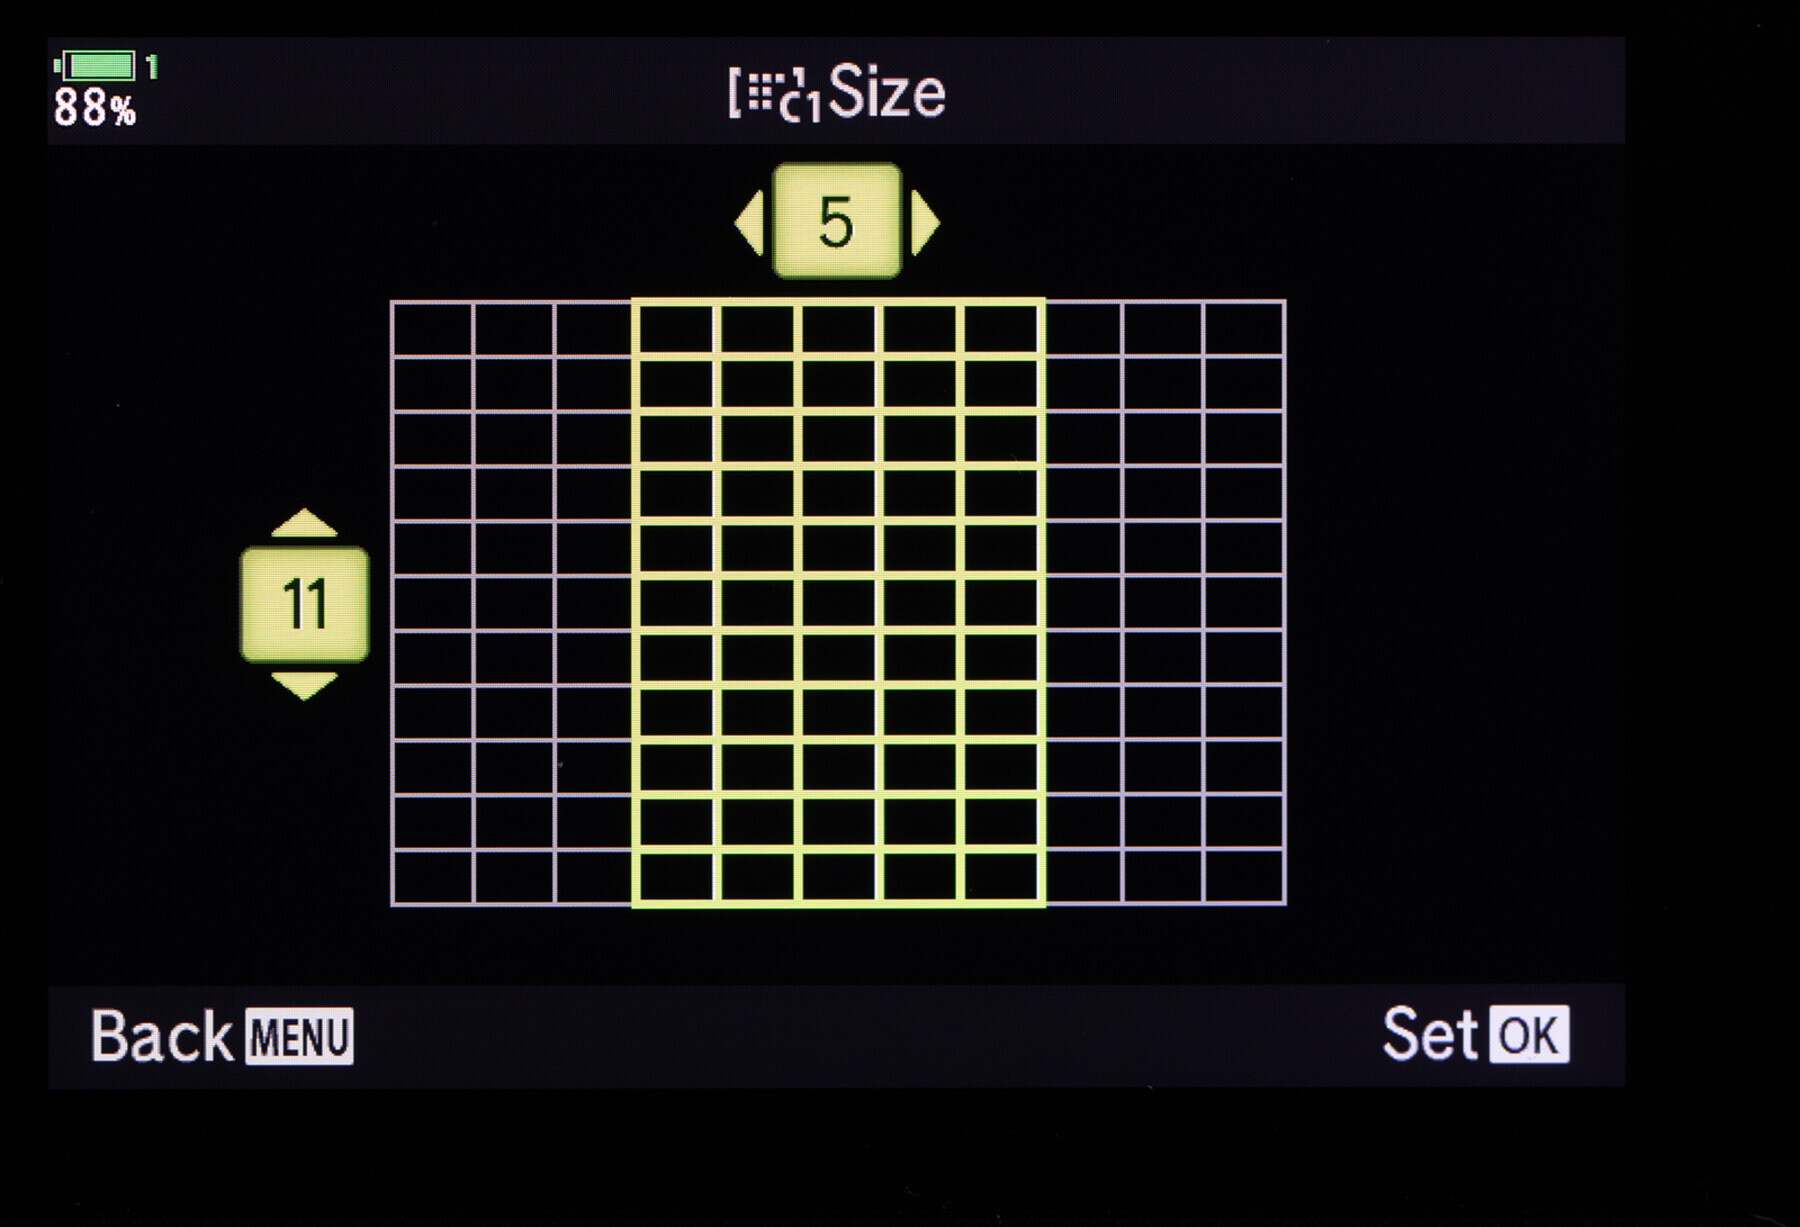
The second key component to unlocking your camera’s AF potential is understanding focus areas. Again, the specifics may vary slightly, but most modern cameras will offer areas along these lines. To adjust these, it’s highly likely you’ll have to use the camera menus.
First, there’s single-point autofocus. In this setting, just one focus point is active. You’ll likely see a small square on your screen or in your viewfinder, which can be moved with your either your joystick, trackpad or touchscreen. Only things within this single point have the potential to be picked up by autofocus, be it single-shot or continuous.
Next, there’s area, group or zone autofocus. You can think of this as an extension of single-point autofocus. In this setting, you’ll likely see a larger square, perhaps with smaller ones inside. The camera will focus on a single point, using the surrounding points within the area if needed, though of course it will only use these to refocus in continuous mode.
Finally, there’s whole frame, tracking or wide autofocus. This setting makes use of all available AF points, which, as we covered earlier, could be virtually the entire frame with a mirrorless camera, or however much your DSLR allows. With this, anything within the entire area could be picked up by autofocus.
Click the images to see a larger view
Intelligent focusing
As touched upon in the magazine, modern cameras have all sorts of features to make a photographer’s life easy.
Face detect is a popular feature where the camera’s AF can recognise a face and focus on it. Many cameras have eye detect, too, and on some models, you can even specify which eye you want the camera to focus on. Both are great features for people photography and are useful for both stills and video. Subject detect is similar, but works with other subjects, like with animals, planes or cars.
A few modern cameras – notably top Olympus OM-D models – enable in-camera focus stacking. Once set, the camera makes a sequence of shots, slightly adjusting focus throughout. The camera will combine the images to produce a single shot where more of the scene is sharp. This works well for macro and landscape subjects, and you can read more about it in our focus stacking guide.
Focus bracketing is more common. The shooting process is the same as focus stacking, only you have to stack the images afterwards in software such as Affinity Photo rather than doing it in-camera.
Putting it all together
So, what to do with all of these settings? Well, through some consideration of what these settings are designed to do and perhaps some practice, you’ll be able to find the best combination for virtually any need.
Single-point AF-S comes into its own when making small composition changes. For example, you could aim the AF point at your subject, lock focus by half-pressing the shutter release or by pressing AF-L, then reframe the image, perhaps placing your subject at the edge of the frame.
Single-point AF-C is good for tracking a single subject and not having your AF jump to something else. You could switch to zone if that subject is likely to move erratically and perhaps leave that single point’s range. You could set up AF-C and tracking area if you have a frame with little to confuse your AF, or if you have no idea where a subject might enter frame from.
Alternatively, setting AF-S with a whole frame area isn’t the best idea, as there are too many options for you AF to draw from – the chances of it picking the one you want are slim.
With some cameras, there are also deeper custom settings to explore. These can allow you to control things like how readily your AF will jump from one subject to another, how much movement it should anticipate and more.
Ultimately, while there’s no best option for every single situation, there is a best option for any given situation. Use the info above to find it, and we’re confident you’ll miss fewer shots.
Click the images to see a larger view
If you’re interested in more content like this, find out more about the Photography News Summer Festival here. Read more technique, kit and video guides in issue 77 and expect more online features every single week all throughout the summer.
Don’t forget to sign up to receive our newsletter below, and get notified about the new issue, exclusive offers and competitions.
Have you heard The Photography News Podcast? Tune in for news, techniques, advice and much more! Click here to listen for free.


