Three creative uses for Photoshop layers and masks
Posted on Apr 3, 2020 • 12 minute read
Using Photoshop layers and masks, you can create your own grad ND filter, add sun rays to your photos and make unique double exposures. Here’s how.
Used together, layers and masks are one of the most powerful and useful tools in your editing arsenal. They can be used for a huge array of things, from very basic adjustments to incredibly complex designs, so they’re most certainly a photo editing essential.
In our photo editing basics guide, we covered the basic adjustments you may wish to make to your photos – and we used adjustment layers to do that in a non-destructive way. Now we’re going to walk you through three more fantastic uses for layers and we’ll be adding masks into the mix, too.
If you’re new to editing, the best way to learn is by doing, so follow along with us. There are a few fundamentals you should know before we start, though. When it comes to Photoshop layers, or those of other editing software, the order of your stack is important. Whatever is on top will show, but you can reduce the opacity to see down to other layers below. Masks work in a similar but more precise way. By adding a mask to a layer, you can reveal or hide specific parts of the layer it’s on and the layers below.
We’ll explain these things in more depth as we go, so let’s get into our three Photoshop layers and masks techniques.
Replicate a grad ND filter in Photoshop
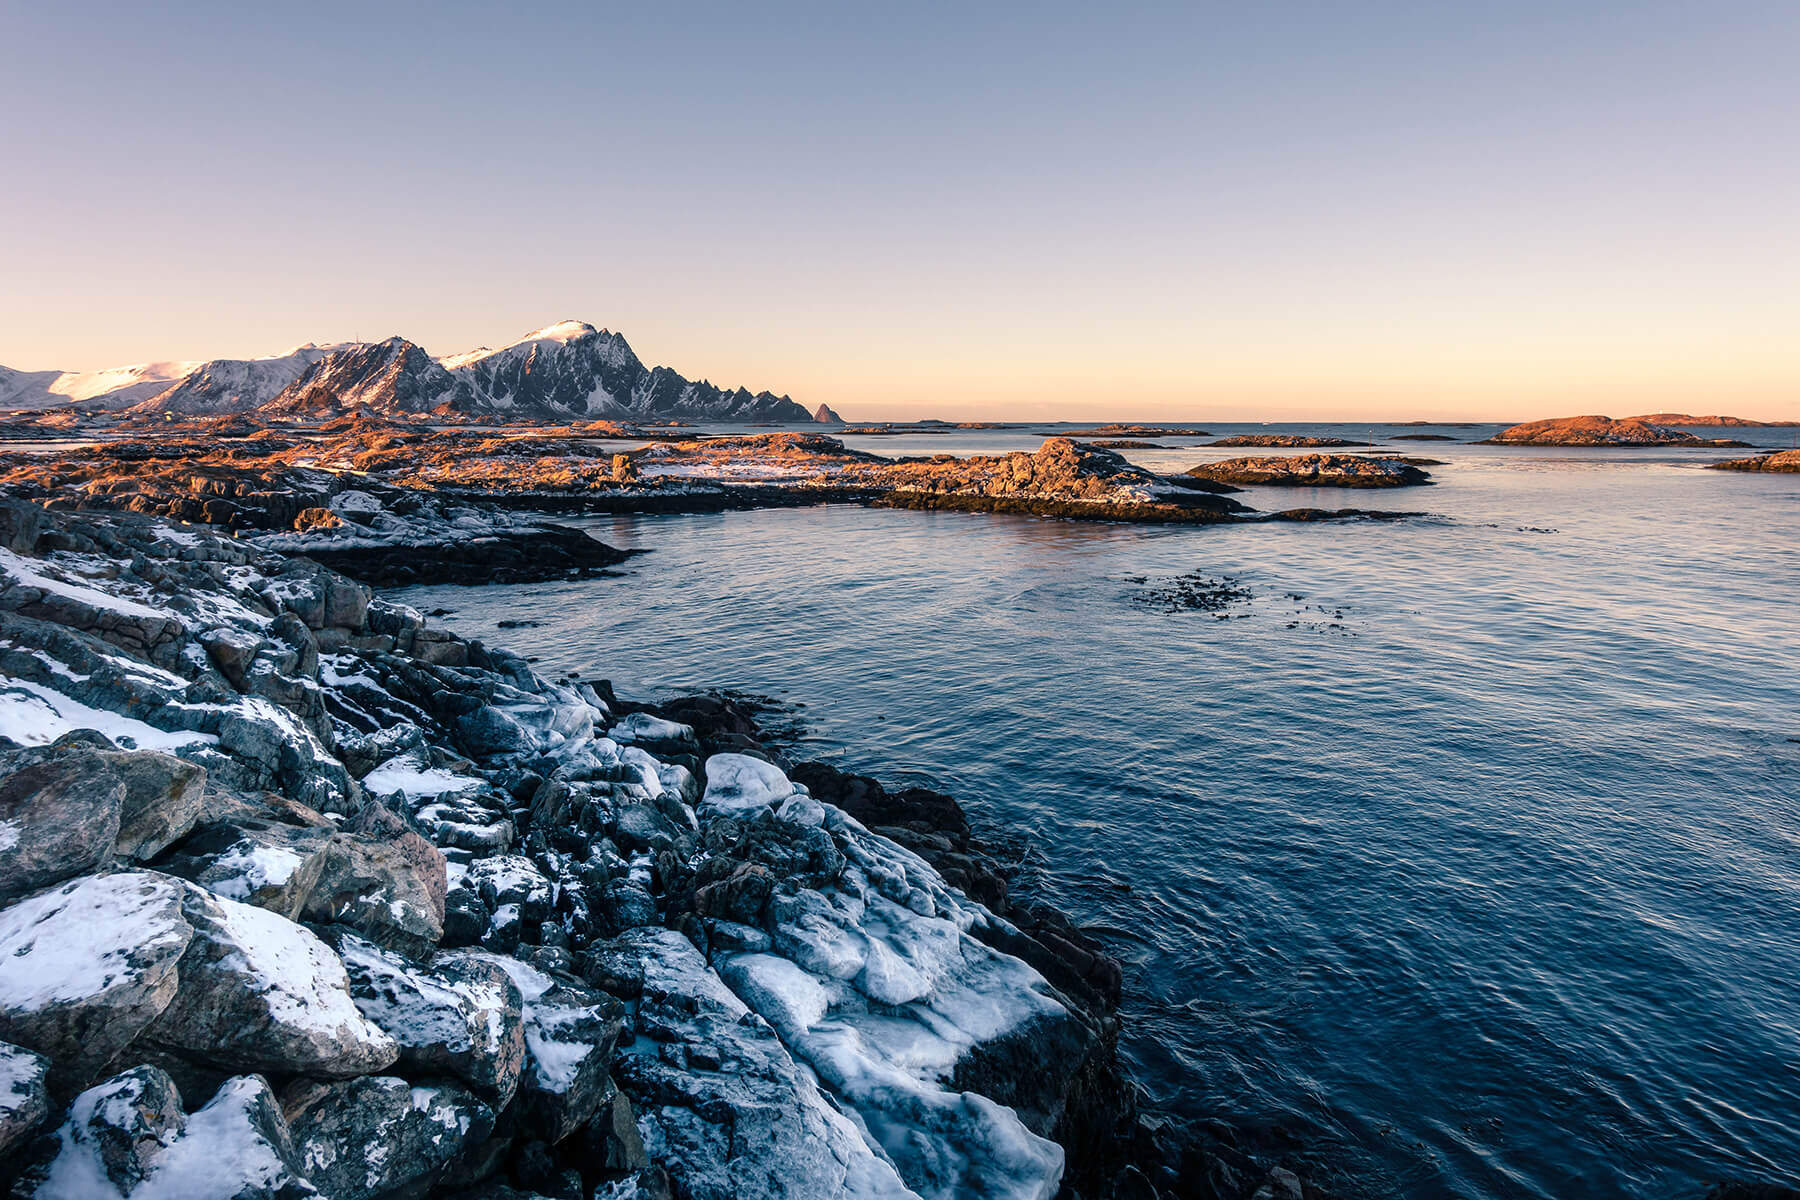
Our first technique has the fewest steps and is the easiest to follow. This technique allows you to replicate the effect of a graduated ND filter – if you don’t know what that is, you can read about it in our ultimate lens filter guide.
In short, though, it lets you retain detail in a high-contrast scene such as a sunset with foreground. In some ways, this technique is better than a real ND filter as you can use it on scenes with uneven horizons.
First, open your scene in Photoshop or preferred editing software – specific commands may vary in other software, but the principle will be the same. Next, add an adjustment layer by clicking the half-filled circle icon at the bottom of your Layers panel. In this instance, we chose Brightness/Contrast. Now, adjust to correct the under- or overexposed part of your image. This will depend on what you metered for in the scene.
Click the images to see a larger view

You can hide the new adjustment layer and see the original image underneath at any time by clicking the eye icon next to the layer. But how to combine the best parts of both images? With a mask! Your adjustment layer will have pulled one through – it’s the white box, and if you hover over it, it will read ‘layer mask’. If you ever need to add one separately, select the layer you want it to attach to and click the box-with-circle icon at the bottom of the Layers panel.
When it comes the mask itself, white conceals the layers underneath and black reveals them. To switch between the two, ensure the mask is selected – a frame will show around it – then hit CMD+I to invert. From here, select your brush tool, reduce its opacity and softness in brush settings and paint over the areas you want to reveal or conceal, depending on your mask.
Ensure you’re using the opposite coloured brush to your mask by toggling the foreground colour icon – that’s the icon with a black box and a white box on top of one another. In this instance, we inverted our mask to make it black, then used a white brush to paint over the dark foreground so that the Brightness adjustment would only show on these areas.
If you thought ahead and captured two separate bracketed images, you can forget the adjustment layer and just apply the mask to whichever shot is on top in the Layers panel. Then, paint it out the same as above.
Add sun rays to your photo using Photoshop
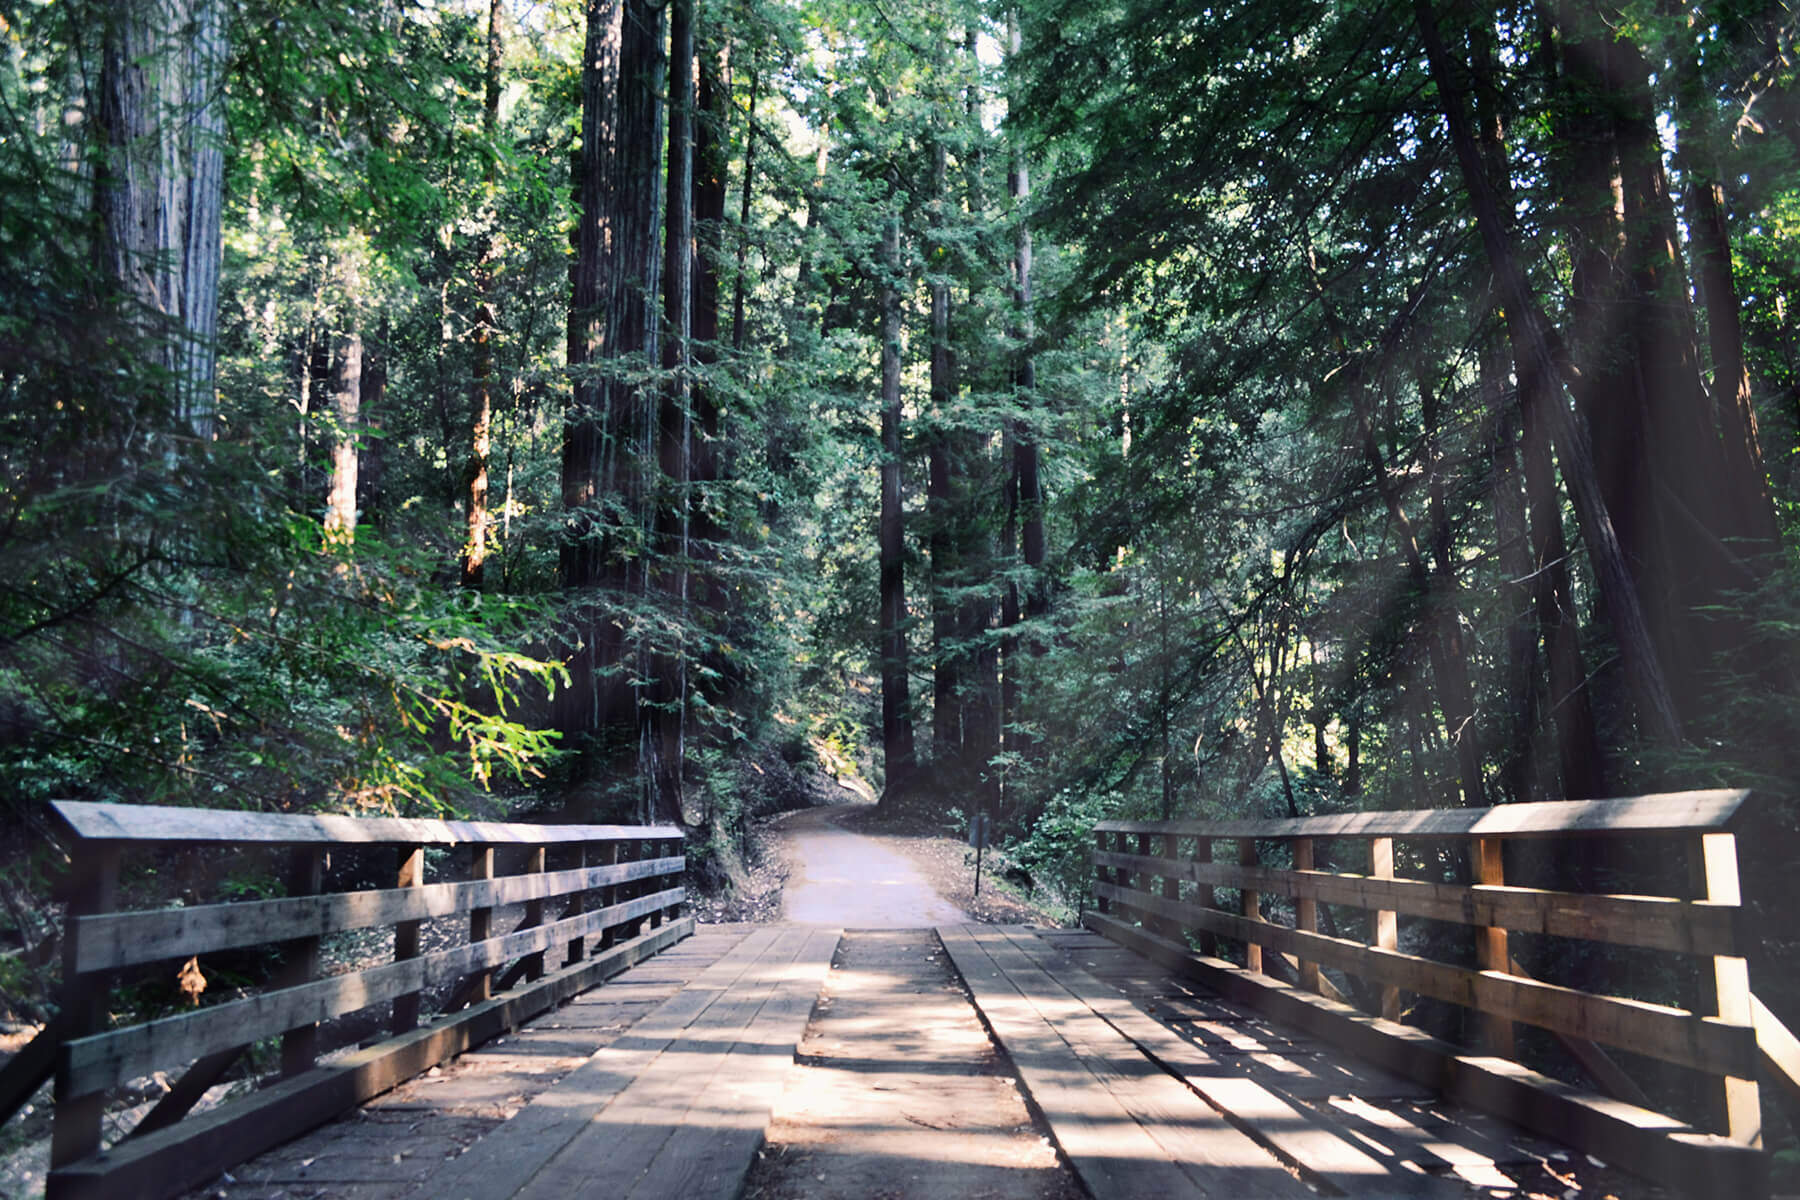
Our second technique lets you add realistic and hard-to-capture sun rays to your photo. To start, once your photo is open, add a Gradient adjustment layer. In the Gradient Fill box, click on the gradient itself, not the drop-down arrow next to it, and change Gradient Type from Solid to Noise. Now, in the advanced menu, set Roughness to 100%, change Colour Model from RGB to LAB and pull both tabs on the a: and b: sliders to the centre until the gradient shows in black and white. Finally, hit Randomize until you have an even dispersion of black and white, and click okay.
In the Gradient Fill box, set Style to Angle and apply this. Now, next to the Opacity box in your Layers panel, change the blending mode from Normal to Screen. Double click your layer thumbnail to the left of the mask to open the Gradient Fill box again and drag your image to position the centre point of the gradient – it should be where your sun would be coming from.
Click the images to see a larger view

When positioned, right click on your gradient layer and convert it to smart object. Once done, click the Filter menu, find Blur then select Gaussian Blur and adjust Radius as desired. Now, on top of your gradient layer, add a Hue/Saturation adjustment layer. To ensure this only applies to your gradient layer and not the image below, clip it to the gradient layer by holding ALT and clicking on the line that separates the two.
Adjust the Hue and Saturation by clicking Colourize, finding a nice sunny hue and setting to saturation to your desired level. Once done, click back on your gradient layer and reduce its opacity until you have what looks like natural sun rays.
If you want to, you can go on to adjust the look of your sun rays using additional adjustment layers, ensuring they’re clipped to your gradient layer so as not to affect your original photo.
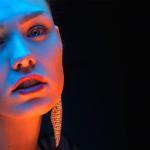
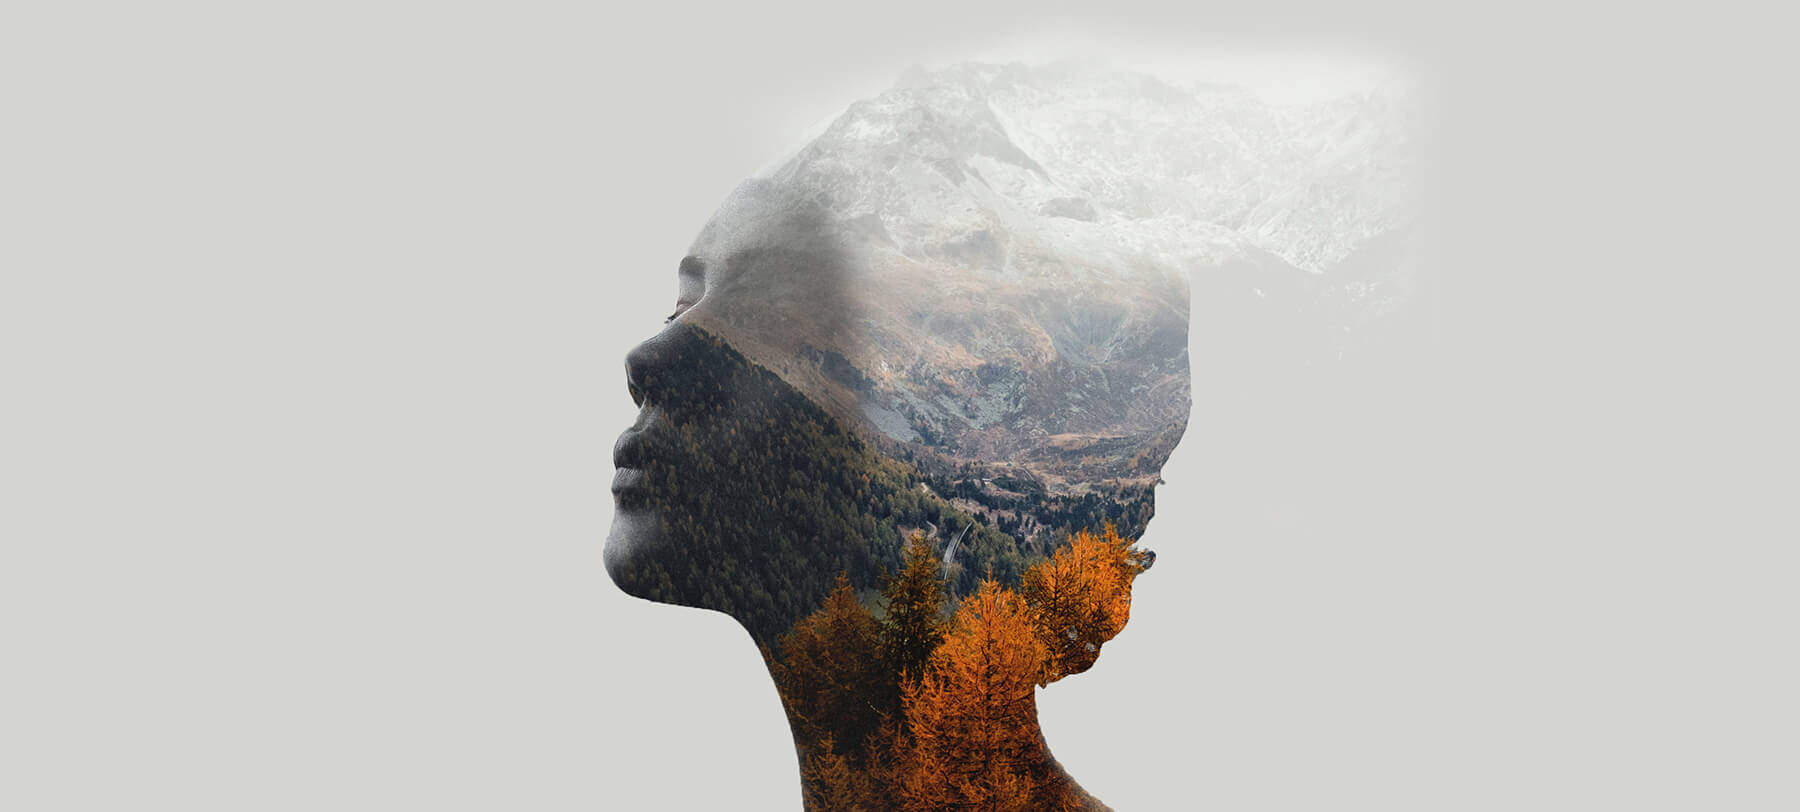
Double exposure using Photoshop layers
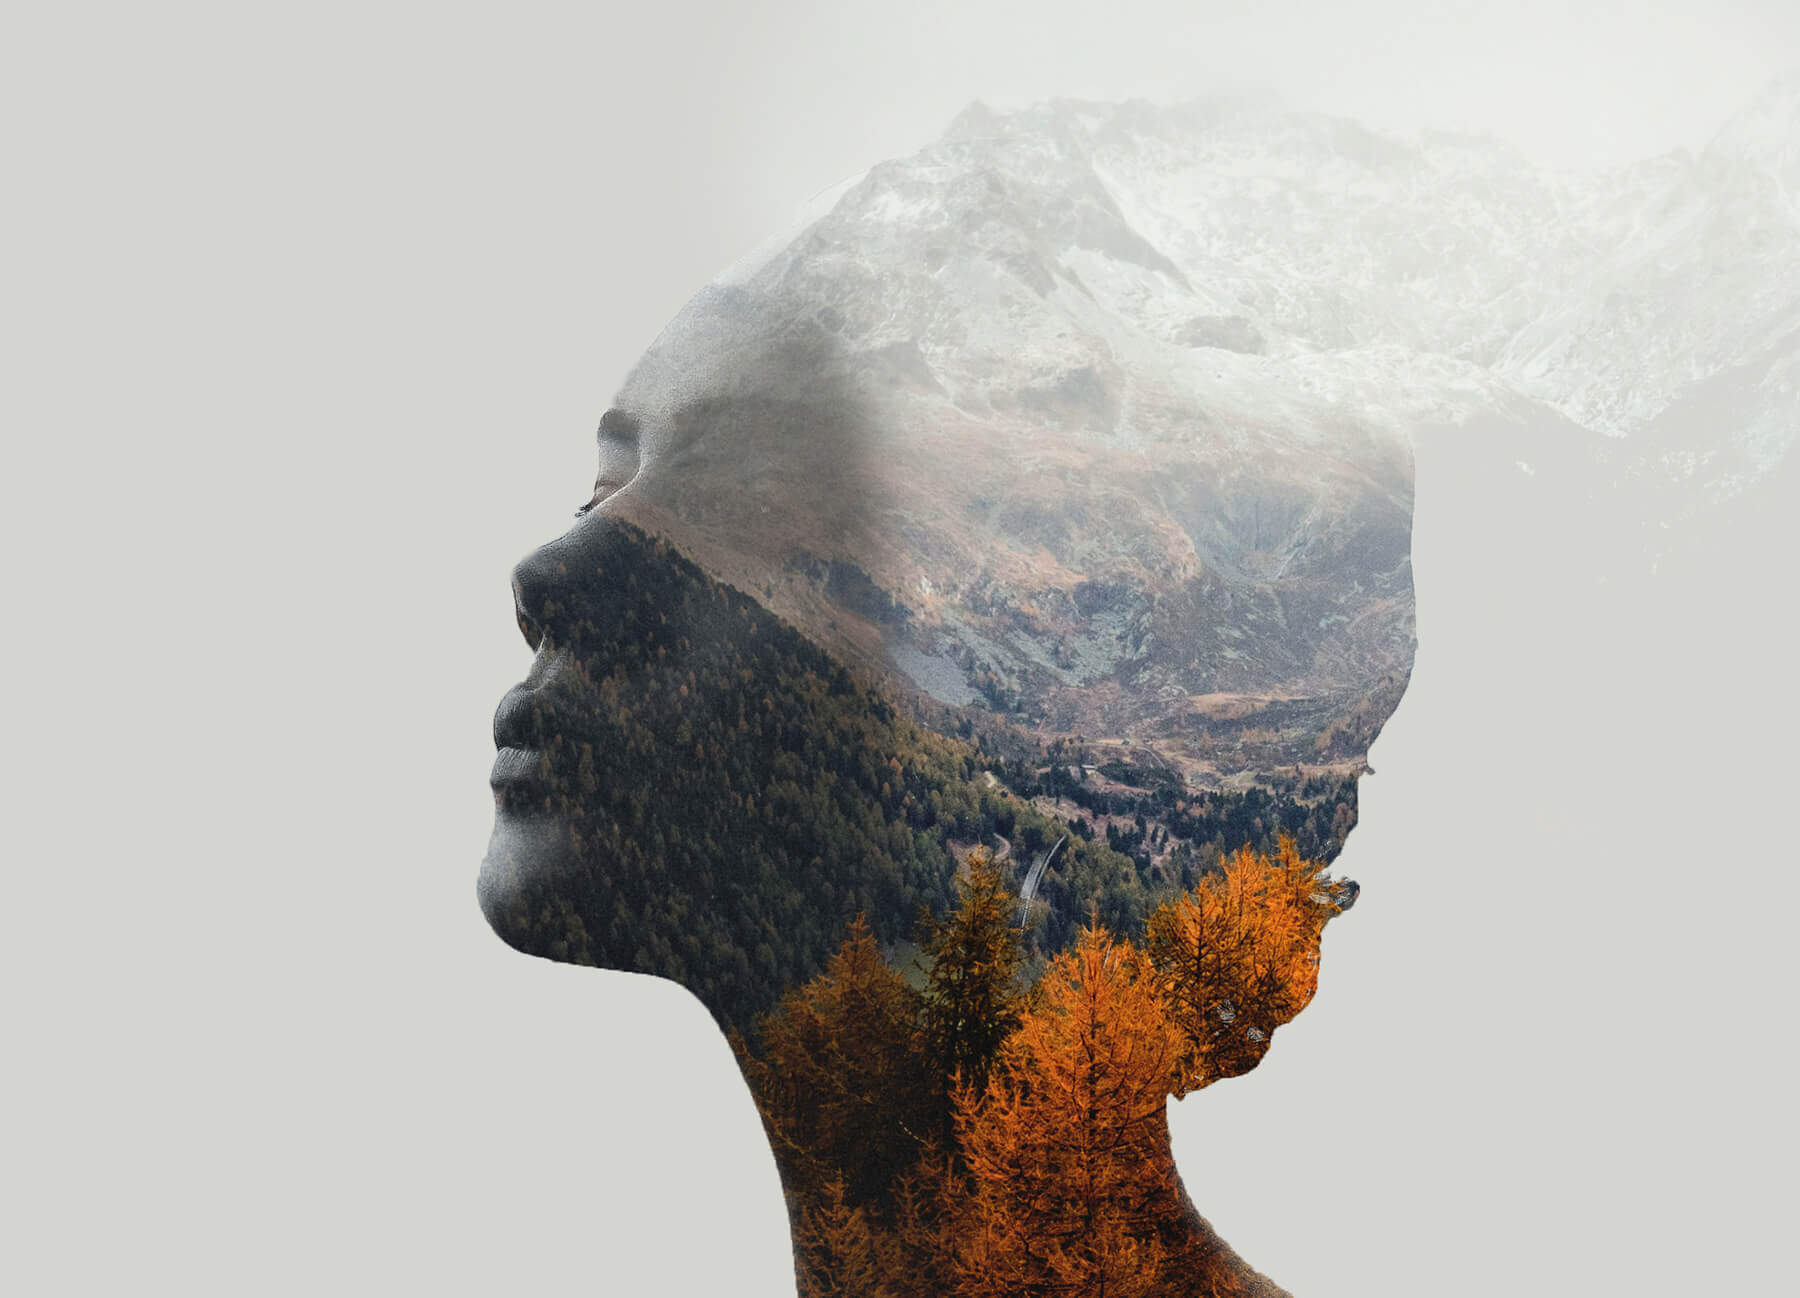
We’ve gone through and easy and medium-difficulty techniques – now, here’s something more advanced. You’ll have to bear everything you’ve learned in mind and follow these steps closely. This technique may also take a few goes, and you’ll need to start with two complementary photos for the best results.
With your portrait open, make a selection of the subject’s outline using the Pen, Quick Selection or Magnetic Lasso Tool – then right click, select Feather and set Feather Radius to a low value like 0.5. Next, hit CMD+J and you’ll see your subject on a new layer without the background. Delete your original layer, then create a new white Solid Colour layer and place it below your subject so your subject sits on the plain background.
The next step is dragging in your second, overlay image. Once it’s in, place it as your top layer, then reduce its opacity and move and resize it so it fits nicely with your subject. When positioned correctly, return Opacity to 100%.
Now, hold down CMD and click on your subject layer – you’ll see their selected outline appears in your overlay image. Click back on the overlay image, add a mask and your background will turn white, with your subject filled with the overlay.
Make a copy of your subject layer by holding ALT and dragging it to the top of the stack, then set this new layer’s blend mode to Lighten. Your subject and overlay image will now be mixed. Still on this new top layer, reduce the opacity to around 50% and add a mask.
Click the images to see a larger view


On this mask, use a highly feathered, medium-opacity black brush to paint over any parts of your subject that you don’t want to show through the overlay. Then, select the mask on your overlay layer – this should be one layer down – and do the opposite, painting in any parts of the subject that you want to be clear.
We’re almost there. Select your background layer at the very bottom of your stack, double click the layer, not the mask, and use the Colour Picker and Eyedropper to select a nice muted colour from your image. This will be your background colour, so choose something complementary.
Now, select your overlay image – that’s still second from top for now – and use CMD+J to make another duplicate one layer above. Change the blend mode of this new duplicate layer to Lighten. You can use a white brush and this layer’s black mask to reveal extra background details if you want to.
Select your very top layer – that of the subject duplicate – and add a Solid Colour adjustment layer, choosing any soft, muted colour that’s complementary. Change this new layer’s blend mode to Multiply, reduce its opacity and voilà.
As a final touch, you can add a flattened version of your layers on top using ALT+CMD+SHIFT+E and add any additional adjustments you want to experiment with. You can also go back and try to fine-tune the balance of your image by modifying your brushwork in each layer’s mask. This can also give you a better understanding of how they’re interacting – we’d advise saving a copy first, though, if you’re happy enough with your image as it is.
There you have three fantastic techniques using Photoshop layers and masks. Will you be giving any of these a go? Ask us any questions or show us the results on Instagram, Twitter or Facebook using the handle @photonewspn
Don’t forget to sign up to receive our newsletter below, and get notified about the new issue, exclusive offers and competitions.
Have you heard The Photography News Podcast? Tune in for news, techniques, advice and much more! Click here to listen for free.