Get perfect time-lapse videos in six steps
Posted on May 29, 2020 • 9 minute read
Time-lapse video offers unique opportunities for image makers of any kind, and the best results are just a few simple steps away.
As part of the ongoing Photography News Summer Festival, we’ve been bringing you a bucketload of content both in print and online. Covering a wide range of topics under three themed ‘tents’ – photo kit, camera technique and video technique – issue 77 kicked off the Summer Festival with some advice of the essentials of video set-up.
Since then, in the video technique tent online, we’ve taken an in-depth look at slomo video, and today we’re going to explore time-lapse.
For many stills photographers, time-lapse is the perfect introduction to the world of video. You get the enjoyment of producing a moving picture, but without the hassle of having to having to shoot real video. Simply take a host of stills – something you’ll be well versed in – then combine them in a very simple process. It’s a win, win.
If you’re coming from a video background and just wish to add another string to your bow, not to worry, as these tips will have anyone producing excellent clips in no time.
Go manual
As helpful as auto settings are, there’s a time and a place for them and time-lapse video isn’t it. Naturally, there’s going to be some fairly significant change over the course of your sequence of shots, whether it’s movement, a change in light or anything else you can capture.
The idea of the time-lapse is showing that change, whatever it may be, as best as possible. Autofocus jumping from point to point, autoexposure keeping up with changing conditions in an unnatural way or even auto white-balance altering your colours mid-video will all detract from that.
With that in mind, do things the old-fashioned way and use entirely manual settings. If that means the end of your sunset time-lapse is slightly underexposed, for example, good – that’s an accurate, real-life depiction.
Slow it down
Now that you know you need to choose manual settings, let’s talk details. White-balance was covered in issue 77’s video feature, so you can pick up some tips on that there. Manual focus doesn’t require much explanation, so that only leaves exposure.
The important exposure setting in this instance is shutter speed. Again, keep movement in mind. To capture the flowing passage of time rather than a staccato video that just looks like fast-motion playback, increase your shutter speed to 1sec or more if possible. This adds some motion blur.
If you are going for the jumpy toy-soldier look, just shoot ordinary video, save yourself the time and effort of stills, and speed it up in post.
For the most part, aperture and ISO can just be used to balance your exposure from here. If it’s bright, the slow shutter speed may necessitate the use of an ND filter. If you’re not overly familiar with long exposures and ND filters, issue 77’s camera technique feature covers all that.
Frames and intervals
The other significant settings that determine the overall look of your video are those of your intervalometer or camera’s time-lapse mode. This includes time between shots and number of shots overall. If your camera doesn’t feature a time-lapse mode and you don’t have an intervalometer, you could shoot manually, but this is likely to be a joyless task unless standing very still and releasing your shutter up to 1000 times is your idea of fun.
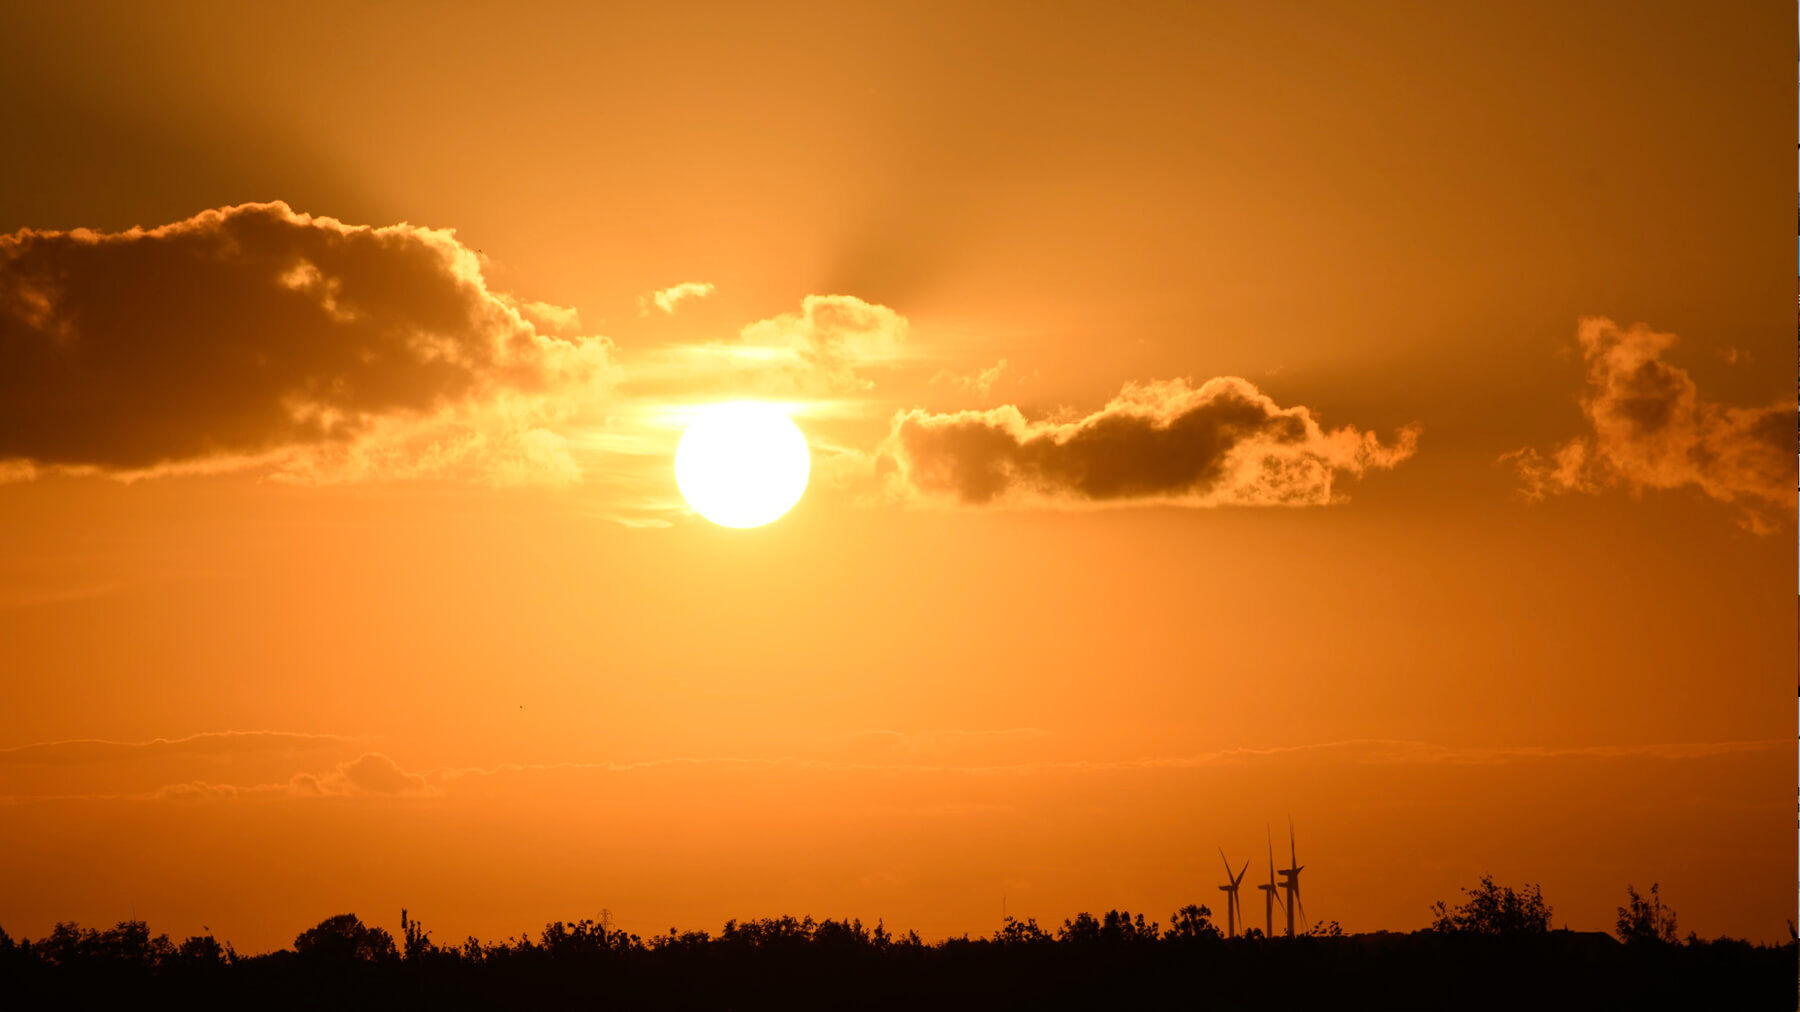
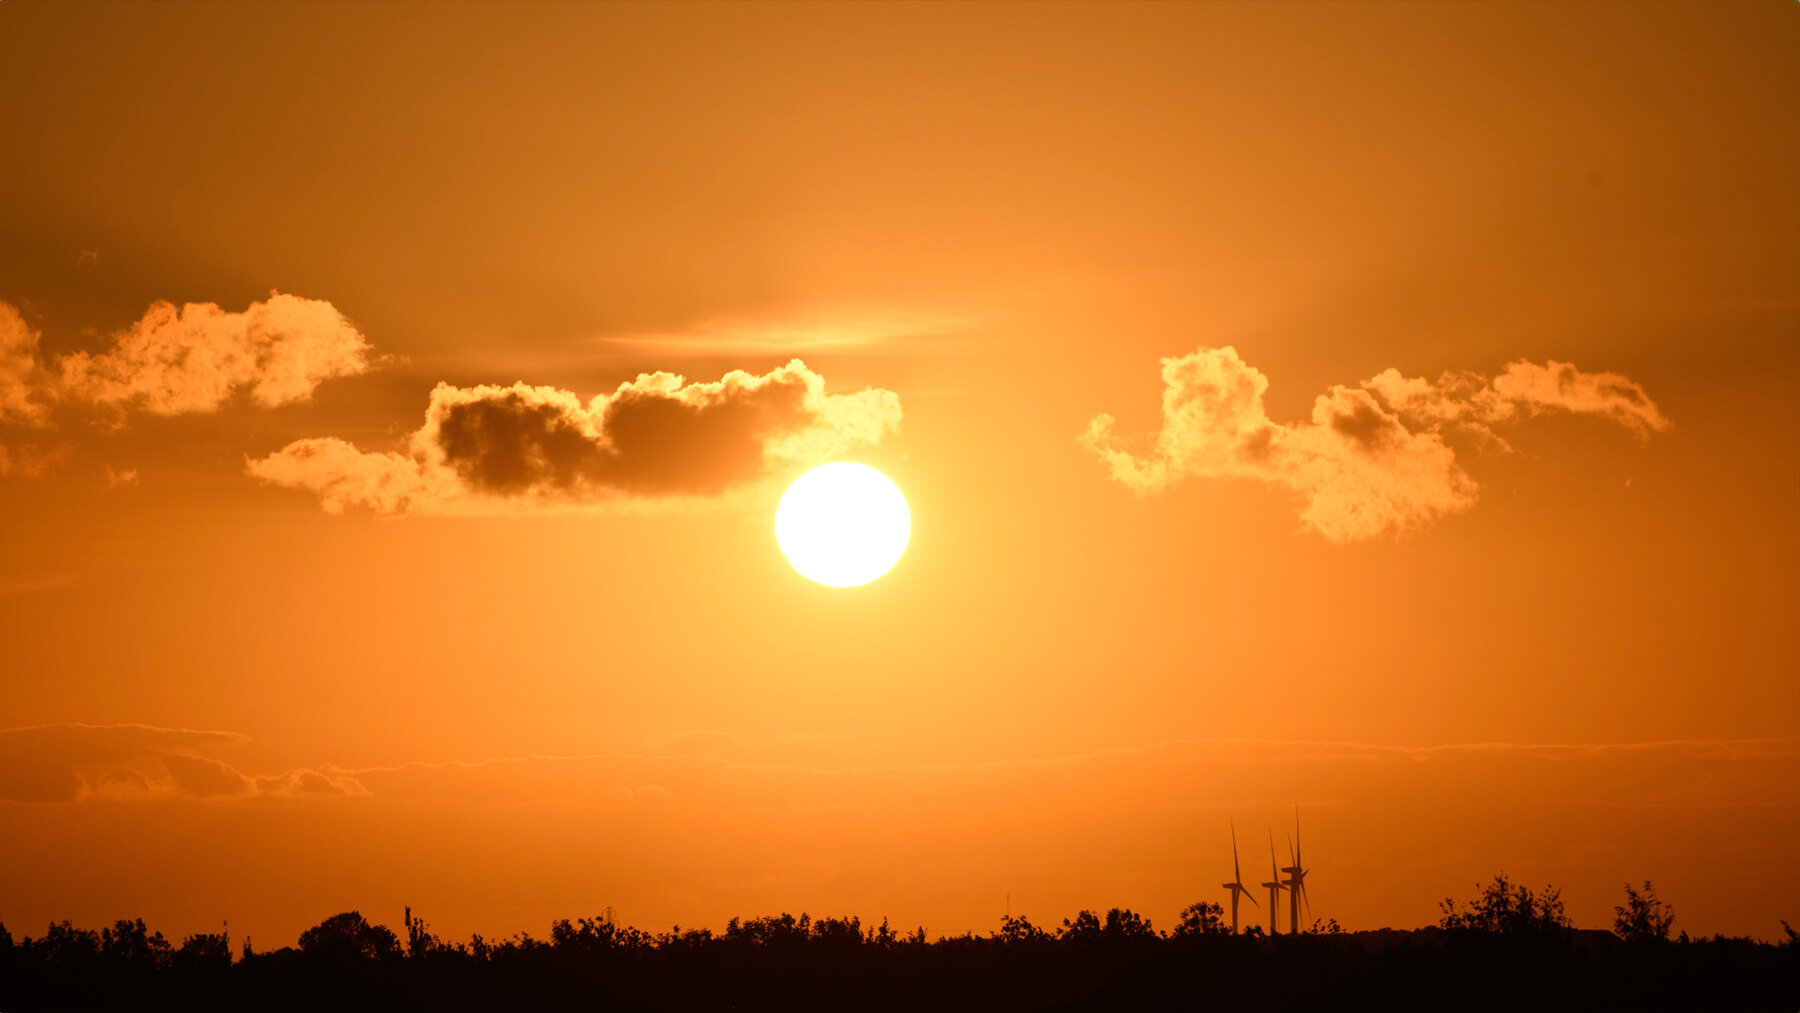
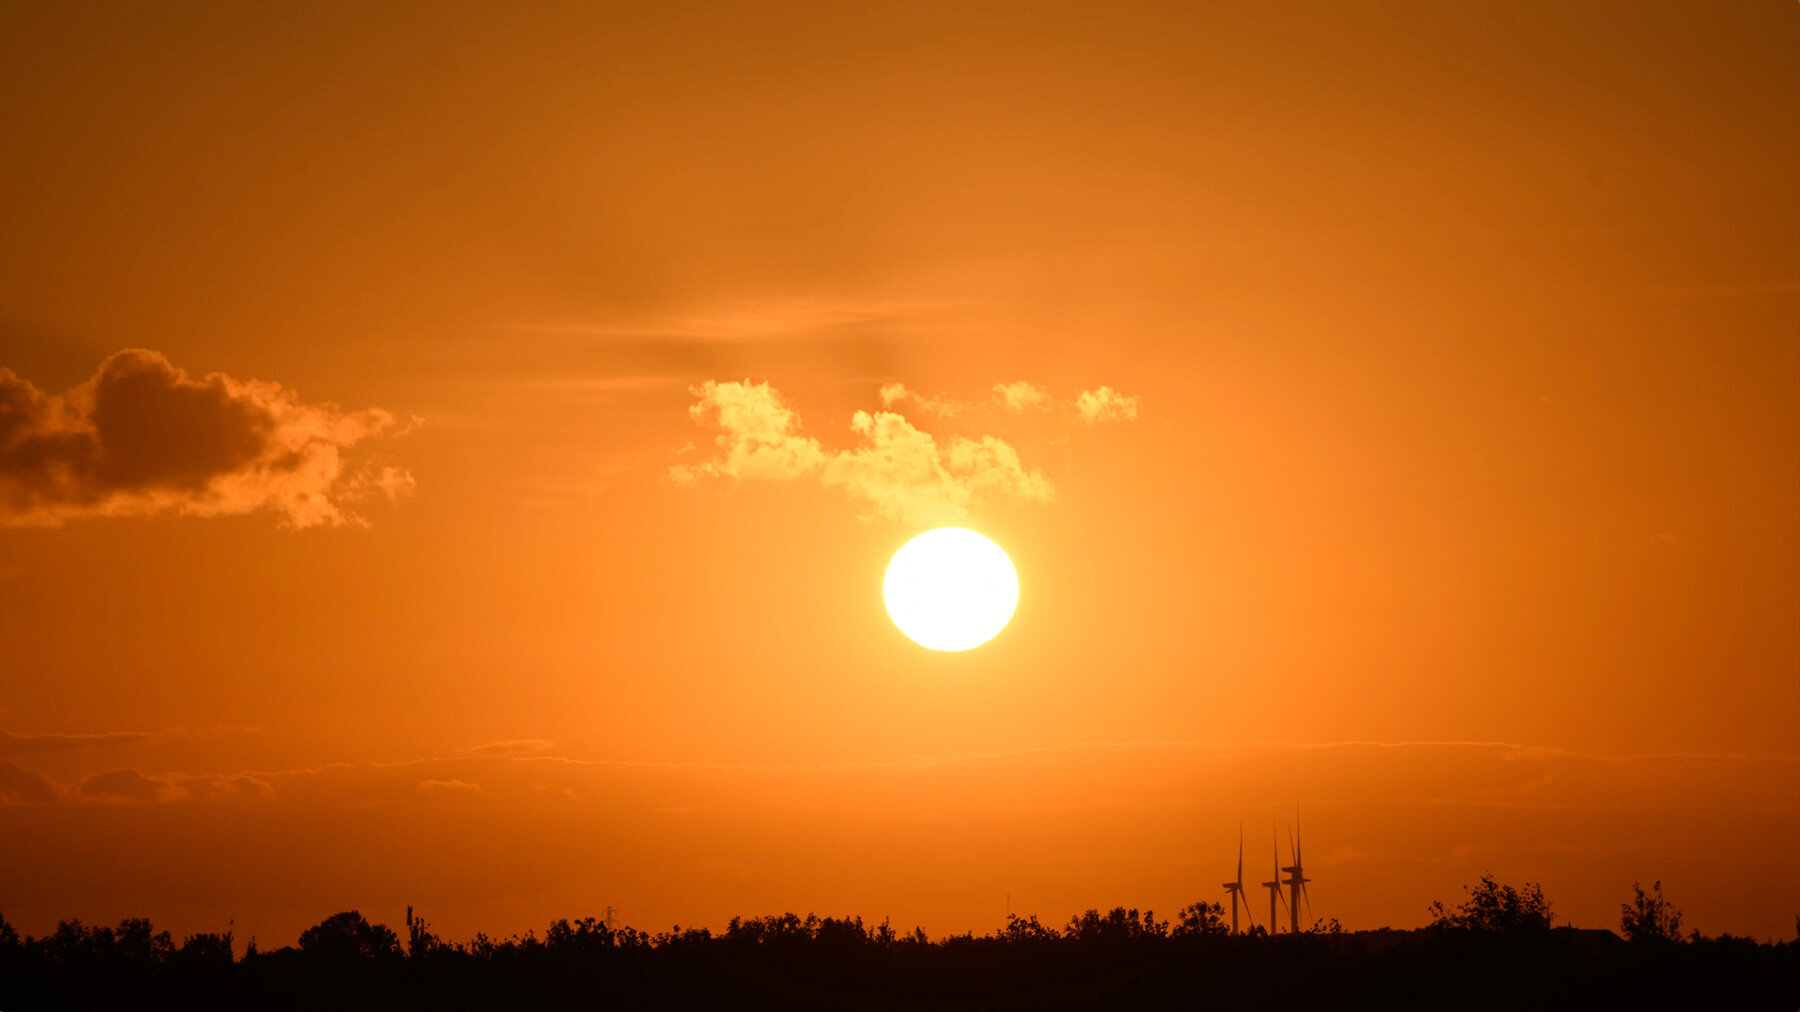
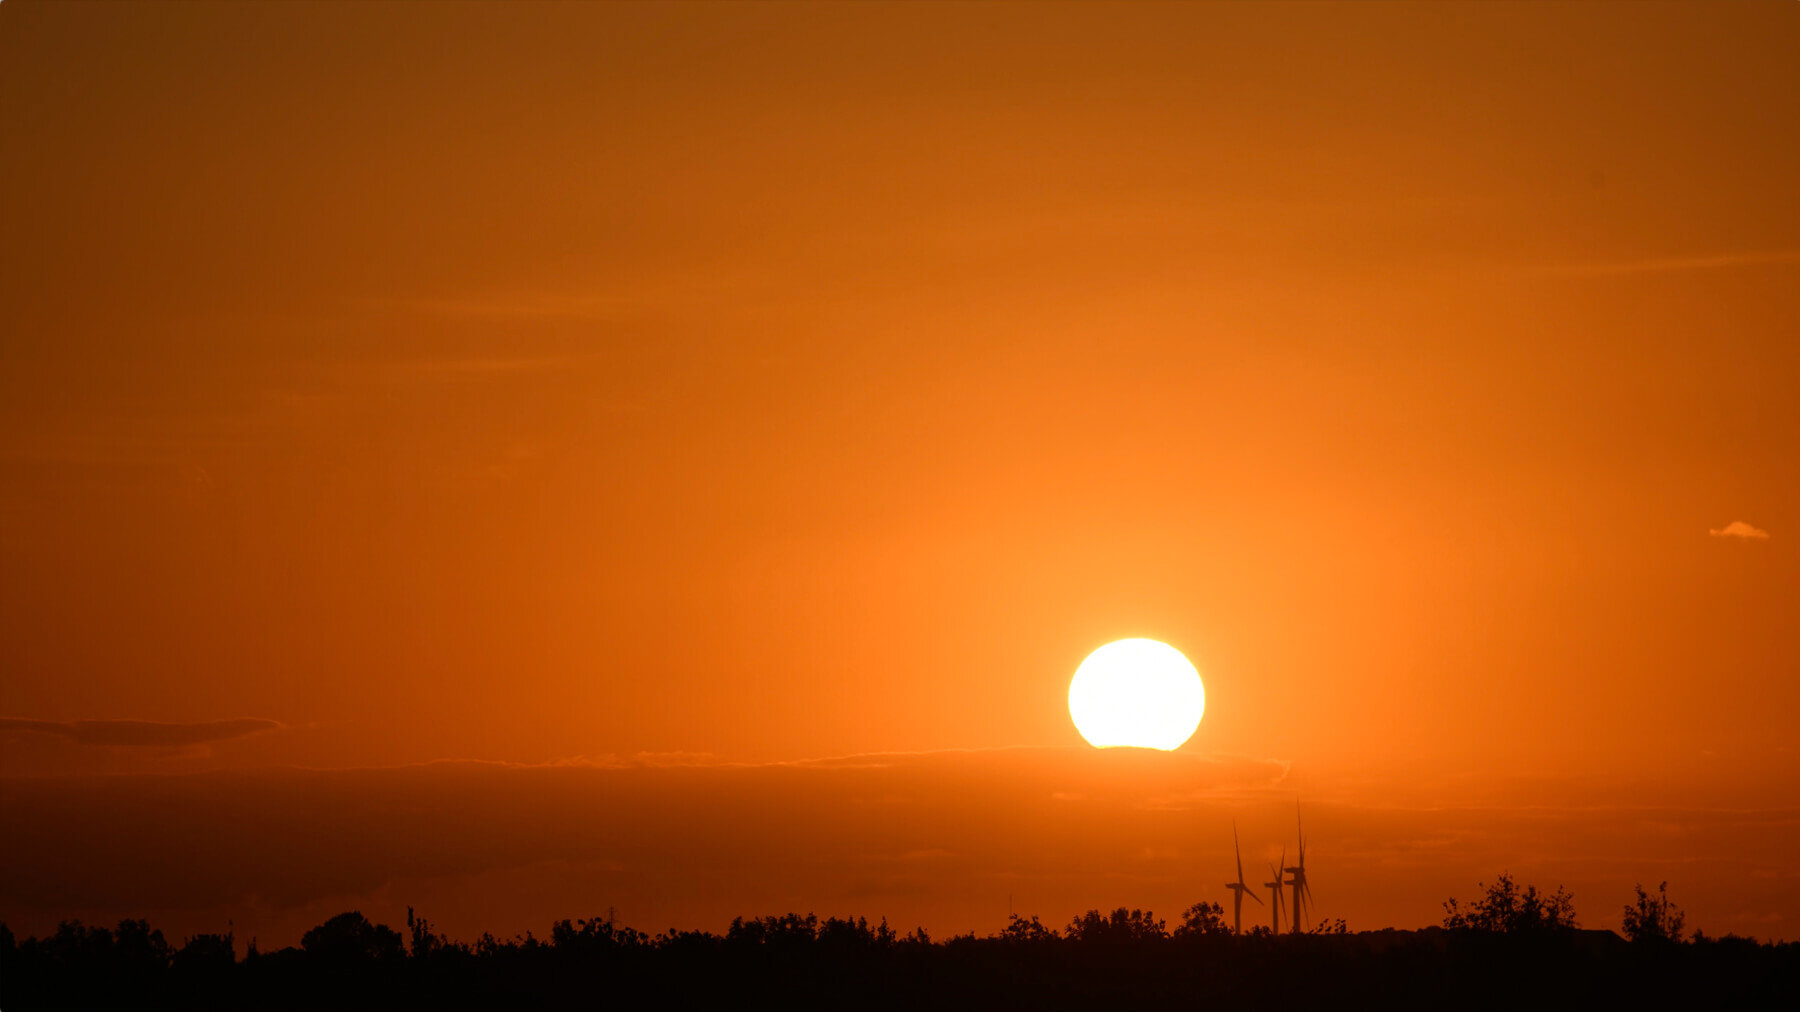
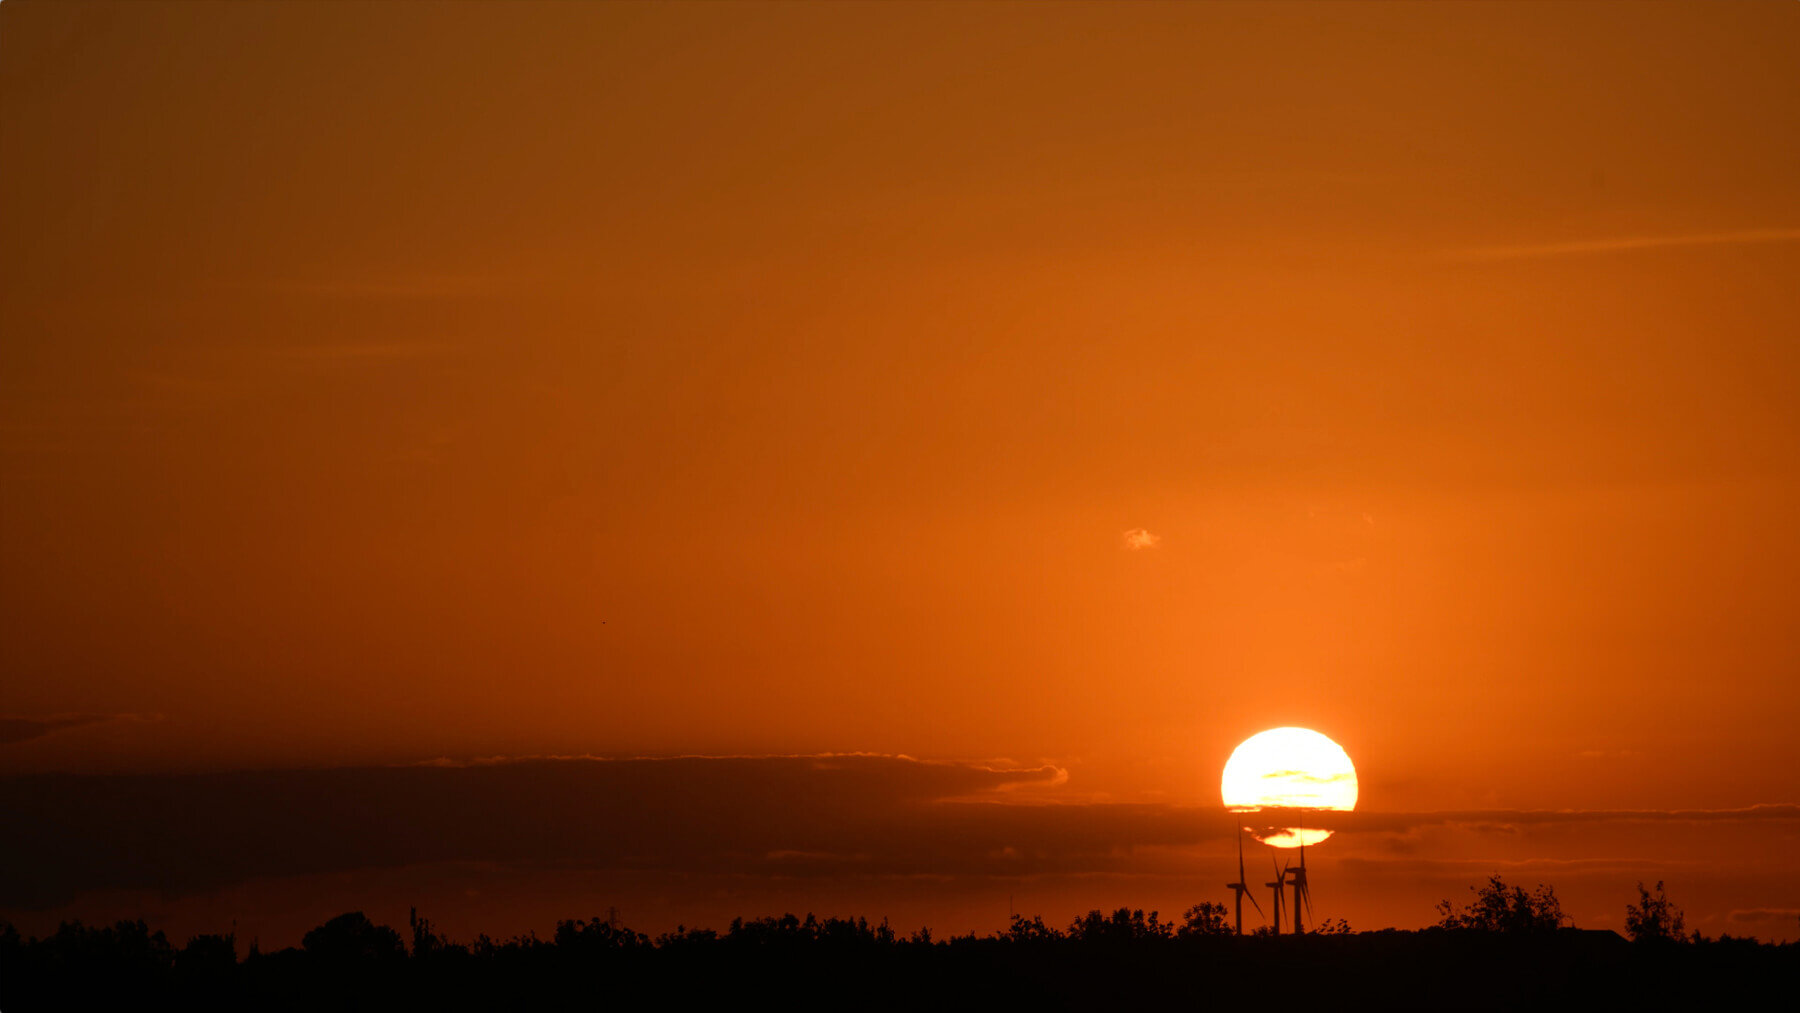
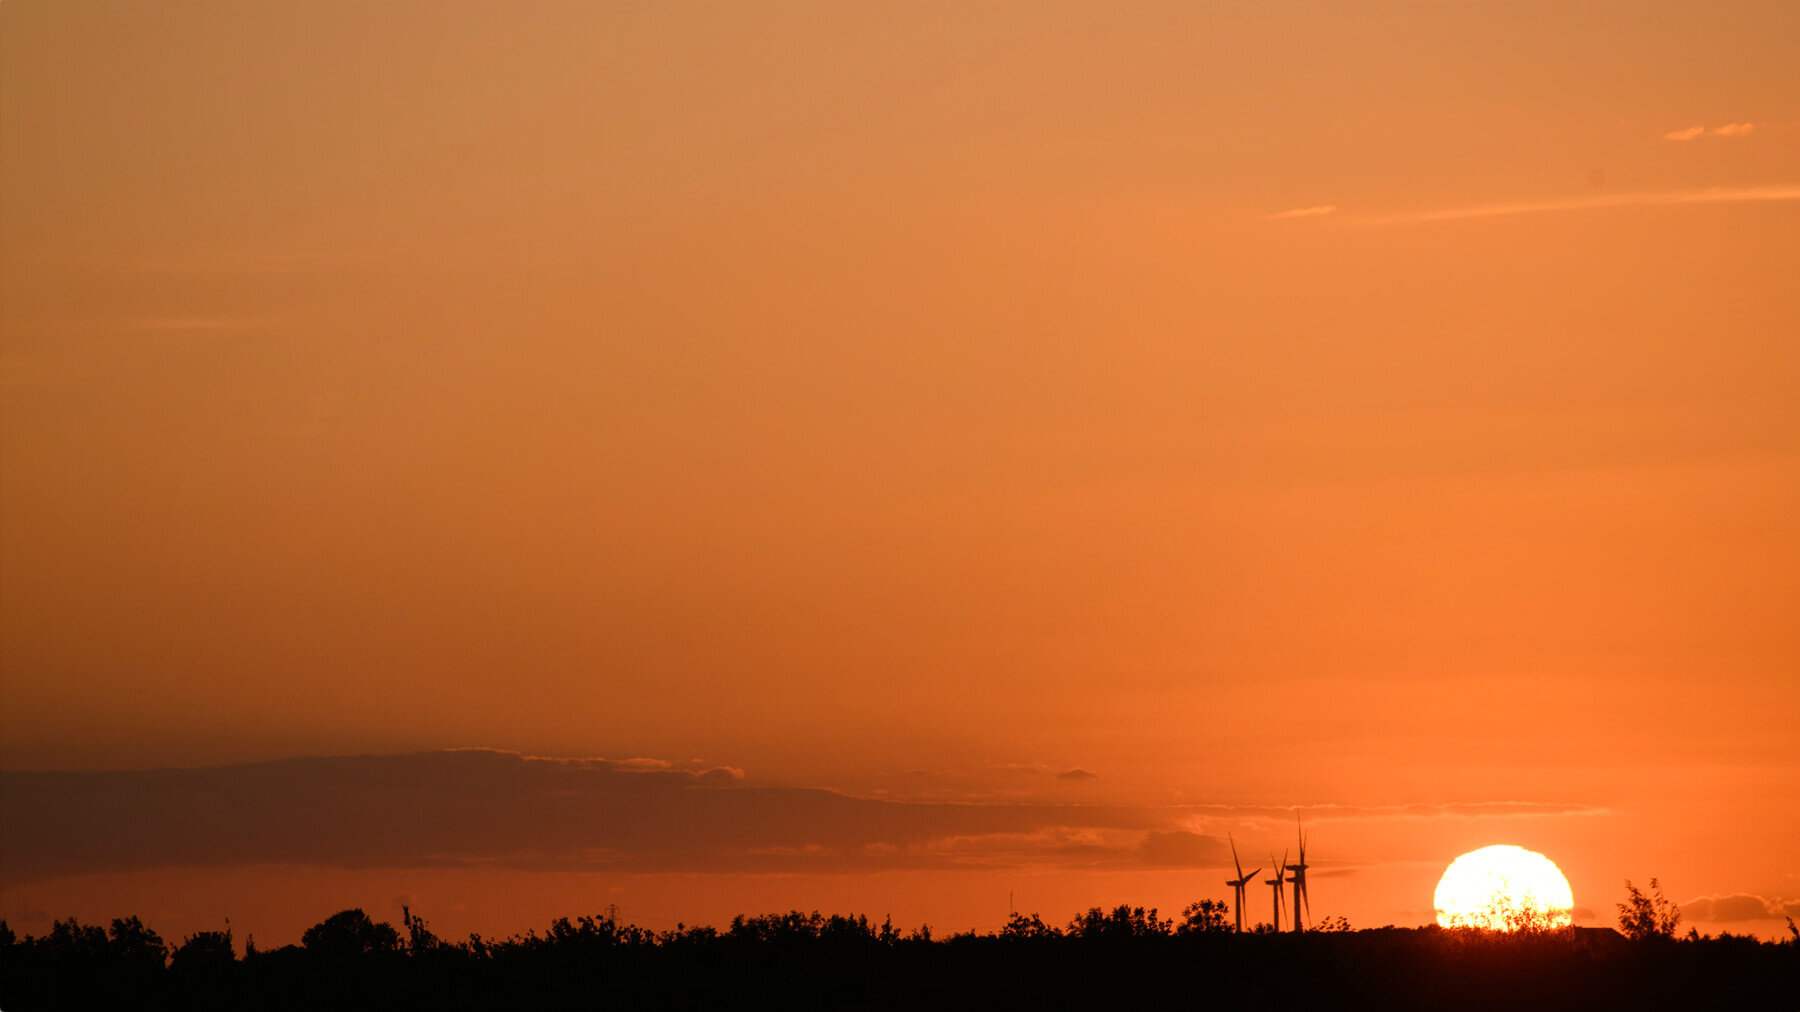
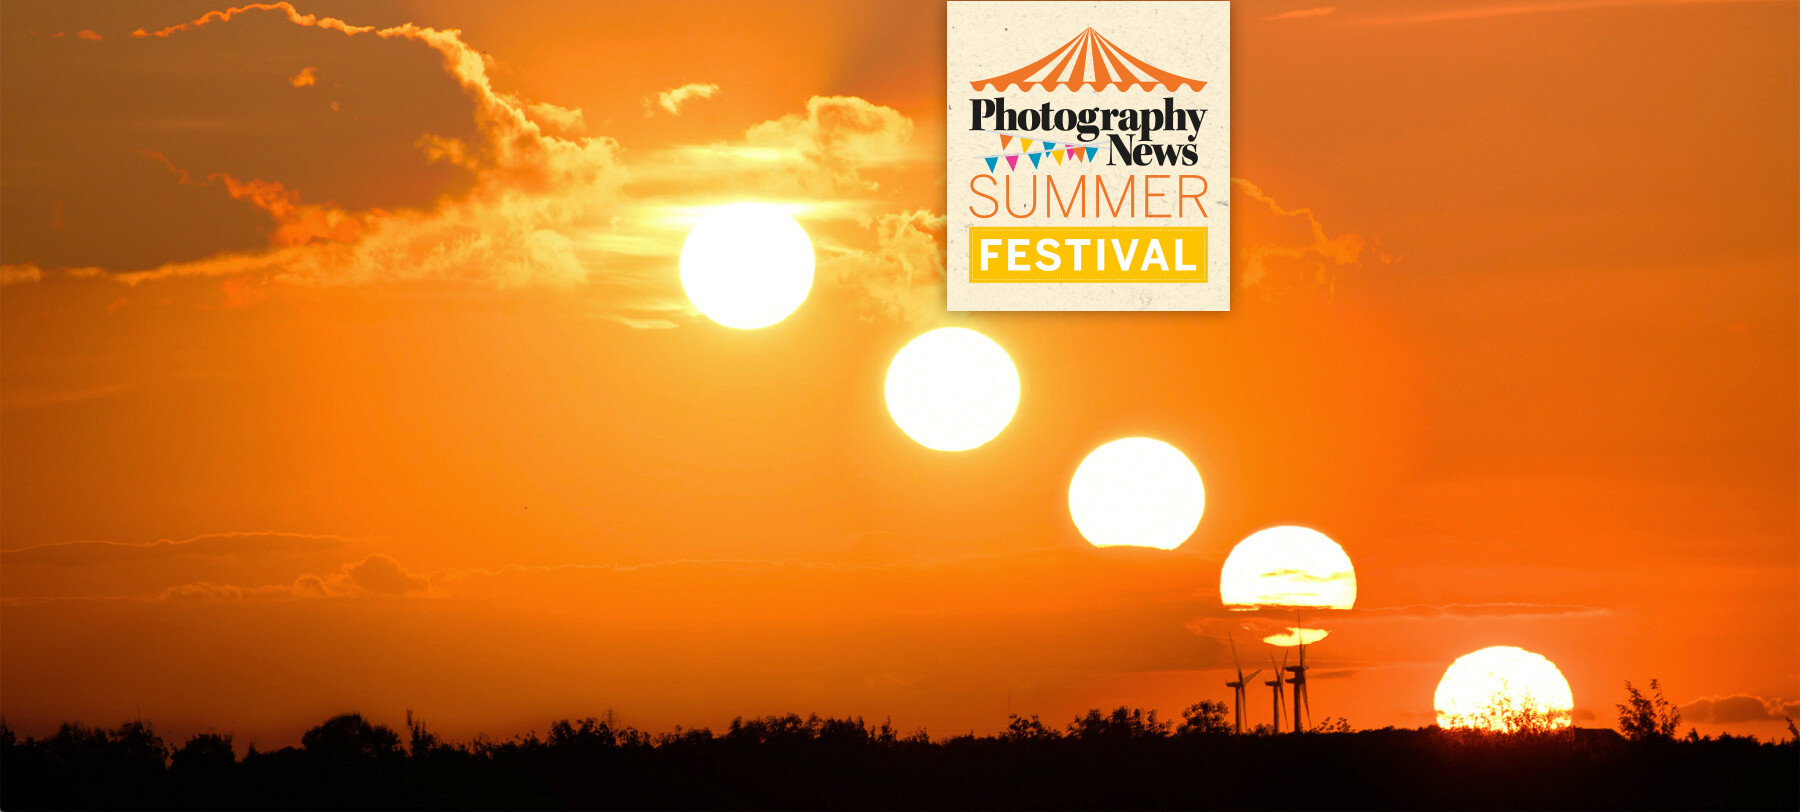
Time between shots will depend on the speed of your subject. For a relatively fast-moving subject like a crowd of people walking, leaving gaps much longer than one second would mean missing significant amounts of action, leading to a jumpy video. Alternately, if you were to shoot a slow-moving subject like the sun setting every second, there would be a negligible difference between frames. In these cases, gaps of a fair few seconds will be fine.
The second factor, the overall number of shots, will determine how long your final video can be – also considering time between shots. If you’re playing your video back at 24fps, every 24 still frames will be one second of video. If you’re using a 1sec shutter speed and leaving one second between frames, this means it will take almost a real-world minute to capture one second of time-lapse video.
Click the images to see a larger view
Movement
At the beginning of this feature, we said one of the appealing qualities of time-lapse video – particularly for stills photographers – is not having to get too caught up in the extra elements video requires. If you do want to incorporate a little more of this, though, adding movement is very easy.
As well as the movement captured in your video, you can include some camera movement. This can either be done physically at the time of shooting or in post. If you’re opting for the former, just ensure camera movement, however you choose to do it, is very slow and consistent.
Without diving too deep into editing, some fake camera movement can be applied by altering the position of your frame from beginning to end for a pan or tilt effect, or by altering the scale for a fake zoom in or out. This will need to be done in a video editing software on your finished, joined-up clip.
Despite what you may be picturing, these fake movements are actually very convincing if done subtly. Plus, if you shoot 4K stills and only require a Full HD video, you can afford to crop your frames for this purpose without compromising quality.
Editing your photos
As this isn’t a typical use for stills, it can be easy to overlook the photo editing process and jump straight to editing them into a video. If they were ordinary stills, though – and perhaps some of them will be used that way – we’re sure you’d edit them to some extent. For that reason, your time-lapse stills shouldn’t be different.
We’re sure you won’t want to invest quite the same levels of time and effort as you would when perfecting a single photo, but a few tweaks will go a long way. With so many photos, it would be a mammoth task to edit them all individually, and you’d lose continuity, so we’d advise applying one edit to all photos. Just be conscious to check photos from different times in the time-lapse to make sure the edits suit across the board.
Editing your video
The final step in creating your time-lapse is turning your shots from stills to video. There are many types of editing software and specific commands will vary throughout, but the principle is much the same whatever program you’re using.
First, ensure your photos are in the correct sequence before loading them into your video editor. When you do load them in, a more advanced software like Premiere Pro may give you the option of automatically creating a clip. If not, each still frame will appear as an individual static clip, likely with a duration of a few seconds each. Simply select all the frames and adjust the frame duration to a significantly reduced amount. When you export, it will appear as a single, joined-up video.
Remember, you can increase the frame rate of your playback to increase the speed of your clip – it’s best to do this by eye, and keep in mind that it will shorten the overall length. What you can’t do is play your clip any slower than 24fps, otherwise it will look unnatural.
That’s all the information you need to start creating beautiful time-lapse videos! Will this be your first step into the world of moving pictures? There’s a lot to be had here in any case.
If you’d like to share your results or if you have any questions, you can find us on Instagram, Twitter and Facebook using the handle @photonewspn
Why not take in some more Summer Festival content? Issue 77 is free to read now via our issue library, and you can find more video, technique and kit features in our Inspiration section with plenty more to come over the coming weeks and months.
Don’t forget to sign up to receive our newsletter below, and get notified about the new issue, exclusive offers and competitions.
Have you heard The Photography News Podcast? Tune in for news, techniques, advice and much more! Click here to listen for free.


