Making Movies: The Final Cut
Posted on Jan 12, 2024
Turning your video clips into a watchable movie need not be complicated. Follow our guidelines to become a master of the edit
It’s lots of fun to shoot video content and let our creativity run wild. But the idea of assembling all of the resulting footage into a well-exposed, colourful and cohesive film with audio to match can seem a frightening prospect; even if we’ve mastered the basics of using photo editing software to manipulate exposure, colours and contrast in our stills photography.
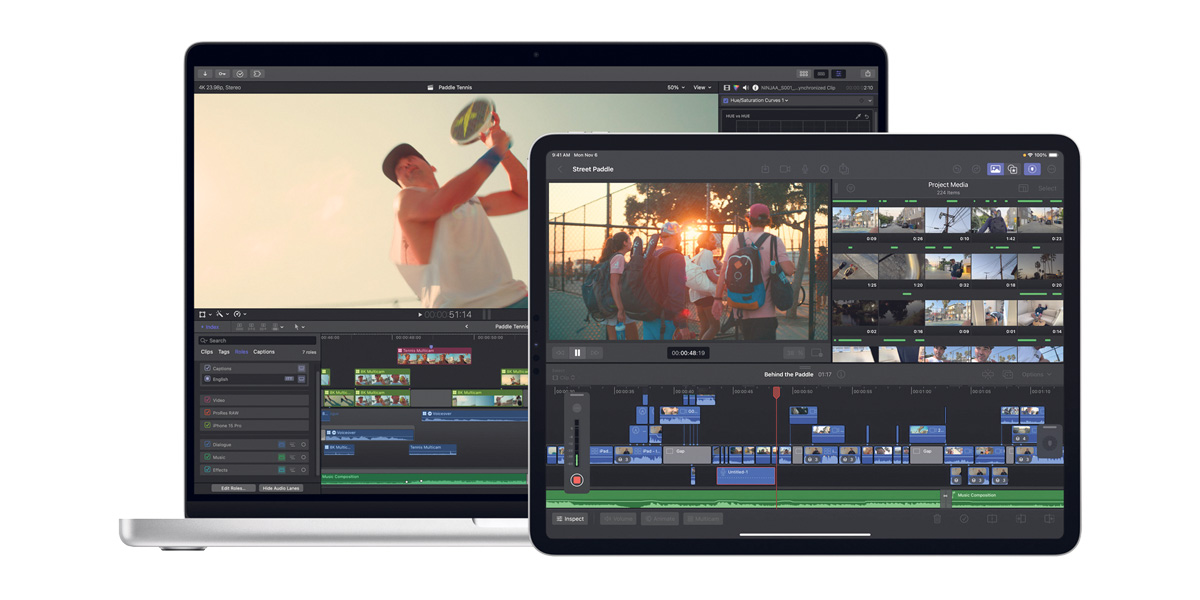
Controlling all of these features in a complex non-linear editing program (NLE for short) can be complicated. But, just as in Photoshop – where there are lots of menus and features many will never use – we can start with the basics and learn as we go. Once we master the art of storytelling in video, it can be addictive.
Whereas a photograph is a single-frame record of a moment in time, moviemaking is generally all about the story. It is usually told in a series of short clips or key ‘scenes’ joined together and most often shown in chronological order.
Hopefully, if we’re the storyteller, we’ll have shot each key scene from many different angles, viewpoints and focal lengths. In the vast majority of videos, shots appear on screen for just three or four seconds. That’s why lots of B roll footage is important. One tip is to start recording a few seconds before the main action, and keep shooting for a few seconds afterwards. That extra footage will be a blessing in the edit.
It starts before the edit
At the very outset, it’s best to have a basic plan for how the film will fit together in terms of the key scenes. These may be in chronological or non-linear order.
It’s also best practice to organise our footage into readily recognisable folders. For example, create a folder for each new video project on a hard drive and then create subfolders within it to store footage from an individual day of the shoot, or footage shot on different cameras.
It’s a good idea to have at least two copies of any footage on external hard drives, with sufficient available space.
Fast SSDs are ideal for editing, as the response will be quick; however these are pricey. A good tip is to use a fast SSD for the project library, as this will be fast enough to edit with, but keep the actual footage on much cheaper mechanical hard drives.
Key decisions to be made
When opening our NLE, we’ll want to create a new Event to which we will import the relevant footage; and within the Event, start a new Project to make our film. This is when we will choose our options for resolution, frame rate, aspect ratio and more.
Typical options are 720p HD, which is 1280×720 pixels, Full HD at 1920×1080, 4K at 3840×2160 or 8K at 7680×4320. Regarding aspect ratios, the standard for YouTube is 16:9 horizontal. For vertical shorts, it’s 9:16, while Instagram is 4:5, or 9:16 for stories. Frame rates are usually 25p for UK/PAL areas and 30p for NTSC, which is the US standard.
The majority of non-vertical content is Full HD or 4K in 16:9. If all our footage is in 4K or higher, then we can edit the Project in 4K, and export in 4K, Full HD or even smaller.
Beginning our masterpiece
Starting a Project will open up a blank timeline. This display represents the whole of our video, and it’s where we can add or alter clips. Laid out from left to right, it lets us scroll around to make changes including trimming, adjusting colours, rearranging the clips, adding music and even graphics.
If stacking footage on top of the timeline, the uppermost footage is always shown, but you can still hear all of the audio of the clip underneath. So if you have a talking head interview, you can put footage on top and hear the person still talking, which is a useful way to edit interviews.
Before adding clips to the timeline, it’s best to watch the footage to decide what we want to use, hitting ‘I’ on the keyboard for an ‘In’ point and ‘O’ for an ‘Out’ point. Then drag our footage onto the timeline in the place we want it to appear. We can tweak the actual In and Out points on the timeline, too.
Pick the key moments
It’s best practice to prioritise clips that show important action and add them to our timeline, trimmed to include only the parts that we need. Start off with an establishing shot that shows a scene’s wider context, helping immerse viewers in our setting. Then add a mix of close-up and medium shots. It’s best to go for variety, rather than lots of medium-length shots one after the other.
The art of video editing isn’t only about splicing different clips together, however. It’s also about adding transitions between shots, incorporating music, sound effects and captions, enhancing colours, lighting and more.
Pick the right effects
Software gives us a choice of transitions between clips and many beginners make the mistake of using lots. If moving from one clip to the next within the same scene, however, we probably don’t need any – just a simple cut.
If our film includes multiple scenes, we might want to add transitions between them, but it’s often best to stick to crossfades or dissolves.
When it comes to built-in effects like lower-thirds graphics and titles, less is often more. Yes, we can buy lots of plug-ins that offer loads of effects, but they can quickly appear gimmicky. It’s the same for motion blur, glitchy footage, or making your film look like it was being displayed on a fifties TV. Choose wisely, but we reckon if in doubt, leave it out.
How slow can you go?
Again, if used sparingly, slow motion can add to our production values, but needs to have been shot at a faster frame rate in-camera in the first place.
Many cameras offer frame rates up to and including 50, 60, 100, 120, 180, 200 or 240fps, as well as the more conventional 24, 25 and 30fps. These higher frame rates allow action to be slowed down for slow motion. However, at such high speeds, often no audio is recorded. If we’re using a 25p timeline and put some 100fps footage on it, most NLEs will convert it so it appears in real time. If slowed down to 25%, it will appear as quarter-speed slow motion.
Super slow-motion can look great – within reason. Footage of a dog jumping to catch a ball that lasts for two seconds is fine. But footage shot at 240fps that’ll last for almost 20 seconds is a very long time for the viewer. So it can be best to use a ‘speed ramp’ in post-production to maintain the peak of the action in super slow-motion, yet speed up the rest.
Get the technical details right
Every NLE program has its own range of tools to alter the exposure, contrast and colours of our footage, exactly like in stills photography software. And there are lots of ways to adjust footage to get it technically ‘right’. The easiest is to tweak the white-balance and exposure in order to achieve a natural look. There are simple adjustment wheels, sliders and curves to do this.
Then it’s on to a colour ‘grade’ where we can manipulate the colour, contrast and saturation for a creative look. There are also lots of plug-ins and LUTs (lookup tables) that can be applied to give footage a filmic look.
Don’t skimp on sound
Nothing ruins an edit more than bad- quality audio. By dragging the audio levels on our clips up and down, we can balance our audio tracks, avoid sudden changes in volume and make sure dialogue stands out.
Audio is more than just dialogue, of course, as music and sound effects can be included to enhance the story. But be careful not to let music overpower the soundtrack, and make sure the songs used are royalty-free if aiming to share the video publicly on YouTube and the like.
The last hurdle
Once video has been assembled into an initial rough cut, it’s time to go through it again several times to fine-tune it. Once we’re happy with the final edit, it’s time to export it.
Different editing platforms offer different export settings, encompassing video format and bit rate, which determines the quality. Many offer templated settings for YouTube or Facebook, or we can opt for full quality. These are a great starting point and most of us will never need to change anything.
Settings are easy enough to alter. The video format determines how our video file stores audio and video data, as well as how that data is used for playback. Video formats include .webm, .flv and .mov, most of which are supported by the main platforms like YouTube and Vimeo. So check the platform we’re uploading to supports our format. The most universal format is .mp4, which is an H.264 file.
Some NLEs give a bit rate option. HD is 20-30Mbps or 60-80Mbps for 4K. The resolution and frame rate should be the same as the set for the Project. If you want to convert a 4K video to Full HD or smaller, here is where you do it. Audio is usually best as stereo with a 48kHz sample rate in an AAC format and codec.
Originally featured in Issue 112 of Photography News.
Don’t forget to sign up to receive our newsletter below, and get notified about the new issue, exclusive offers and competitions.
Have you heard The Photography News Podcast? Tune in for news, techniques, advice and much more! Click here to listen for free.