The top five camera settings you aren’t using – but should be
You know your camera well, but do you know it that well? Here are our top five camera settings that you (probably) aren’t using, but definitely should be.
Read time: 6 minutes
We’ve all been there at some point – you’re mid-shoot, camera in hand, and you think to yourself: ‘Is there more I could be doing here? Could I control this look just a little more? What does that button even do?’
The answers to all these questions lie in your camera’s settings. Let’s be clear, camera settings aren’t the be-all and end-all of photography, but if you want to improve, understanding them is essential, even if you aren’t using all of them all the time.
If you’re a beginner, there are far more essential settings than these to learn. Check out our manual exposure basics, effects of exposure settings and creative camera settings guides first. When you have those settings under your belt, come back. If you have those mastered, let’s get into it.
Using your camera’s histogram
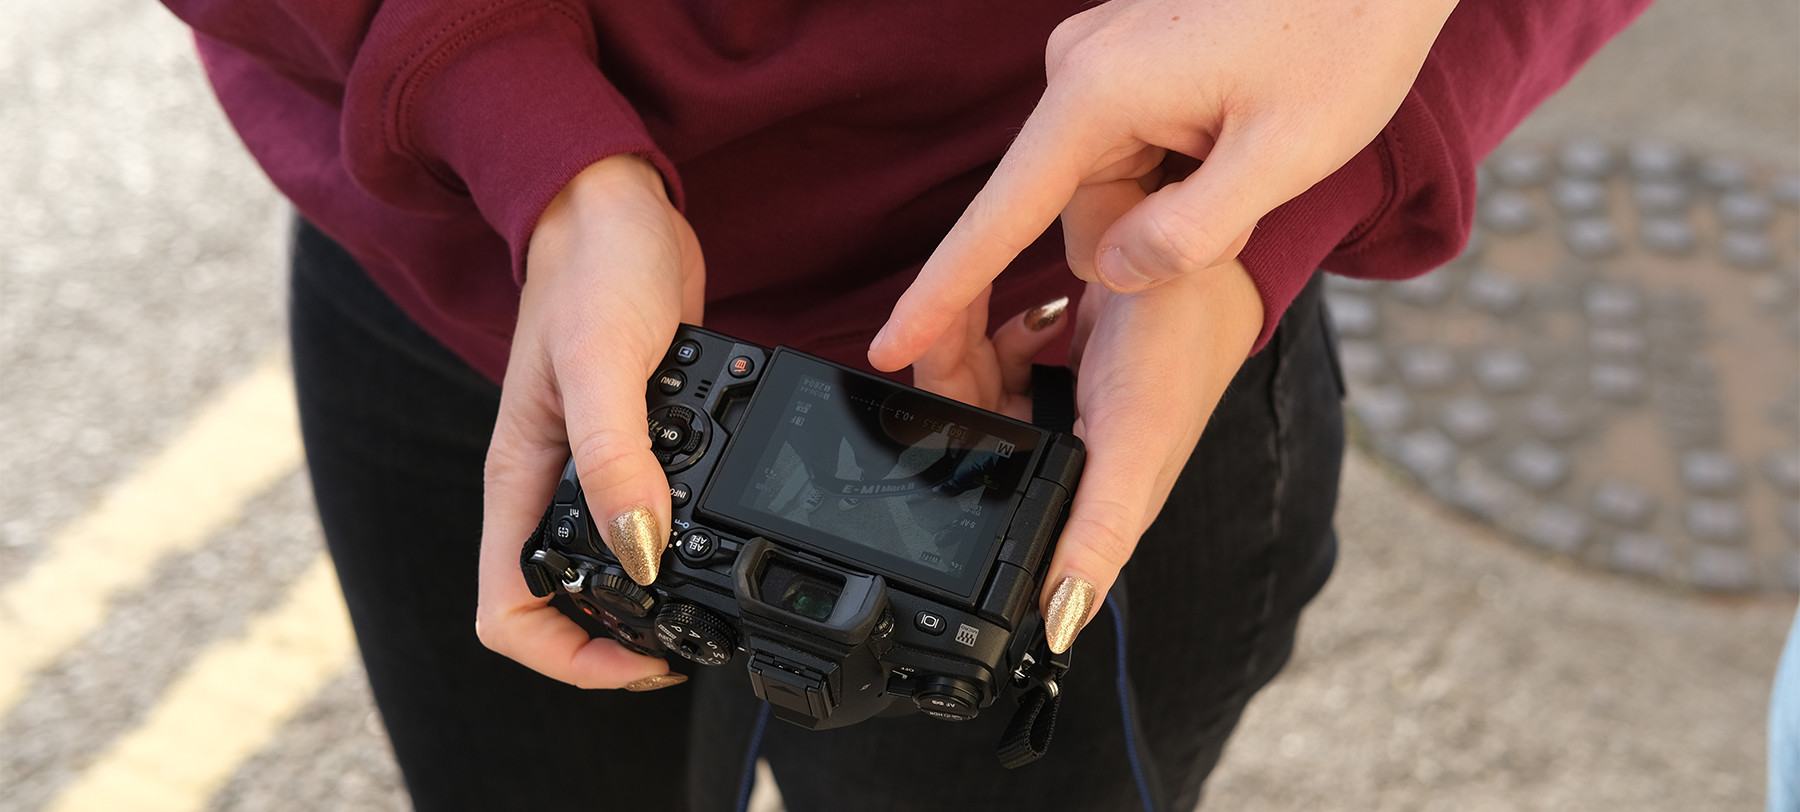
For those unfamiliar, a camera’s histogram measures exposure, much like a meter, only more detailed. Rather than show you the exposure balance of the overall picture, the histogram shows a breakdown of all parts of the image. It can be viewed live before capture or after a photo has been taken.
From left to right, the histogram displays the shadows, mid-tones and highlights, known as the tonal range. From bottom to top, the graph represents the number of pixels in that part of the range.
In the case of most photos, you’ll want a fairly smooth peak in the centre of the tonal range. If your histogram shows that peak slightly to the left or right of centre, your image will be a little under- or overexposed respectively. If it shows a dramatic peak to the far left or right, your image will be dramatically under or overexposed.
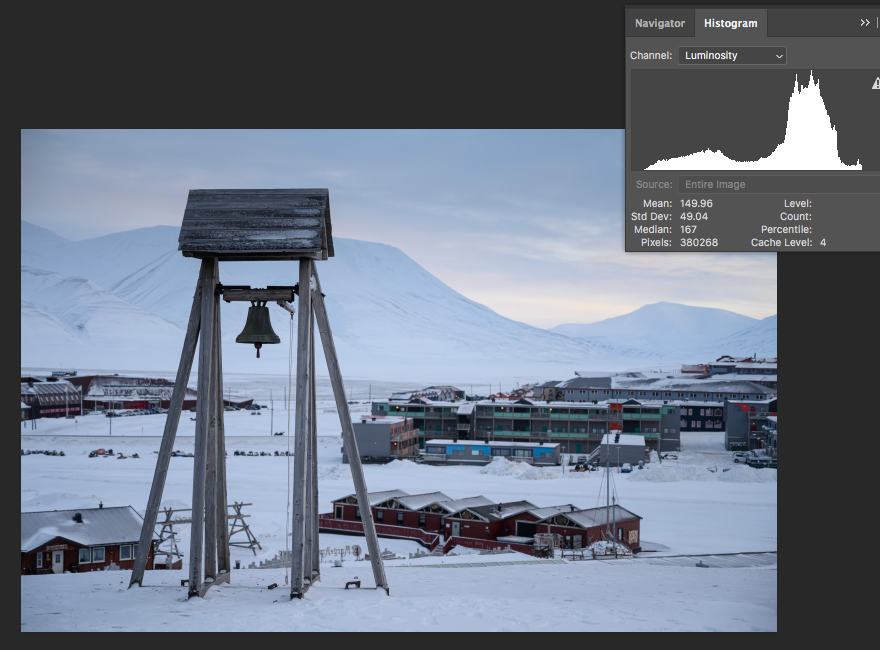
Image A histogram viewed in Photoshop. With this bright image, the peak is right of centre
When shooting particularly high-contrast scenes, it’s likely your histogram won’t display a smooth peak. In cases such as this, just ensure that no part of the tonal range – particularly the shadows and highlights – hits the top of the graph. This indicates lost data and this is one of the key functions of the histogram.
So, when should you use it? It’s definitely not a setting you’ll need to use for every frame you take, but it’s good for the more important shots or high-contrast scenes, as mentioned. Another incredibly handy time to use it is when shooting in bright conditions. If you can’t see your LCD well enough to eyeball your exposure, pull up the histogram and don’t leave it to chance.
Shooting with custom white balance
We’re all guilty of it – rarely touching that custom white-balance. Really, though, there’s nothing to be guilty of. Most of the time, auto white-balance does a great job. But if you’re looking to take that next step and really seize full control of your photos’ look, it’s something you’re going to have to overcome.
White balance is measured in kelvin (K), a unit of colour temperature. Lights with a higher colour temperature appear more blue and have a greater kelvin value, while lights with a lower colour temperature appear more orange and have a lower kelvin value. Despite their temperatures on the kelvin scale, we describe orange lighting as warm and blue lighting as cool.
| Clear sky | 10,000K |
| Cloudy sky | 7,000K |
| Average daylight | 5,500K |
| Flash | 5,000K |
| Fluorescent light | 4,000K |
| Sunrise/sunset | 3,000K |
| Tungsten light | 2,500K |
| Candlelight | 1,000K |
Table A rough guide to Kelvin values for different light conditions
Most cameras have a number of preset white-balance options for different lighting conditions. These are certainly useful, but nothing offers as much creative control as custom settings.
When setting custom white-balance, focus on something pure white and increase or decrease the K value until it appears white. If your lighting has a blue-ish tint, like a fluorescent bulb for example, warm your image up a little by decreasing the K value. If your lighting is more orange, vice versa.
Exposure compensation
Knowing how to use manual exposure settings and understanding the effects of them is essential, but often full manual mode isn’t viable. In many situations, aperture-priority or shutter-priority is the best choice, even for the pros, but how can you maintain that extra element of control? Exposure compensation!
For many, the exposure compensation dial goes untouched, but it can be of great value in the right circumstance. Namely, when your camera’s autoexposure isn’t quite right.
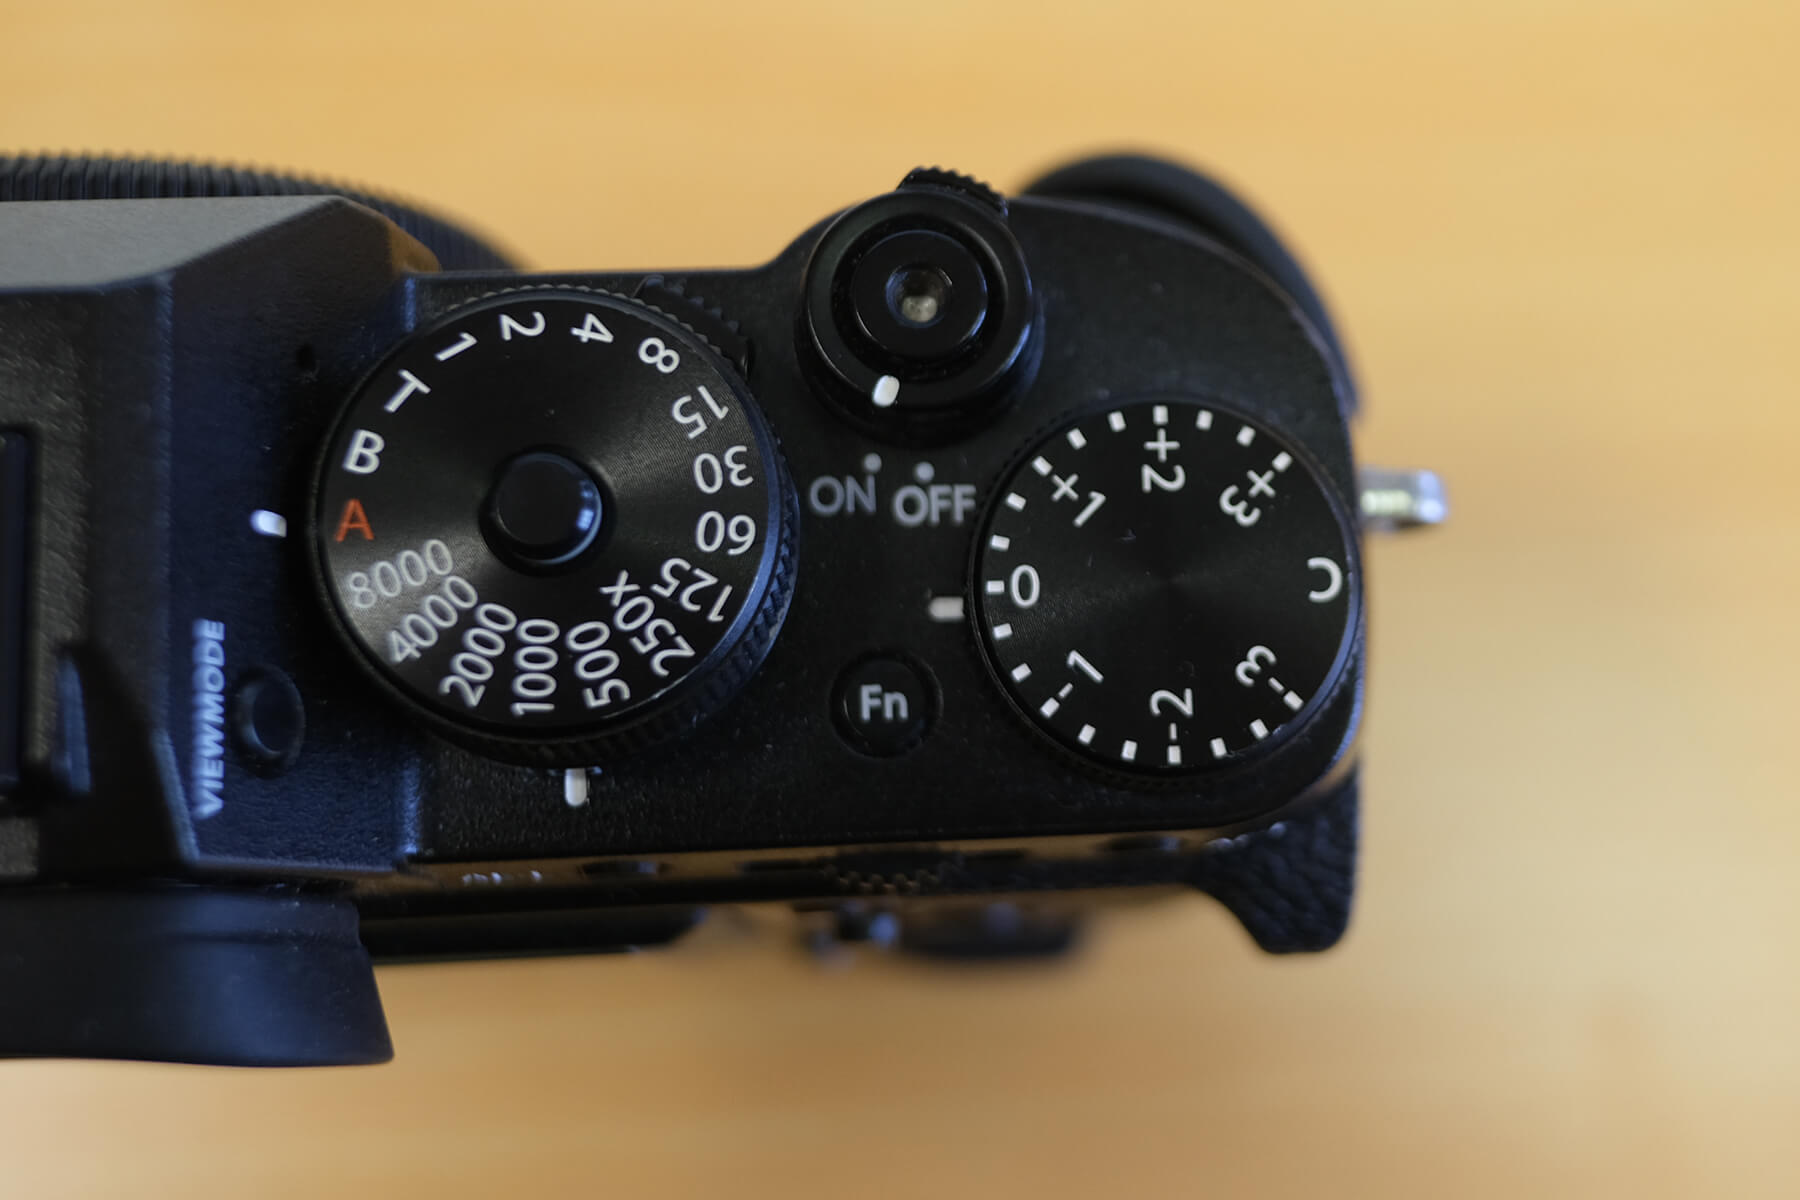
Image Many cameras have a dedicated exposure compensation dial these days, even some digital compacts
Rarely, when in autoexposure, aperture-priority or shutter-priority mode, the exposure your camera settles on just won’t be right. This typically happens when shooting a very bright or very dark scene. Alternately, maybe you want to under- or overexpose slightly for one of many reasons.
Instead of having to take the time to manually change your camera settings, possibly compromising your nice shallow focus or much-needed fast shutter speed, simply brighten or darken your exposure a few stops using exposure compensation.
AE-L AF-L
Perhaps the most unused buttons on any camera: AE-L and AF-L. Much like exposure compensation, autoexposure lock and autofocus lock can be very handy tools in the right circumstance.
As the name suggests, AE-L and AF-L lock autoexposure and autofocus respectively, but what are they good for? And the answer to that is efficiency. Neither setting does anything you couldn’t do manually, it just lets you do it much more quickly and easily.
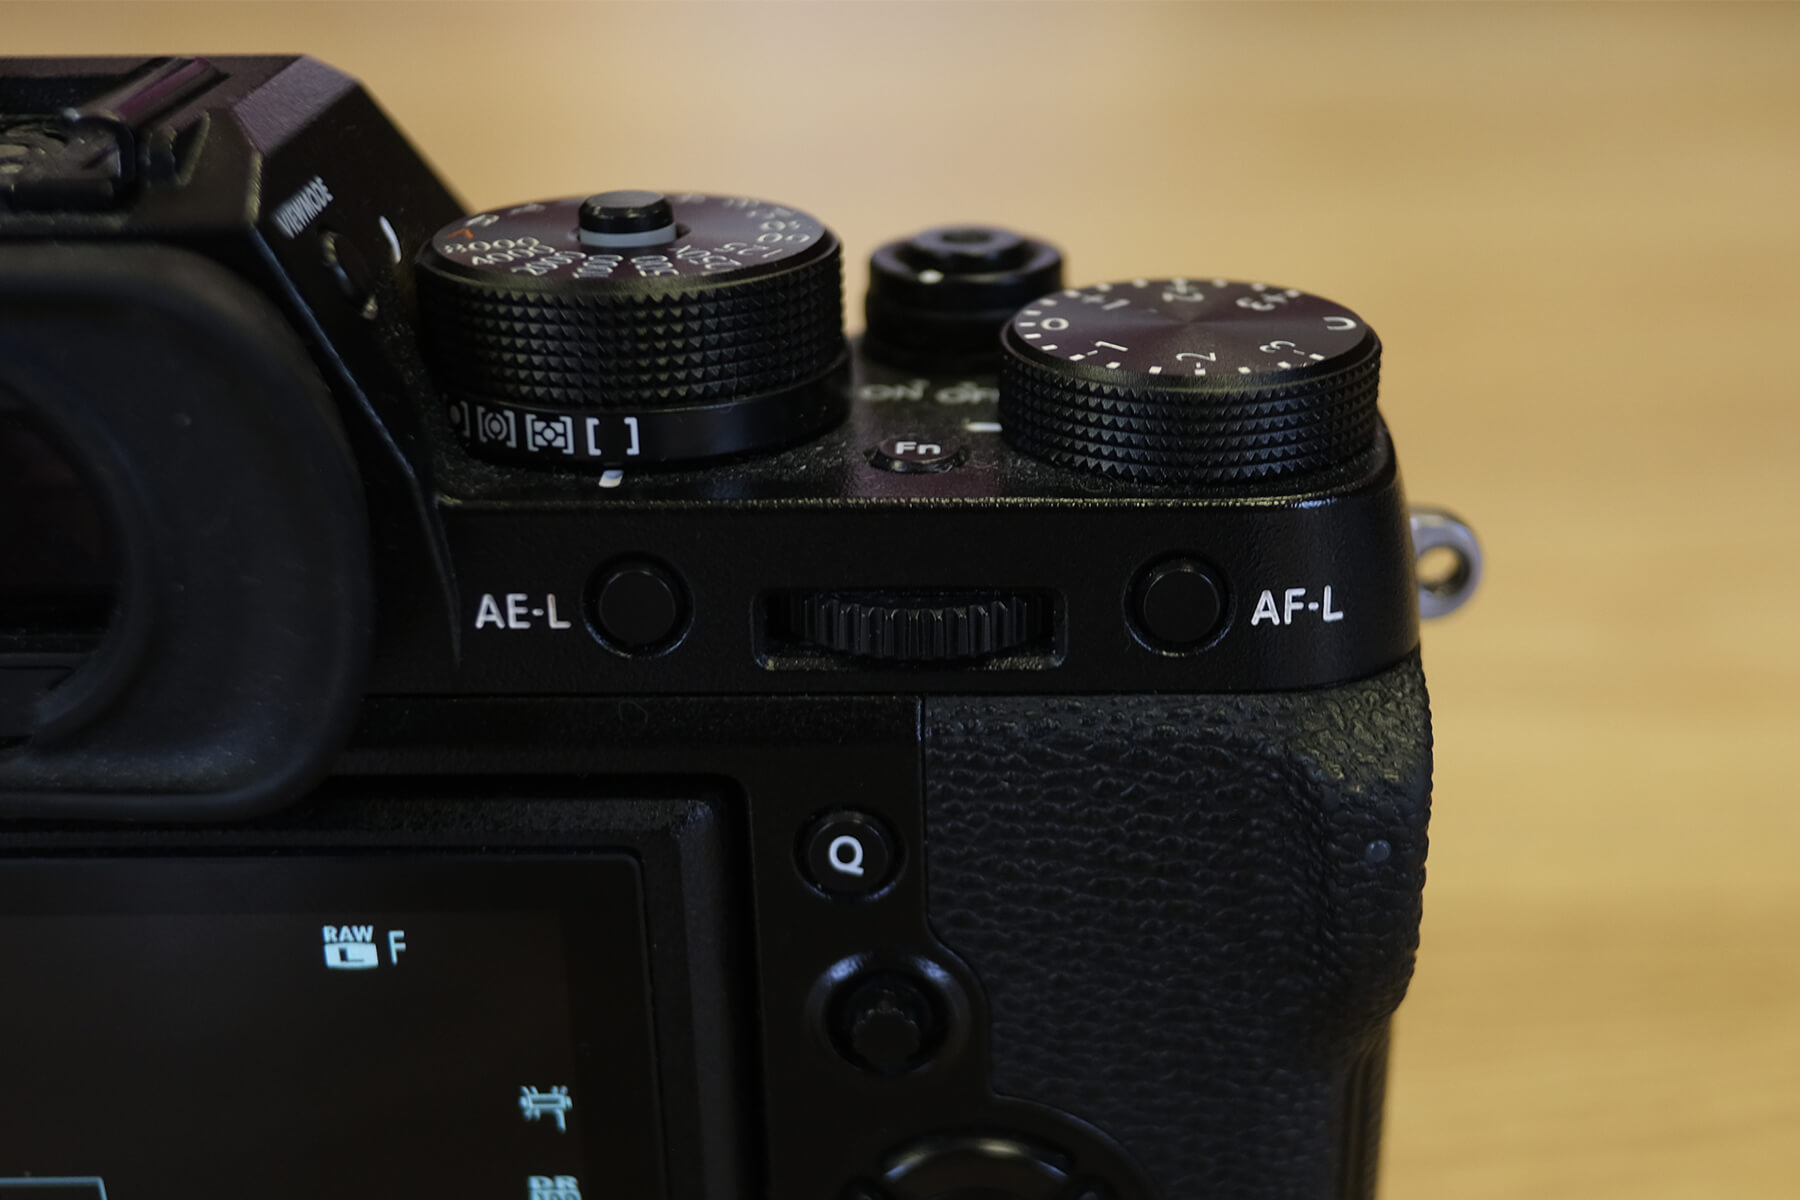
Image Many cameras have a single button for both AE-L and AF-L, unlike the X-T2 here
If you were eager to shoot a series of photos in changing light conditions, you could autoexpose on a certain area and hit AE-L to ensure your camera didn’t keep changing the exposure. Similarly, you could focus on a subject, hit AF-L, then rearrange the composition of your shot without losing that focus, having to have your autofocus hunt before every shot, or being forced to focus manually.
Shooting Raw vs JPEG
You’ve taken in all our tips, you’re ready to try them out and take some photos, but how are you going to capture those photos? If your answer is anything other than Raw, you’re missing a trick.
You’d be astounded by the amount of data that can be recovered from a Raw file when editing. Exposure, white balance, colour – it can all be altered to a significant degree if you’ve captured your image in Raw format. You don’t want to let that creative potential pass you by.
But there are perks to capturing in JPEG, too, so what to do? Our advice would be to take the best of both worlds. Most cameras will allow Raw + JPEG capture, meaning you can shoot both at the same time – just make sure you have the storage space.
There they are. Our top five camera settings that you probably weren’t using. We hope we’ve helped you gain a little more creative control and boosted your efficiency.
Which setting do you think will be most useful? What overlooked setting do you love? Any questions? Let us know on social media using the handle @PhotonewsPN!